Introduction
Use this guide to replace the battery in an Acer Predator Helios 300 (i7 7700HQ) gaming laptop.
There are many reasons to replace a laptop battery, including the battery isn't holding enough charge, can't power on the laptop without plugging it in, the battery keeps losing its charge rapidly, etc. The reason why I am changing my battery today is because my laptop won't power on unless it's plugged in.
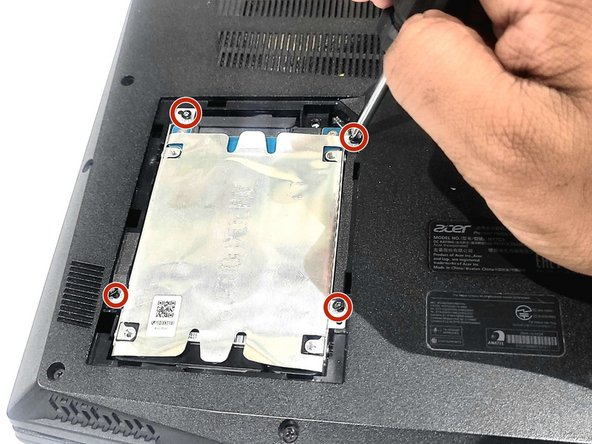
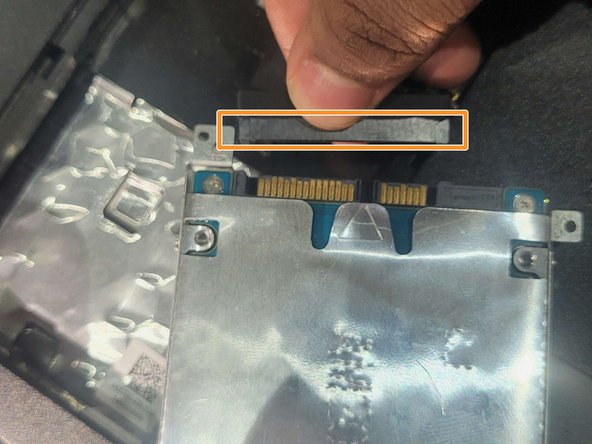
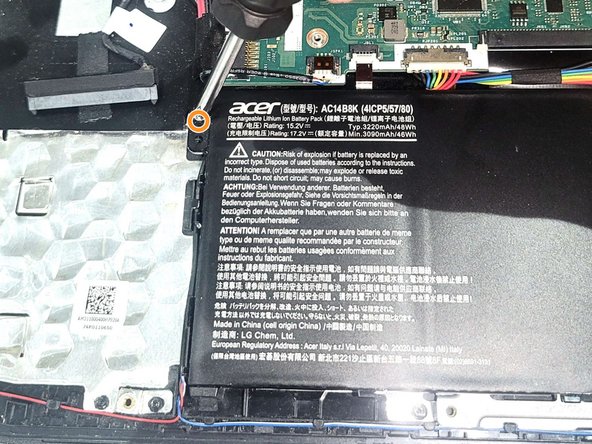
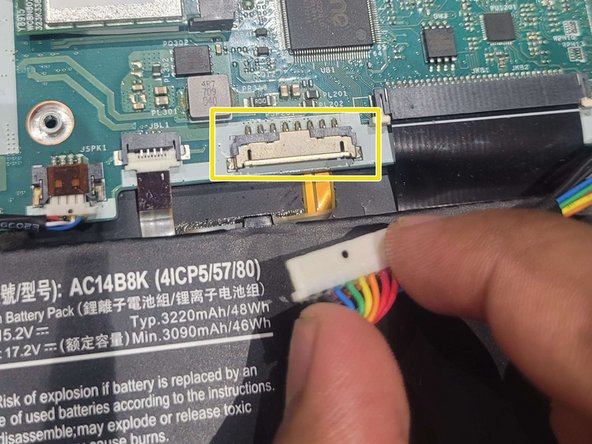
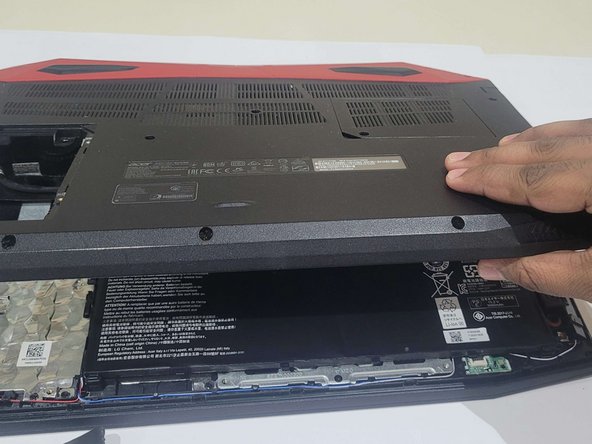
This guide will show you how to carefully remove the covers from the back of the laptop, remove the battery, and replace it with a new battery. I will also show how to do the steps in reverse to reassemble it back safely.
Ce dont vous avez besoin
-
-
Before you start make sure the laptop is grounded.
-
Make sure the laptop is powered off.
-
-


Équipe

York University, Team O-30, O'Regan Winter 2024 Membre de l'équipe York University, Team O-30, O'Regan Winter 2024
YORK-O'REGAN-W24SOG30
1 membre
1 tutoriel rédigé