Aller au contenu principal

Acrylic Nail Tip Replacement

Ce dont vous avez besoin

  1. Acrylic Nail Tip Replacement, Acrylic Nail Tip: étape 1, image 1 de 1
    • File the nail in a back-and-forth motion with the nail file on the accessible part of the natural nail until it is no longer smooth.

    • Try not to file the acrylic nail that is is still attached to your natural nail, as it will not fit the part that broke.

  2. Acrylic Nail Tip Replacement: étape 2, image 1 de 1
    • Carefully place a drop of nail glue on the natural nail and let the glue sit for about 5 seconds.

    • Do not use more than 1-2 drops of nail glue.

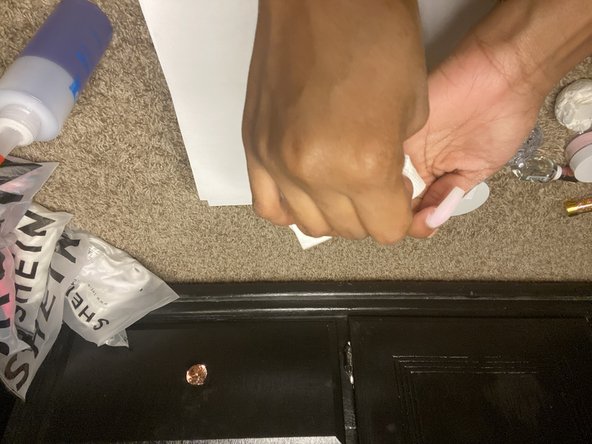
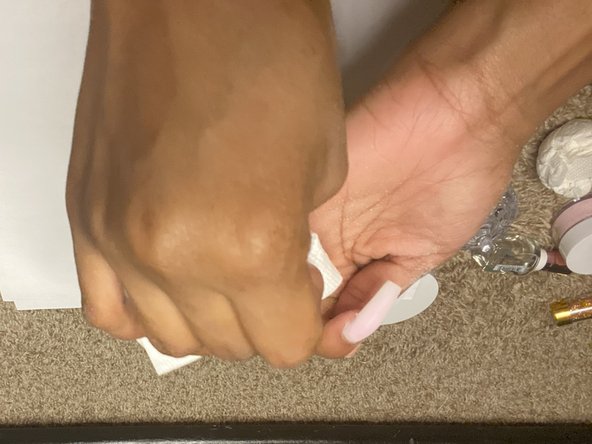
  3. Acrylic Nail Tip Replacement: étape 3, image 1 de 2 Acrylic Nail Tip Replacement: étape 3, image 2 de 2
    • Place a nail tip in its original position and hold it in place for about 20 seconds, or until it is fully dry.

  4. Acrylic Nail Tip Replacement: étape 4, image 1 de 2 Acrylic Nail Tip Replacement: étape 4, image 2 de 2
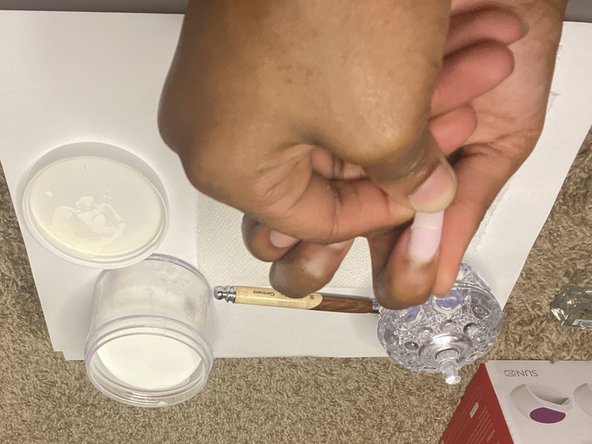
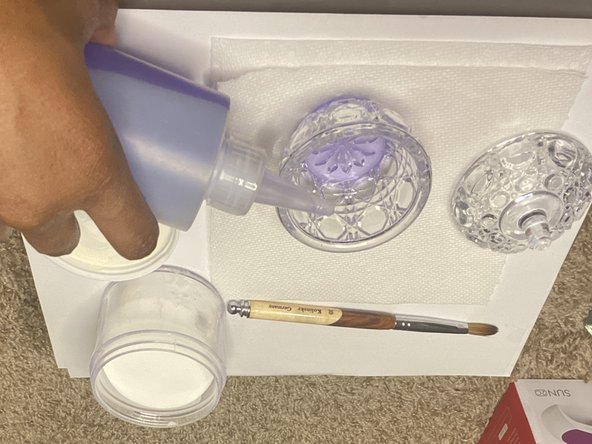
    • Pour 30 milliliters of monomer in a small glass bowl.

    • Liquid nail monomer has a strong odor and is highly flammable.

    • Do not reuse the glass bowl for any food products because of possible chemical residue.

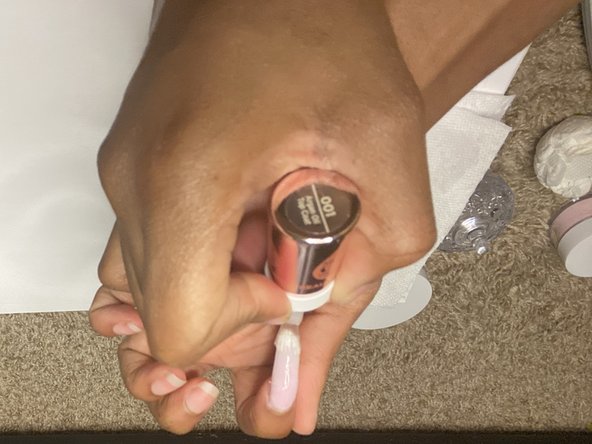
  5. Acrylic Nail Tip Replacement: étape 5, image 1 de 3 Acrylic Nail Tip Replacement: étape 5, image 2 de 3 Acrylic Nail Tip Replacement: étape 5, image 3 de 3
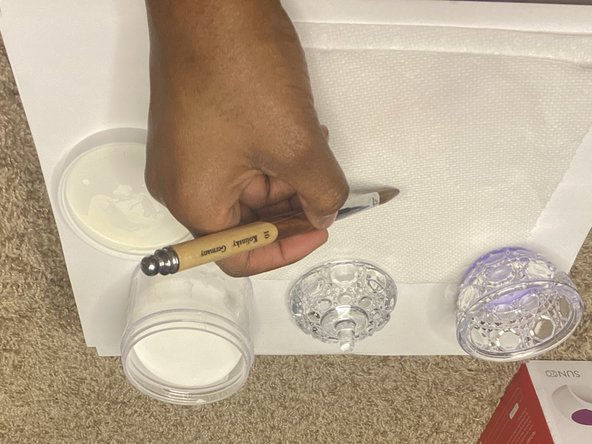
    • Dip the brush in the monomer and lightly tap it on the paper towel to remove the excess.

  6. Acrylic Nail Tip Replacement: étape 6, image 1 de 2 Acrylic Nail Tip Replacement: étape 6, image 2 de 2
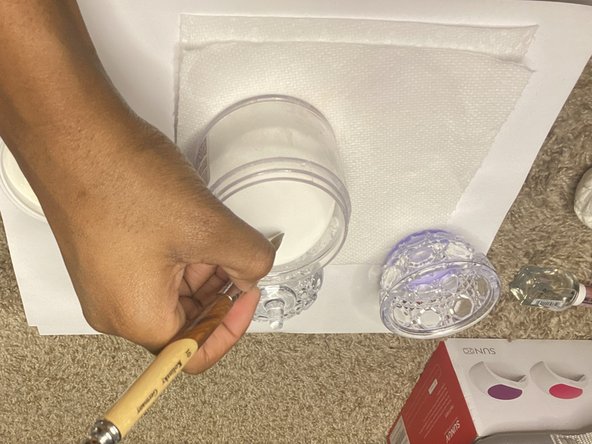
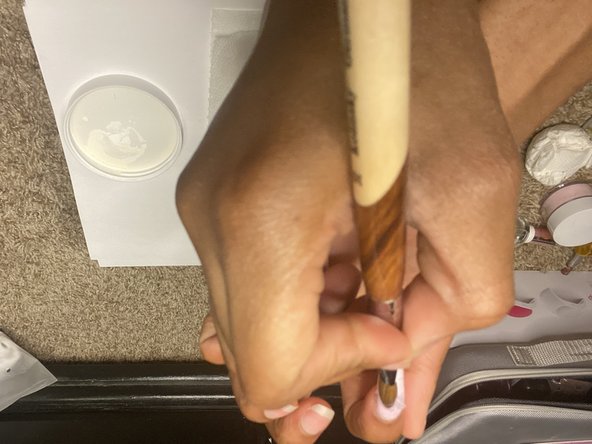
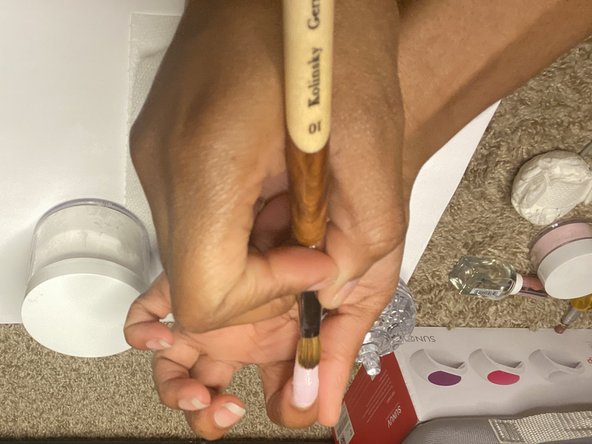
    • Place the tip of the brush in clear acrylic powder at about an 80-degree angle; collect it on one side of the brush.

  7. Acrylic Nail Tip Replacement: étape 7, image 1 de 3 Acrylic Nail Tip Replacement: étape 7, image 2 de 3 Acrylic Nail Tip Replacement: étape 7, image 3 de 3
    • Apply the acrylic powder to the nail, and in a dabbing, downward motion, smooth the acrylic over the nail from top to bottom.

  8. Acrylic Nail Tip Replacement: étape 8, image 1 de 1
    • Place the nail under the UV/LED lamp until hard and firm.

  9. Acrylic Nail Tip Replacement: étape 9, image 1 de 3 Acrylic Nail Tip Replacement: étape 9, image 2 de 3 Acrylic Nail Tip Replacement: étape 9, image 3 de 3
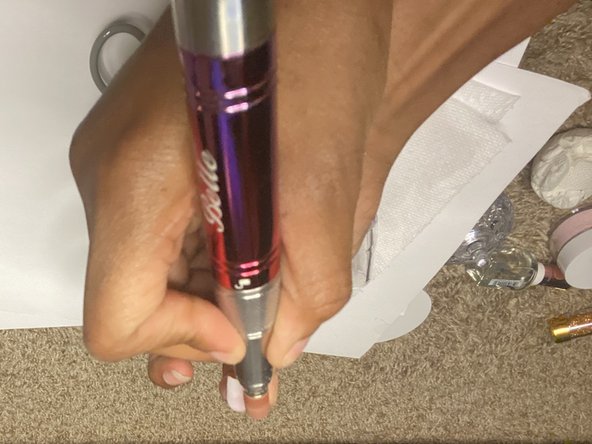
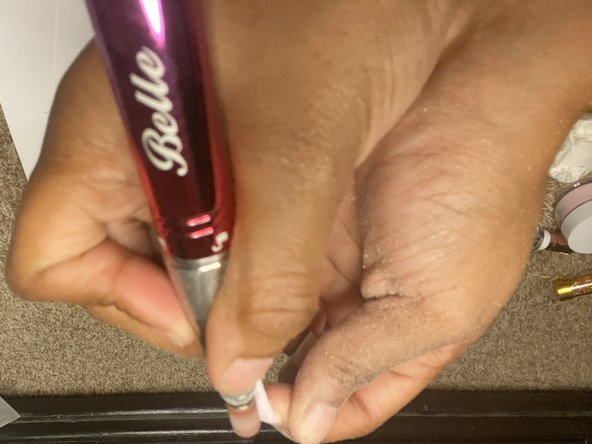
    • Use a nail drill to file the nail to achieve an even acrylic coat by drilling in a side-to-side motion, working your way from top to bottom.

    • Use a speed of 7-9 on the nail drill.

    • If you do not have a nail drill, you can also use a nail file.

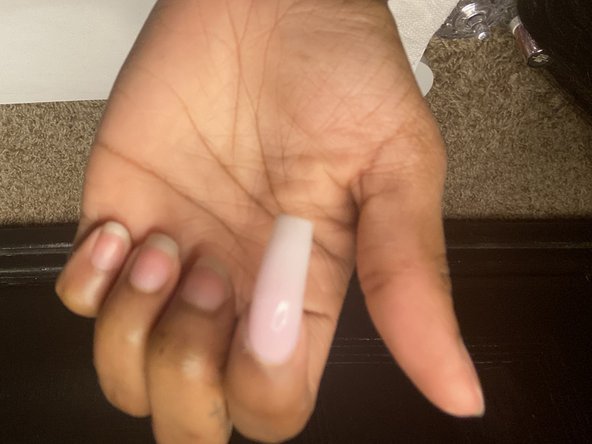
  10. Acrylic Nail Tip Replacement: étape 10, image 1 de 3 Acrylic Nail Tip Replacement: étape 10, image 2 de 3 Acrylic Nail Tip Replacement: étape 10, image 3 de 3
    • Buff the nail until it is smooth, and use a paper towel to wipe off excess powder.

  11. Acrylic Nail Tip Replacement: étape 11, image 1 de 3 Acrylic Nail Tip Replacement: étape 11, image 2 de 3 Acrylic Nail Tip Replacement: étape 11, image 3 de 3
    • Optional: coat the nail with clear polish.

Ligne d'arrivée

Alysia Williams

Membre depuis le 02/28/22

194 Réputation

1 tutoriel rédigé

Équipe

0 commentaires

Ajouter un commentaire

Nombre de vues :

Dernières 24 heures : 0

7 derniers jours : 1

30 derniers jours : 13

Total : 266