Aller au contenu principal

Acer Aspire 6530-6522 Speaker Replacement

Ce dont vous avez besoin

  1. Acer Aspire 6530-6522 Speaker Replacement, Battery: étape 1, image 1 de 2 Acer Aspire 6530-6522 Speaker Replacement, Battery: étape 1, image 2 de 2
    • Make sure the device is unplugged and completely powered down.

    • Turn the device over.

  2. Acer Aspire 6530-6522 Speaker Replacement: étape 2, image 1 de 2 Acer Aspire 6530-6522 Speaker Replacement: étape 2, image 2 de 2
    • The lock switch can slide either towards or away from the battery. If it is pushed towards the battery, the release switch is locked and the battery can not be released.

    • Slide the switch away from the battery.

  3. Acer Aspire 6530-6522 Speaker Replacement: étape 3, image 1 de 3 Acer Aspire 6530-6522 Speaker Replacement: étape 3, image 2 de 3 Acer Aspire 6530-6522 Speaker Replacement: étape 3, image 3 de 3
    • The battery release switch is just to the inside of the battery and slides parallel to it.

    • Push the switch to the side. It is not just an open or close switch, it actually pops the battery up so you will feel some resistance.

    • When inserting a battery back into the device, you do not need to touch this switch. Just press the battery firmly down, you will see and hear this switch catch.

  4. Acer Aspire 6530-6522 Speaker Replacement: étape 4, image 1 de 3 Acer Aspire 6530-6522 Speaker Replacement: étape 4, image 2 de 3 Acer Aspire 6530-6522 Speaker Replacement: étape 4, image 3 de 3
    • Pull the battery up and out. Use a plastic opening tool if necessary.

  5. Acer Aspire 6530-6522 Speaker Replacement, Speakers: étape 5, image 1 de 2 Acer Aspire 6530-6522 Speaker Replacement, Speakers: étape 5, image 2 de 2
    • Remove the three 3.5mm screws securing the subwoofer using the Phillips #1 screwdriver.

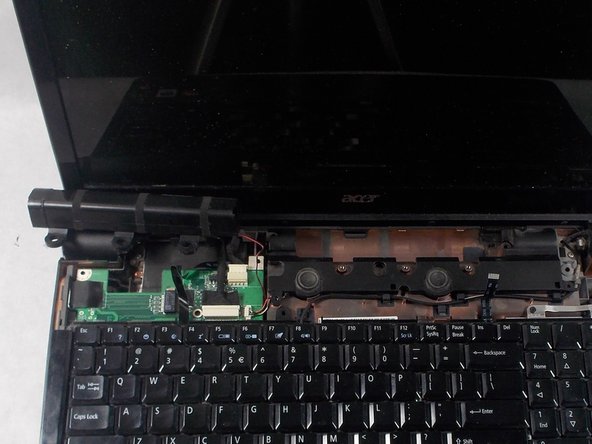
    • Remove the two 4.5mm screws securing the speakers on either end.

  6. Acer Aspire 6530-6522 Speaker Replacement: étape 6, image 1 de 1
    • Disconnect the speaker wire.

  7. Acer Aspire 6530-6522 Speaker Replacement: étape 7, image 1 de 2 Acer Aspire 6530-6522 Speaker Replacement: étape 7, image 2 de 2
    • Lift the subwoofer from the right side and turn it over to the left.

    • Do not try to pull it all the way out, it is still connected by cables.

  8. Acer Aspire 6530-6522 Speaker Replacement: étape 8, image 1 de 2 Acer Aspire 6530-6522 Speaker Replacement: étape 8, image 2 de 2
    • Lift the speaker from the right side and remove from device.

Conclusion

To reassemble your device, follow these instructions in reverse order.

Patrick McKenna

Membre depuis le 03/20/18

656 Réputation

5 tutoriels rédigés

Équipe

UMass Dartmouth, Team S5-G6, Peak Spring 2018 Membre de l'équipe UMass Dartmouth, Team S5-G6, Peak Spring 2018

UMASSD-PEAK-S18S5G6

3 membres

8 tutoriels rédigés

0 commentaires

Ajouter un commentaire

Nombre de vues :

Dernières 24 heures : 0

7 derniers jours : 0

30 derniers jours : 2

Total : 172