Introduction
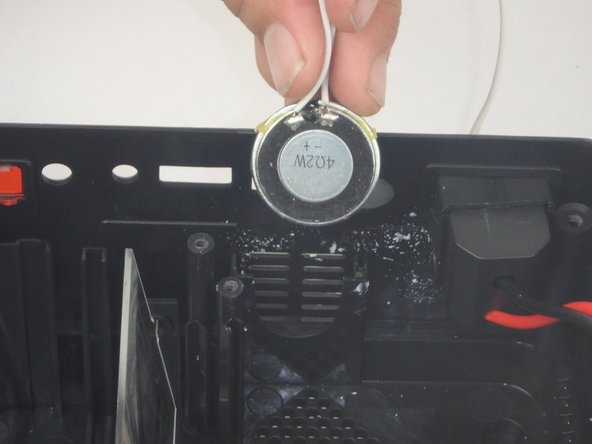
The speaker creates the sound heard from the projector. If the sounds are distorted or no sound is heard, the speaker may need to be replaced.
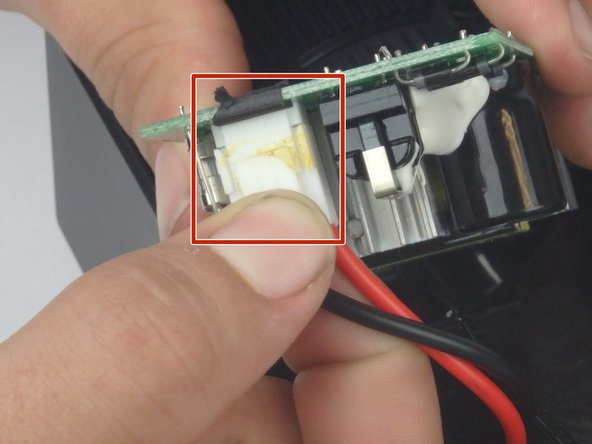
The speaker is glued to the side of the projector. Some force is needed to break the glue bond. Do not pull on the wire when trying to break the speaker free from the glue.
Ce dont vous avez besoin
-
-
Place the projector upside down to access the screws on the bottom.
-
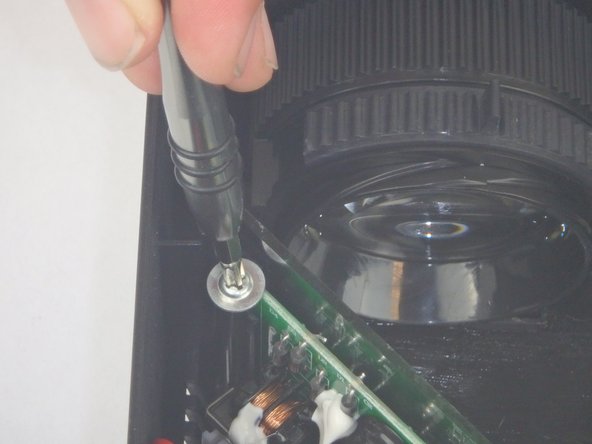
Remove the five 7mm long screws using a #3 Phillips screwdriver at least 2 inches long.
-
-
-
Remove the three 6mm PH2 phillips head screws.
-
Disconnect the ribbon cable by flipping up the latch on the connector and then pull the ribbon out.
-
-
-
-
Remove the two 9mm PH2 phillips head screws.
-
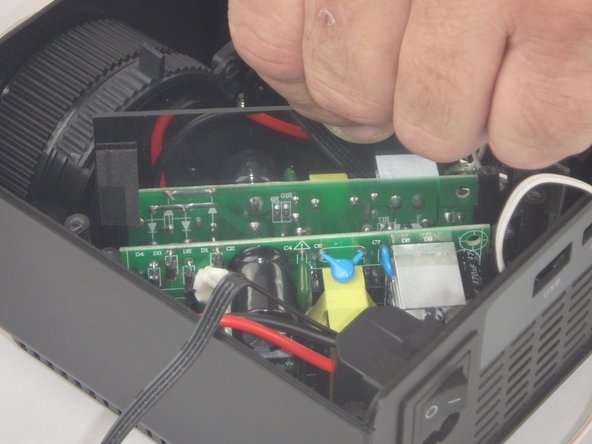
Lift the mirror behind the power supply circuit out to gain access to the circuit board.
-
-
-
Pull gently on the speaker to break the glue bond, then lift the speaker out of the way.
-


To reassemble your device, follow these instructions in reverse order.
To reassemble your device, follow these instructions in reverse order.
Équipe

USF Tampa, Team S5-G3, Eyestone Spring 2018 Membre de l'équipe USF Tampa, Team S5-G3, Eyestone Spring 2018
USFT-EYESTONE-S18S5G3
3 membres
9 tutoriels rédigés