Introduction
This guide will show you how to safely remove the motherboard from your HP 15-ay014dx laptop.
Ce dont vous avez besoin
-
-
Close the laptop and lay it down with the bottom facing up.
-
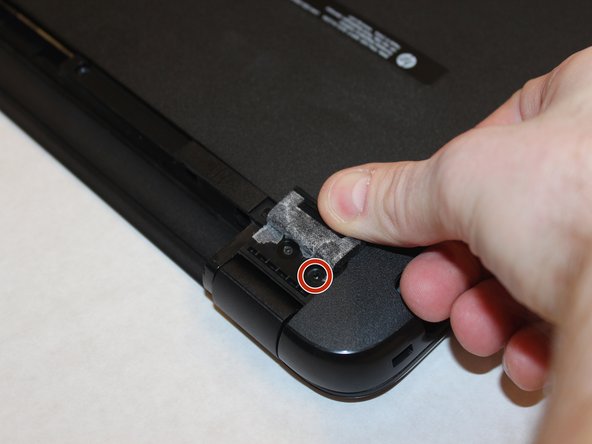
Using a size #00 Phillips screw drive remove the screw holding in the optical drive.
-
-
-
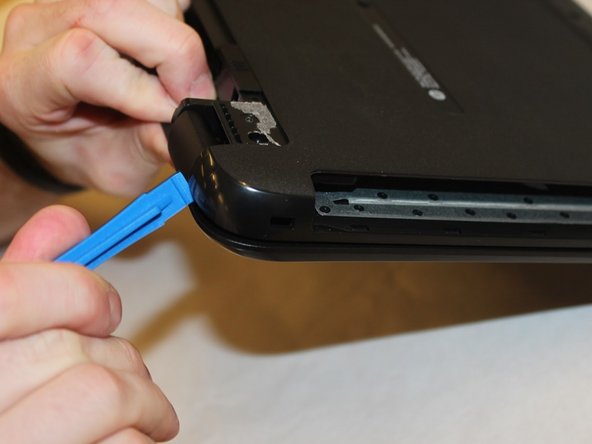
Remove the 11 screws holding the body of the laptop together with a size #00 Phillips screwdriver.
-
-
-
-
Remove the highlighted screws holding the body of the laptop together with a size #00 Phillips screwdriver.
-
-
-
Remove the 11 screws holding the body of the laptop together with a size #00 Phillips screwdriver.
-
-
-
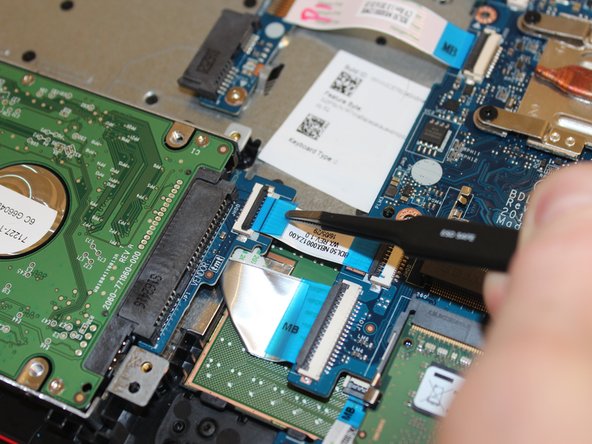
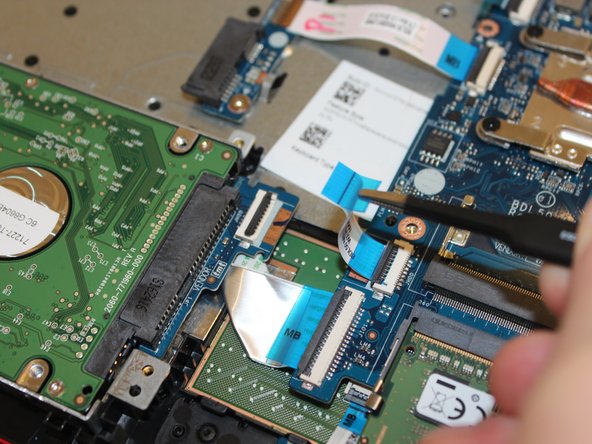
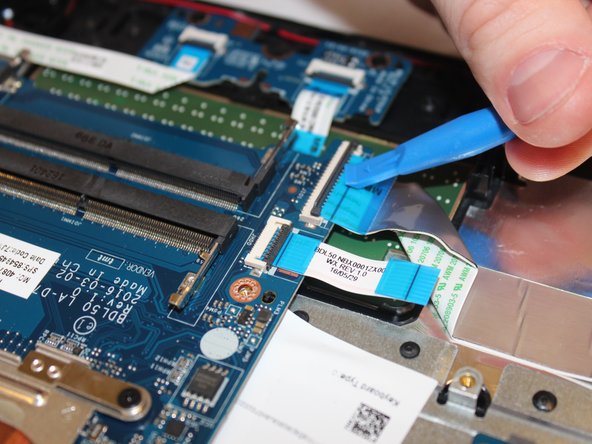
Disconnect all ribbon connectors by flipping up the black tabs and gently pulling them out.
-
Disconnect the speakers by gently pulling the connector out.
-
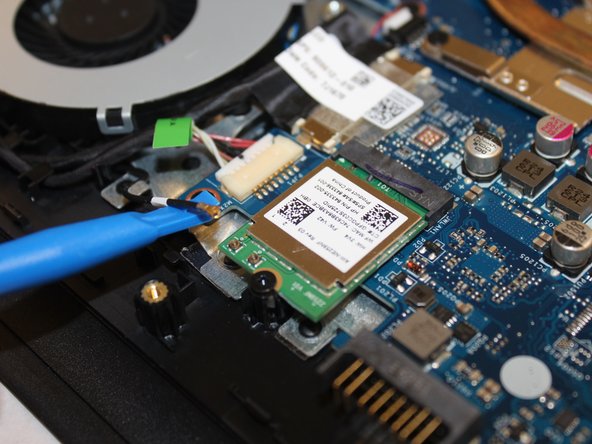
Disconnect the Fan by gently pulling the connector out.
-
Disconnect the power by gently pulling the connectors out.
-


To reassemble your device, follow these instructions in reverse order.
To reassemble your device, follow these instructions in reverse order.
Annulation : je n'ai pas terminé ce tutoriel.
2 autres ont terminé cette réparation.
Équipe

Washington State, Team S1-G4, Phelps-Hillen Fall 2017 Membre de l'équipe Washington State, Team S1-G4, Phelps-Hillen Fall 2017
WSU-PHELPS-HILLEN-F17S1G4
6 membres
7 tutoriels rédigés