Aller au contenu principal

HP 15-dy2024nr Fan Assembly Replacement

Ce dont vous avez besoin

  1. HP 15-dy2024nr Fan Assembly Replacement, Back Cover: étape 1, image 1 de 2 HP 15-dy2024nr Fan Assembly Replacement, Back Cover: étape 1, image 2 de 2
    • Use a spudger to peel one corner of each of the rubber feet from the bottom of the laptop.

    • Gently peel the feet from the laptop using the spudger revealing the screws underneath.

    • If the rubber foot peels away but leaves adhesive behind you must peel the adhesive away before removing the screws.

  2. HP 15-dy2024nr Fan Assembly Replacement: étape 2, image 1 de 3 HP 15-dy2024nr Fan Assembly Replacement: étape 2, image 2 de 3 HP 15-dy2024nr Fan Assembly Replacement: étape 2, image 3 de 3
    • Use a Phillips #1 screwdriver to remove:

    • Two 2.5mm x 6mm screws

    • Six 2mm x 6mm screws

    • Be sure to keep different screw sizes separated.

  3. HP 15-dy2024nr Fan Assembly Replacement: étape 3, image 1 de 3 HP 15-dy2024nr Fan Assembly Replacement: étape 3, image 2 de 3 HP 15-dy2024nr Fan Assembly Replacement: étape 3, image 3 de 3
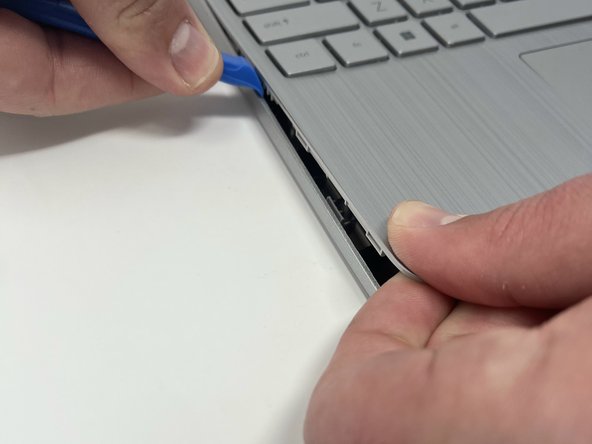
    • Insert an iFixit opening tool into the seam between the keyboard area and bottom cover.

    • Using another iFixit opening tool, slide along the seam to unhook the clips.

    • There are clips all the way around the seam. You may hear a popping sound as the clips come loose. This step may require some force to separate the back cover from the laptop.

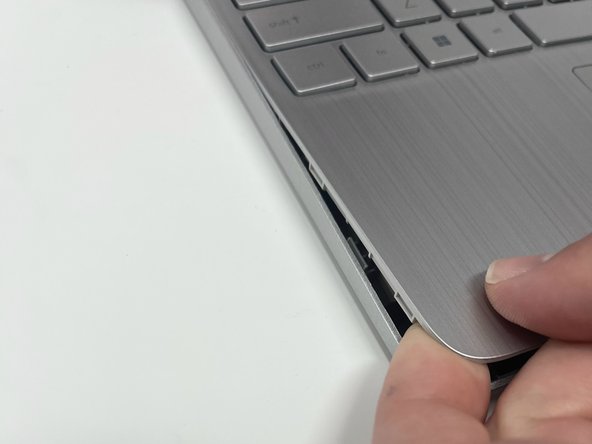
    • When the front of the laptop is open, you can use your finger to hold a corner open then slide an iFixit opening tool along the seam toward the back corner.

    • After the clips have been released, flip the laptop over and lift the cover.

  4. HP 15-dy2024nr Fan Assembly Replacement, Battery: étape 4, image 1 de 3 HP 15-dy2024nr Fan Assembly Replacement, Battery: étape 4, image 2 de 3 HP 15-dy2024nr Fan Assembly Replacement, Battery: étape 4, image 3 de 3
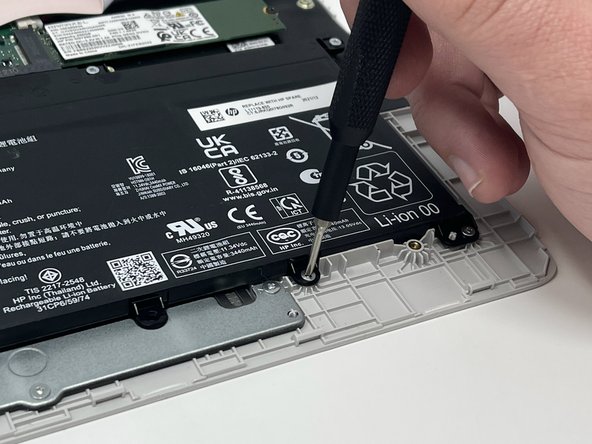
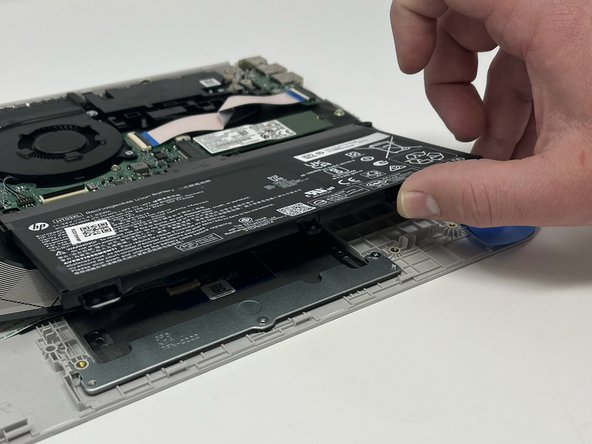
    • Remove five 2.0mm x 3.0mm screws using a Phillips #00 screwdriver.

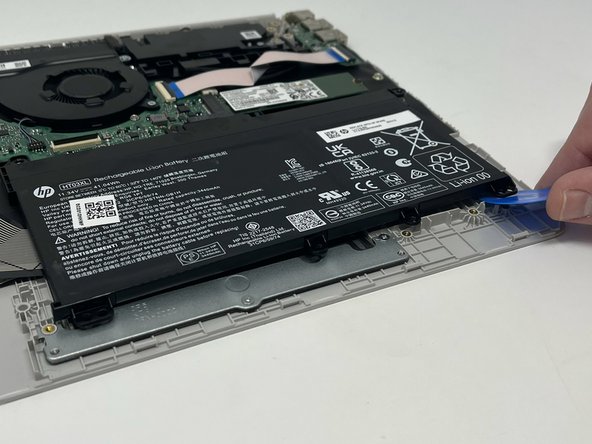
    • Use the iFixit opening picks to lift the battery away from the laptop.

  5. HP 15-dy2024nr Fan Assembly Replacement: étape 5, image 1 de 3 HP 15-dy2024nr Fan Assembly Replacement: étape 5, image 2 de 3 HP 15-dy2024nr Fan Assembly Replacement: étape 5, image 3 de 3
    • Be aware that the battery is plugged into the motherboard.

    • Unplug the battery from the motherboard.

    • Lift the battery away from the laptop and remove.

  6. HP 15-dy2024nr Fan Assembly Replacement, Fan Assembly: étape 6, image 1 de 2 HP 15-dy2024nr Fan Assembly Replacement, Fan Assembly: étape 6, image 2 de 2
    Outil utilisé dans cette étape :
    Tweezers
    $4.99
    J'achète
    • If your fan needs to be cleaned, do that now. If it is not working properly, continue with these steps to remove the broken fan.

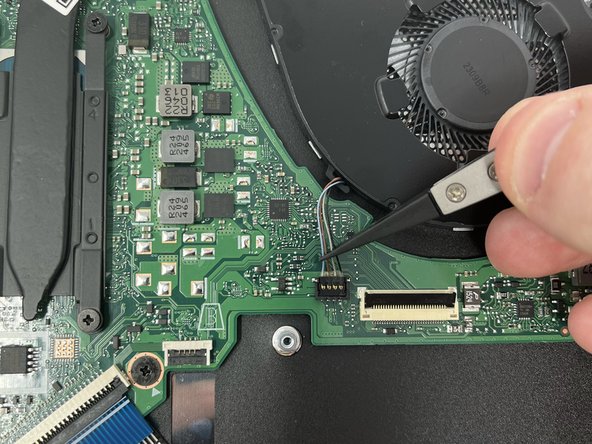
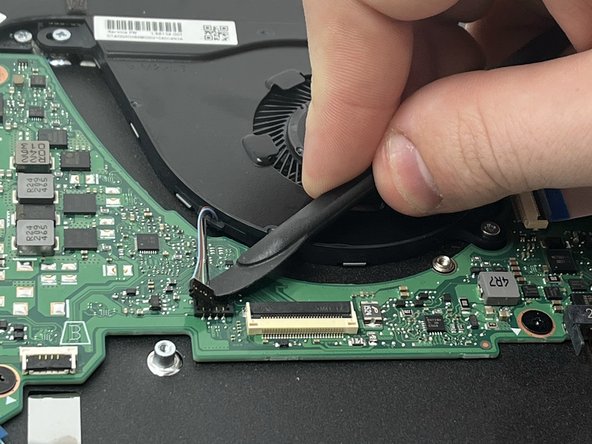
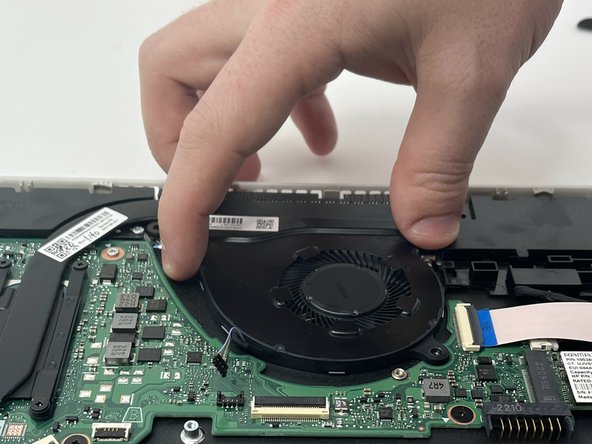
    • Use the nylon tipped reverse tweezers to lift the cables up from off the motherboard before attempting to disconnect the connector from the motherboard.

    • Do not use the tweezers to pull the cables off the motherboard.

  7. HP 15-dy2024nr Fan Assembly Replacement: étape 7, image 1 de 2 HP 15-dy2024nr Fan Assembly Replacement: étape 7, image 2 de 2
    • Wedge the Halberd spudger between the black plastic connector and the motherboard.

    • Lightly twist the spudger blade up. The connector should pop off.

  8. HP 15-dy2024nr Fan Assembly Replacement: étape 8, image 1 de 3 HP 15-dy2024nr Fan Assembly Replacement: étape 8, image 2 de 3 HP 15-dy2024nr Fan Assembly Replacement: étape 8, image 3 de 3
    • Remove the three chrome-plated 2.0mm x 3.0mm screws holding the fan assembly in place using a Phillips #0 screwdriver.

    • Lift the fan assembly out of the laptop.

Conclusion

To reassemble your device, follow these instructions in reverse order.

Une autre personne a terminé cette réparation.

Nathaniel Reeves

Membre depuis le 09/27/22

366 Réputation

2 tutoriels rédigés

Équipe

Utah Tech University, Team 1-4, McMurrin Fall 2022 Membre de l'équipe Utah Tech University, Team 1-4, McMurrin Fall 2022

UTAHTECH-MCMURRIN-F22S1G4

3 membres

6 tutoriels rédigés

0 commentaires

Ajouter un commentaire

Nombre de vues :

Dernières 24 heures : 0

7 derniers jours : 3

30 derniers jours : 13

Total : 198