Introduction
If you are having problems turning on the shear or the operating switch seems too loose, this guide might be useful for replacing the part.
Ce dont vous avez besoin
-
-
Use a Philips-head screwdriver to remove the six, 15 mm screws from the casing.
-
-
-
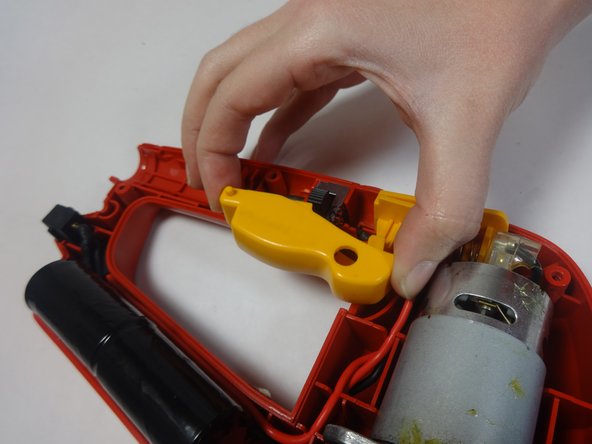
Remove the faceplate from the main body of the device, lift it and expose the inner mechanisms.
-
-


Presque terminé !
To reassemble your device, follow these instructions in reverse order.
Conclusion
To reassemble your device, follow these instructions in reverse order.

Équipe

USF Tampa, Team 17-5, Watkins Winter 2015 Membre de l'équipe USF Tampa, Team 17-5, Watkins Winter 2015
USFT-WATKINS-W15S17G5
3 membres
4 tutoriels rédigés