Aller au contenu principal

Magnavox MWD200F Disk Drive Replacement

Ce dont vous avez besoin

  1. Magnavox MWD200F Disk Drive Replacement, Faceplate: étape 1, image 1 de 1
    • Use a Phillips #2 screwdriver to remove the two screws on the top of the device toward the back.

  2. Magnavox MWD200F Disk Drive Replacement: étape 2, image 1 de 1
    • Remove the plastic cover by lifting up the back and pulling it away from the faceplate.

  3. Magnavox MWD200F Disk Drive Replacement: étape 3, image 1 de 1
    • Unclip the three latches on the bottom of the device.

  4. Magnavox MWD200F Disk Drive Replacement: étape 4, image 1 de 1
    • Pull the faceplate off.

  5. Magnavox MWD200F Disk Drive Replacement, Disk Drive: étape 5, image 1 de 2 Magnavox MWD200F Disk Drive Replacement, Disk Drive: étape 5, image 2 de 2
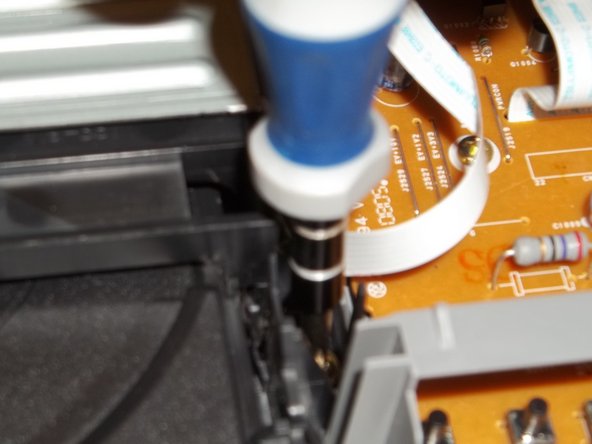
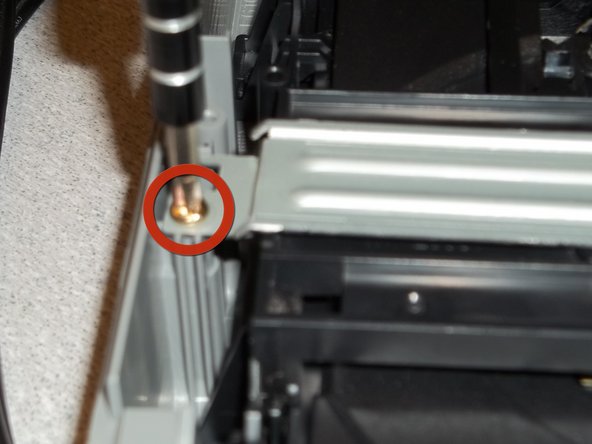
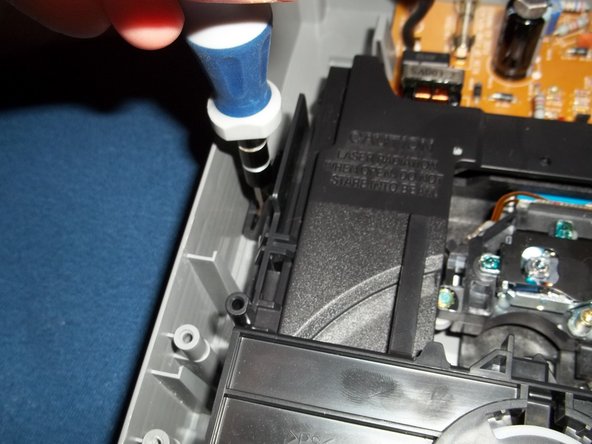
    • Use a Phillips #2 screwdriver to remove the two screws at the base of the disk drive.

  6. Magnavox MWD200F Disk Drive Replacement: étape 6, image 1 de 2 Magnavox MWD200F Disk Drive Replacement: étape 6, image 2 de 2
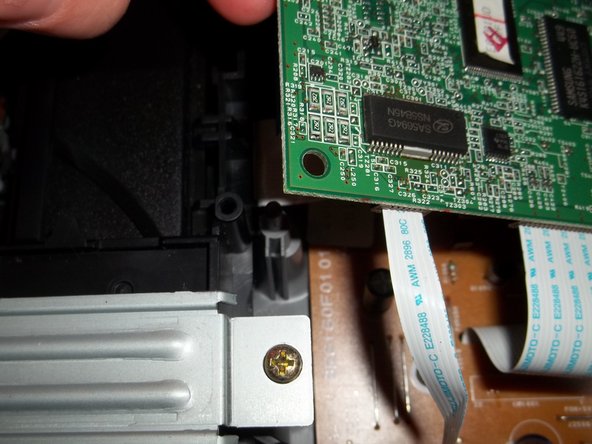
    • Use the screwdriver to remove two screws on either side of the silver security bar.

  7. Magnavox MWD200F Disk Drive Replacement: étape 7, image 1 de 2 Magnavox MWD200F Disk Drive Replacement: étape 7, image 2 de 2
    • Pull out the silver security bar and set aside.

  8. Magnavox MWD200F Disk Drive Replacement: étape 8, image 1 de 1
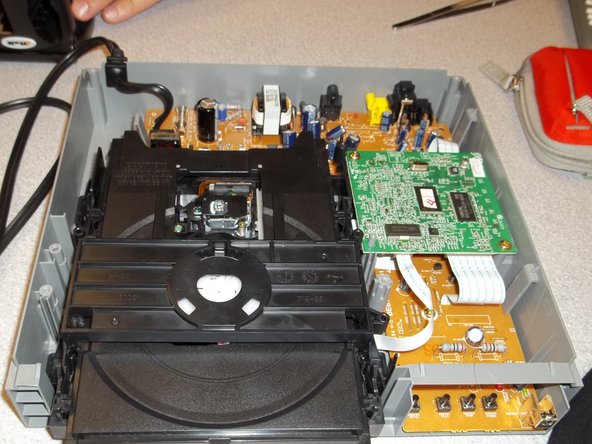
    • Take out the two screws on either side of the green circuit board.

  9. Magnavox MWD200F Disk Drive Replacement: étape 9, image 1 de 2 Magnavox MWD200F Disk Drive Replacement: étape 9, image 2 de 2
    • Carefully lift the board just enough to remove the disk drive.

  10. Magnavox MWD200F Disk Drive Replacement: étape 10, image 1 de 3 Magnavox MWD200F Disk Drive Replacement: étape 10, image 2 de 3 Magnavox MWD200F Disk Drive Replacement: étape 10, image 3 de 3
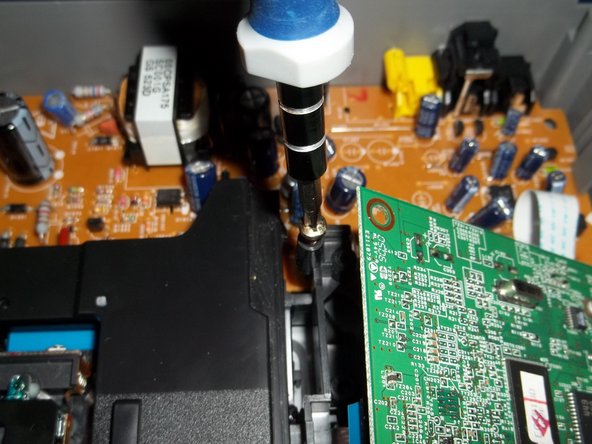
    • Remove the two screws at the back of the disk drive.

  11. Magnavox MWD200F Disk Drive Replacement: étape 11, image 1 de 2 Magnavox MWD200F Disk Drive Replacement: étape 11, image 2 de 2
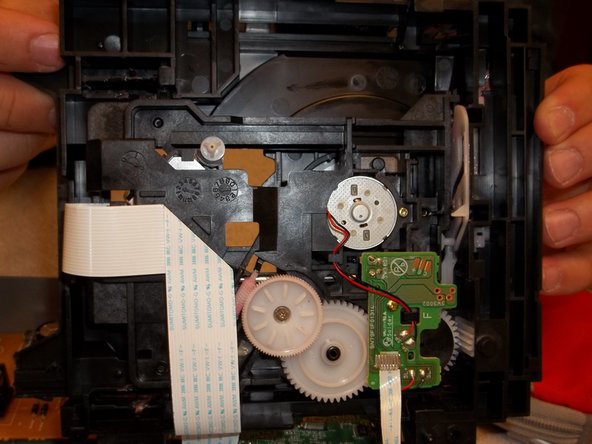
    • Gently lift the disk drive out of the DVD player.

    • The disk drive is still attached but you are now able to get to underneath it for cleaning and maintenance.

Conclusion

To reassemble your device, follow these instructions in reverse order.

Taryn

Membre depuis le 09/15/11

109 Réputation

4 tutoriels rédigés

Équipe

University of Maine, Team 1-2, Diaz Fall 2011 Membre de l'équipe University of Maine, Team 1-2, Diaz Fall 2011

UMAINE-DIAZ-F11S1G2

2 membres

5 tutoriels rédigés

0 commentaires

Ajouter un commentaire

Nombre de vues :

Dernières 24 heures : 0

7 derniers jours : 0

30 derniers jours : 2

Total : 1,489