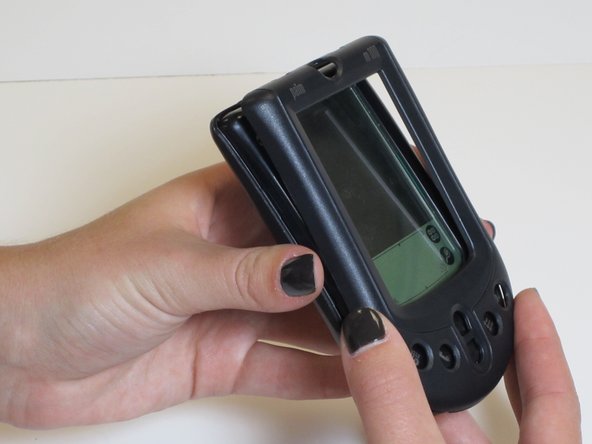
Aller au contenu principal

Palm m 100 Cover Replacement

Ce dont vous avez besoin

  1. Palm m 100 Cover Replacement, Cover: étape 1, image 1 de 1
    • Remove the batteries.

  2. Palm m 100 Cover Replacement: étape 2, image 1 de 1
    • Using a Torx 5 screwdriver, remove the four screws located on the rear cover of the device by turning counterclockwise. Set aside screws.

  3. Palm m 100 Cover Replacement: étape 3, image 1 de 3 Palm m 100 Cover Replacement: étape 3, image 2 de 3 Palm m 100 Cover Replacement: étape 3, image 3 de 3
    • Remove rear cover by gently lifting it up from the bottom. To remove the front cover, flip the device over, and then separate the screen/circuit board from the cover.

  4. Palm m 100 Cover Replacement: étape 4, image 1 de 1
    • Set aside broken cover, and replace with a new cover.

  5. Palm m 100 Cover Replacement: étape 5, image 1 de 1
    • Close again like a book, and lay it gently into the front panel. Make sure the screen is facing outwards of the front panel.

  6. Palm m 100 Cover Replacement: étape 6, image 1 de 1
    • Put the back cover on the device and screw the four screws, screwing in a clockwise direction. Take caution not to over-tighten the screws.

Conclusion

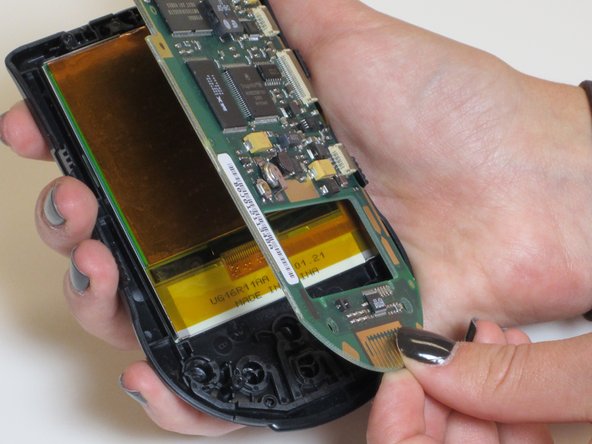
To reassemble your device, follow these instructions in reverse order.

Anne Carey

Membre depuis le 10/25/11

1 Réputation

3 tutoriels rédigés

Équipe

James Madison, Team 1-3, Allen Fall 2011 Membre de l'équipe James Madison, Team 1-3, Allen Fall 2011

JMU-ALLEN-F11S1G3

5 membres

5 tutoriels rédigés

0 commentaires

Ajouter un commentaire

Nombre de vues :

Dernières 24 heures : 0

7 derniers jours : 0

30 derniers jours : 0

Total : 537