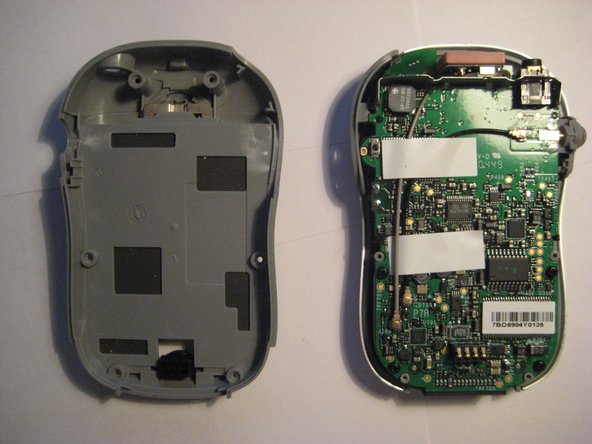
Aller au contenu principal

Delphi MyFi XM2GO Motherboard Replacement

Ce dont vous avez besoin

  1. Delphi MyFi XM2GO Motherboard Replacement, Battery Cover: étape 1, image 1 de 3 Delphi MyFi XM2GO Motherboard Replacement, Battery Cover: étape 1, image 2 de 3 Delphi MyFi XM2GO Motherboard Replacement, Battery Cover: étape 1, image 3 de 3
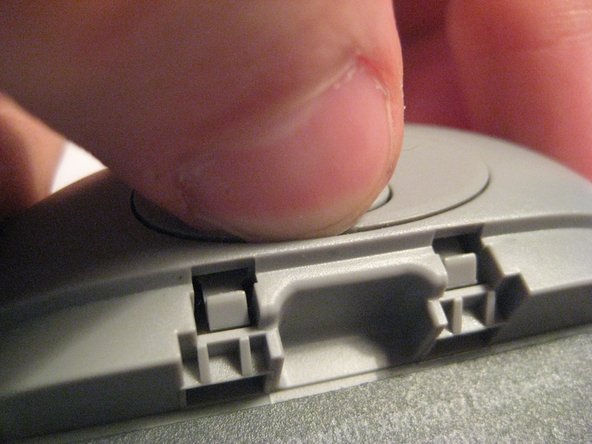
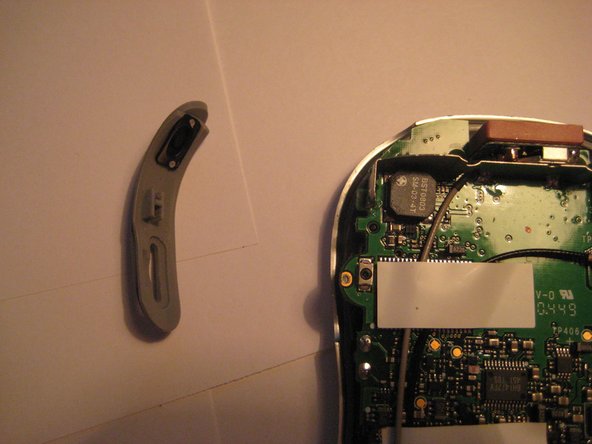
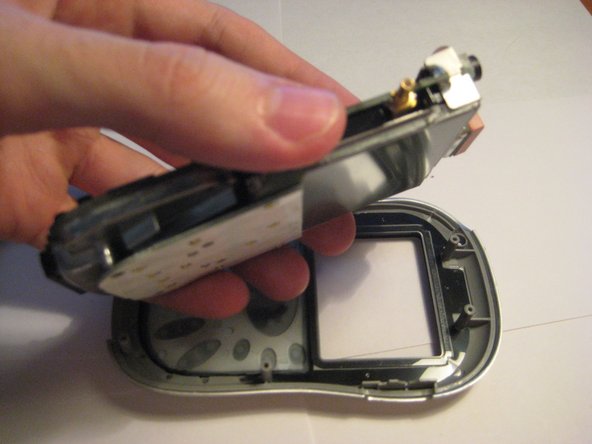
    • Locate the large button on the top of the device.

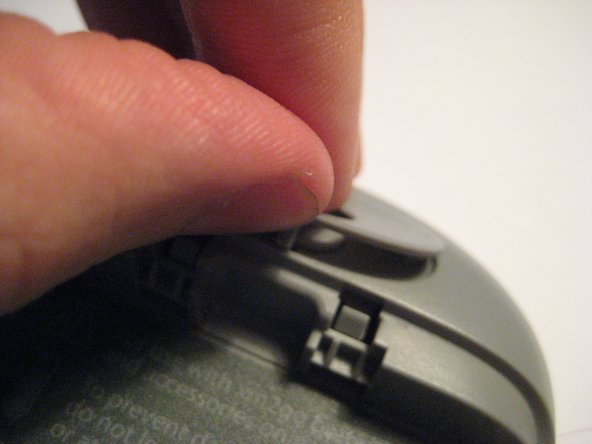
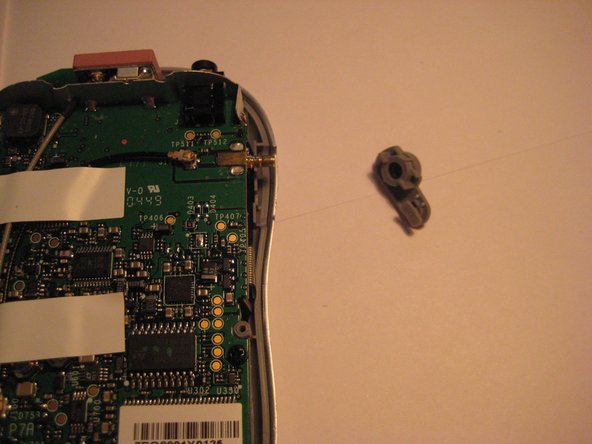
    • Push down on the button and slide the cover away from the button.

    • The battery removal tab may pop up.

  2. Delphi MyFi XM2GO Motherboard Replacement, Battery: étape 2, image 1 de 3 Delphi MyFi XM2GO Motherboard Replacement, Battery: étape 2, image 2 de 3 Delphi MyFi XM2GO Motherboard Replacement, Battery: étape 2, image 3 de 3
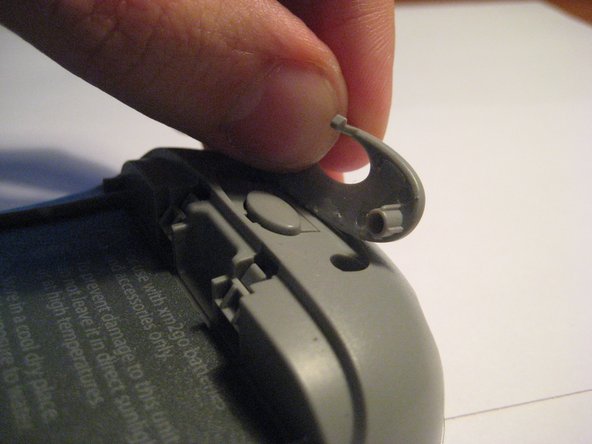
    • Grab the red pull tab and pull down to unlock the latch.

    • Pull the battery out.

  3. Delphi MyFi XM2GO Motherboard Replacement, Motherboard: étape 3, image 1 de 2 Delphi MyFi XM2GO Motherboard Replacement, Motherboard: étape 3, image 2 de 2
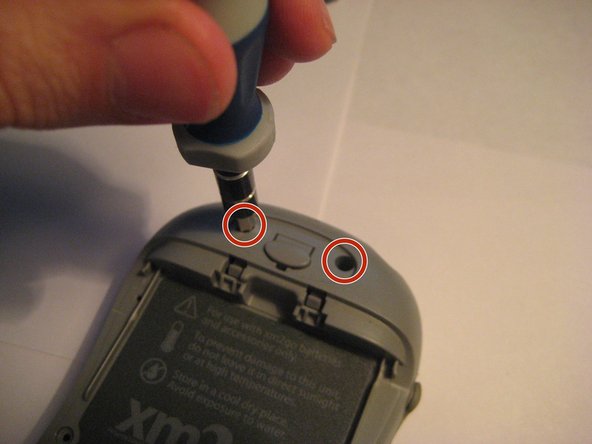
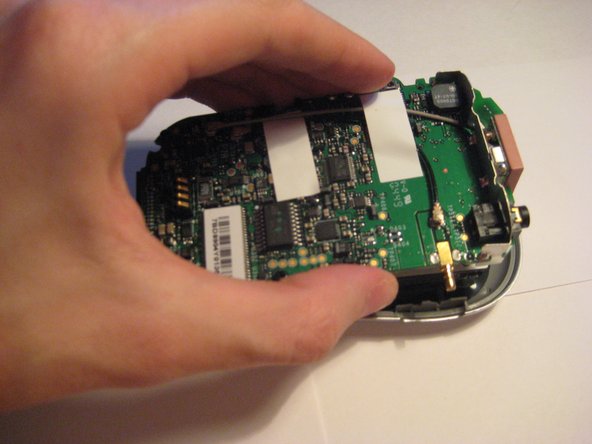
    • Remove the four screws from the bottom of the device using a T6 Torx screwdriver.

  4. Delphi MyFi XM2GO Motherboard Replacement: étape 4, image 1 de 3 Delphi MyFi XM2GO Motherboard Replacement: étape 4, image 2 de 3 Delphi MyFi XM2GO Motherboard Replacement: étape 4, image 3 de 3
    • Remove the button cover on the back of the device by prying it up with a spudger or your thumb nail.

  5. Delphi MyFi XM2GO Motherboard Replacement: étape 5, image 1 de 3 Delphi MyFi XM2GO Motherboard Replacement: étape 5, image 2 de 3 Delphi MyFi XM2GO Motherboard Replacement: étape 5, image 3 de 3
    • Remove the two screws under the button using the T6 Torx screwdriver.

  6. Delphi MyFi XM2GO Motherboard Replacement: étape 6, image 1 de 2 Delphi MyFi XM2GO Motherboard Replacement: étape 6, image 2 de 2
    • Remove the back cover.

  7. Delphi MyFi XM2GO Motherboard Replacement: étape 7, image 1 de 2 Delphi MyFi XM2GO Motherboard Replacement: étape 7, image 2 de 2
    • Remove the power button by pulling it to the left.

  8. Delphi MyFi XM2GO Motherboard Replacement: étape 8, image 1 de 2 Delphi MyFi XM2GO Motherboard Replacement: étape 8, image 2 de 2
    • Remove the plastic antenna extension connector on the right side of the device.

  9. Delphi MyFi XM2GO Motherboard Replacement: étape 9, image 1 de 3 Delphi MyFi XM2GO Motherboard Replacement: étape 9, image 2 de 3 Delphi MyFi XM2GO Motherboard Replacement: étape 9, image 3 de 3
    • Pull up on the motherboard to remove it from the device.

    • The LCD screen and keypad are only connected to the motherboard with ribbon cables. They will hang down as the motherboard is removed.

Conclusion

To reassemble your device, follow these instructions in reverse order.

Une autre personne a terminé cette réparation.

Scott Byer

Membre depuis le 03/09/12

61 Réputation

5 tutoriels rédigés

Équipe

Clemson, Team 1-2, Benson Spring 2012 Membre de l'équipe Clemson, Team 1-2, Benson Spring 2012

CLEM-BENSON-S12S1G2

3 membres

9 tutoriels rédigés

0 commentaires

Ajouter un commentaire

Nombre de vues :

Dernières 24 heures : 0

7 derniers jours : 0

30 derniers jours : 1

Total : 2,484