Cette version peut contenir des modifications incorrectes. Passez au dernier aperçu vérifié.
Ce dont vous avez besoin
-
Cette étape n’est pas traduite. Aidez à la traduire
-
Use a Phillips #2 screwdriver to remove the screw that attaches the top cover to the rear of the device. This will allow you to remove the cover.
-
-
-
Cette étape n’est pas traduite. Aidez à la traduire
-
Locate the motherboard within the red rectangle.
-
Locate the power supply within the orange rectangle.
-
-
Cette étape n’est pas traduite. Aidez à la traduire
-
The screws securing the motherboard in are labeled with red circles and the wires are labeled with orange rectangles.
-
Use your screwdriver with a PH2 sized head and unscrew these 1.2mm screws labeled with red circles.
-
Detach the wires connected the motherboard from the disc drive that are labeled in orange.
-
-
Cette étape n’est pas traduite. Aidez à la traduire
-
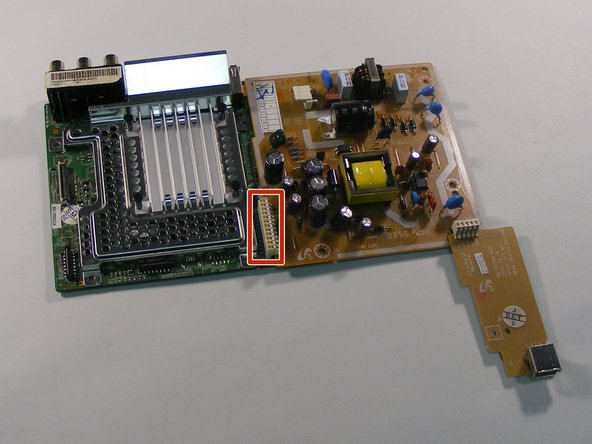
Labeled with a red rectangle is the location where they are connected. Grab the motherboard in one hand and the power supply in the other, and pull the motherboard up and push the power supply down. The motherboard and power supply should then disconnect.
-


Équipe

University of Alabama, Team S2-G5, Bedsole Spring 2018 Membre de l'équipe University of Alabama, Team S2-G5, Bedsole Spring 2018
UA-BEDSOLE-S18S2G5
4 membres
6 tutoriels rédigés