Introduction
If the user has already visited the troubleshooting page and has determine the issue incurred is due to a faulty micro SD card reader,and cleaning the reader has not worked, then this will be the guide to use.
Ce dont vous avez besoin
-
-
Remove the six silver 11.4 mm Phillips #0 screws
-
Pry open the device using a plastic opening tool if necessary. To do this, locate the groves running along the side of the entire device and wedge it open.
-
-
-
Now that your device is open, remove the Styrofoam pad that covers the main circuit board. The adhesive should allow you to remove and replace it with ease.
-
-
-
-
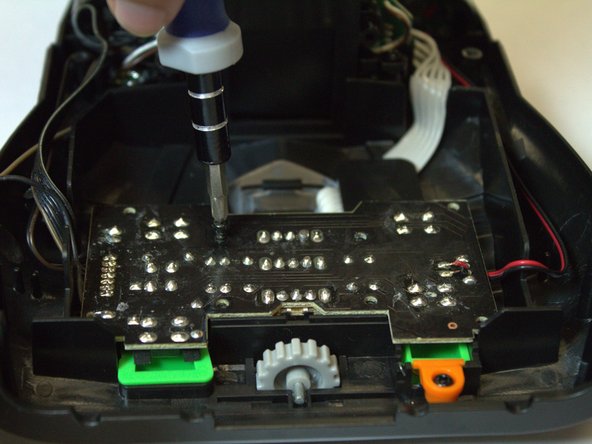
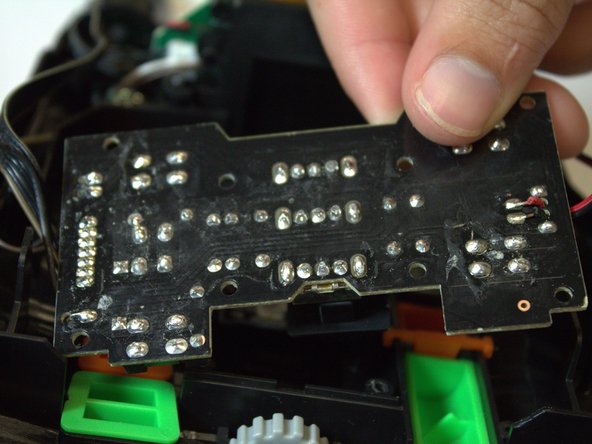
Remove the eight black 7.2 mm Phillips #0 screws from the top of the circuit board and remove the circuit board.
-
-
-
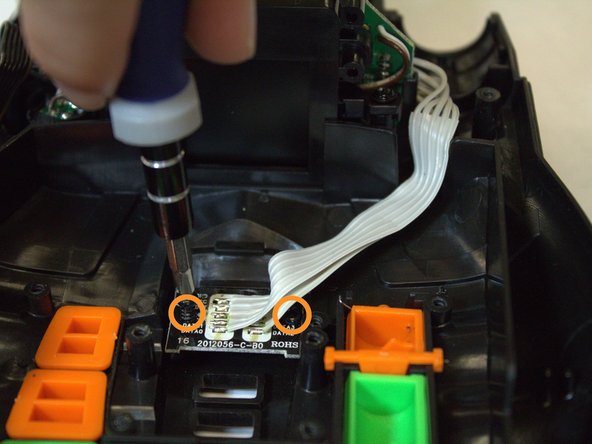
Unscrew the one 7.2 mm Phillips #0 screw from the plastic piece covering the microSD reader.
-
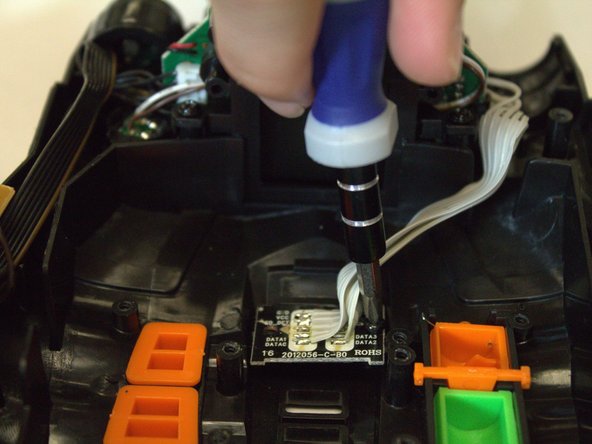
Then, unscrew the two 7.2 mm Phillips #0 screws from the microSD reader and remove it from its fastening.
-
-
-
On the back side of the reader there are nine wires. Un-solder these wires, remove the micro SD card reader, and solder on the replacement.
-


To reassemble your device, follow these instructions in reverse order.
To reassemble your device, follow these instructions in reverse order.
Équipe

USF Tampa, Team 4-5, Brown Fall 2014 Membre de l'équipe USF Tampa, Team 4-5, Brown Fall 2014
USFT-BROWN-F14S4G5
3 membres
6 tutoriels rédigés