Introduction
Is your Sunbeam Snow Cone Maker unable to make the ice shavings that it usually does? Then you might have an issue with the motor. If so, this guide will be useful for removing and replacing a broken motor on the Sunbeam Snow Cone Maker.
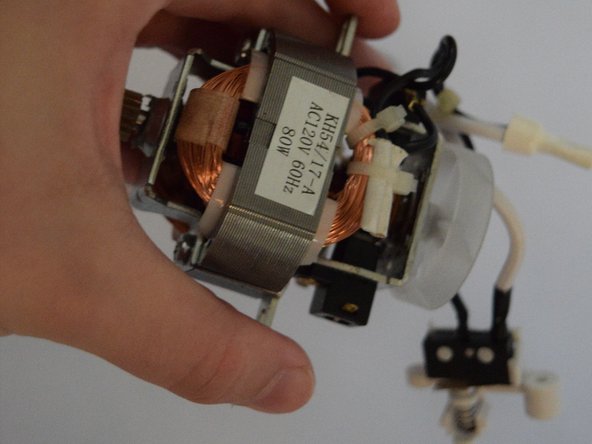
The Sunbeam Snow Cone Maker motor is essential for creating the fluffy ice shavings for the perfect snow cone. A faulty motor will make it difficult for the machine to grind any ice at all.
Before using this guide, be sure that there are no blockages in the machine that could interfere with the flow of ice shavings. In addition, make sure to power off and unplug the machine completely from any external power source before proceeding with the repair.
Ce dont vous avez besoin
-
-
Push the button on the back to release the lid. (Missing on this example device.)
-
-
-
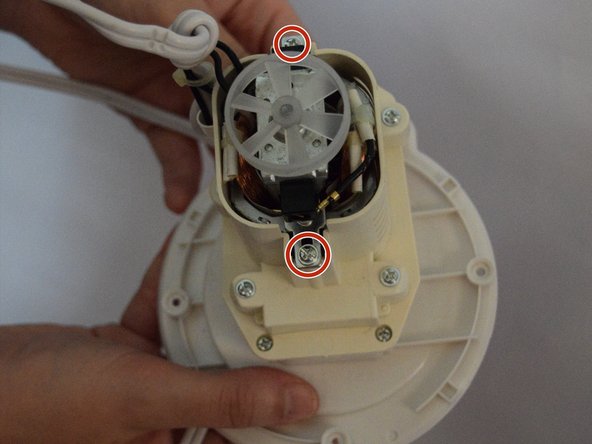
To take the dasher apart, remove the three 5.5 mm Phillips #00 screws embedded in the plastic. **The 3rd screw is behind the hand in the picture
-
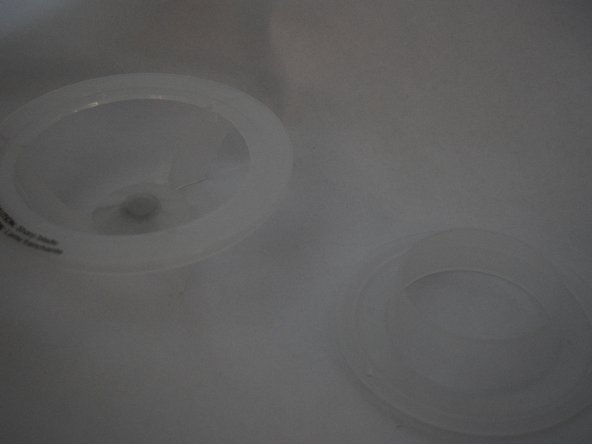
Carefully pull the two pieces apart.
-
When you've finished taking apart the dasher, you should have two parts that are shown in the second picture in this step.
-
-
-
-
After removing the dasher, turn the device so that you can see the “lock” and “unlock” symbols on the back.
-
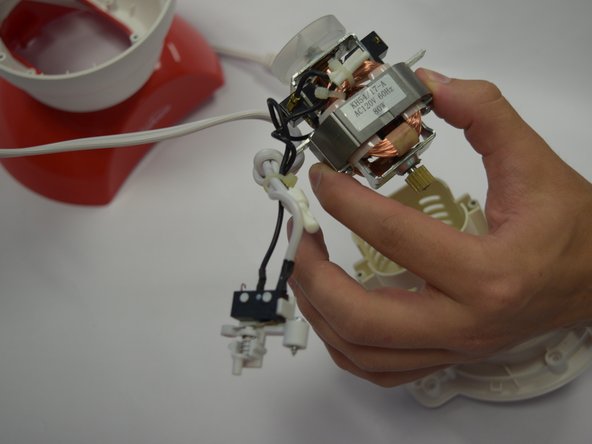
Twist the casing so that it is in the unlocked position and remove it from the bottom half of the machine.
-


To reassemble your device, follow these instructions in reverse order.
To reassemble your device, follow these instructions in reverse order.
Annulation : je n'ai pas terminé ce tutoriel.
Une autre personne a terminé cette réparation.
Équipe

University of Alabama, Team 1-5, Naidoo Spring 2015 Membre de l'équipe University of Alabama, Team 1-5, Naidoo Spring 2015
UA-NAIDOO-S15S1G5
4 membres
2 tutoriels rédigés