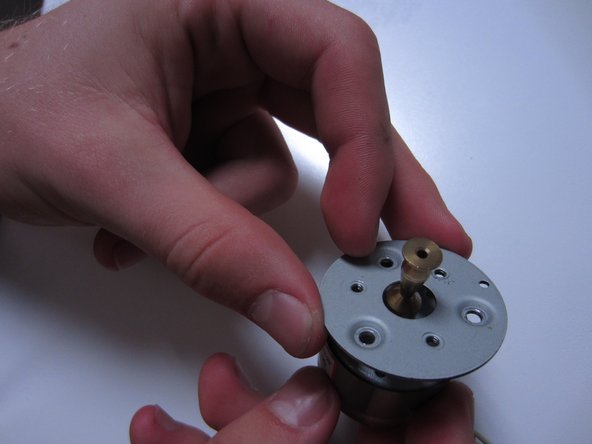
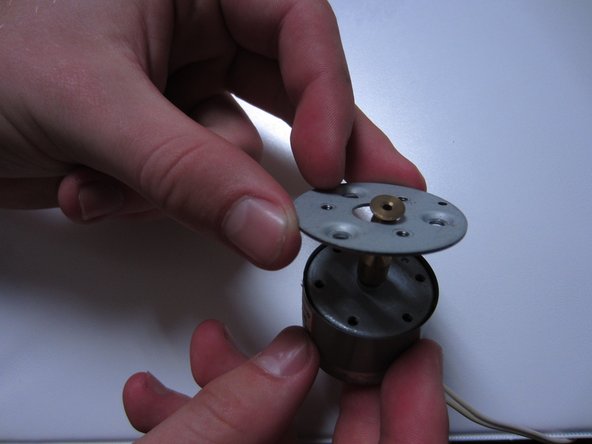
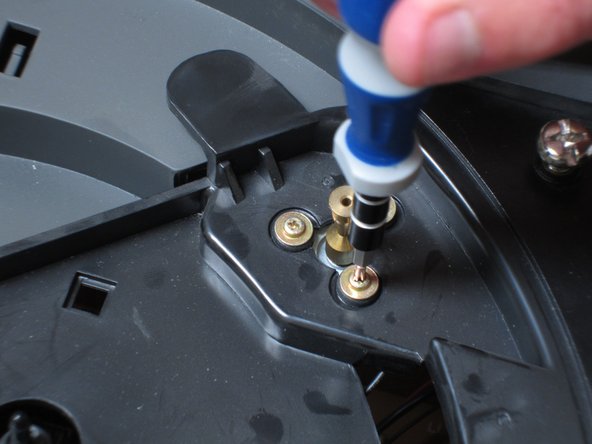
Aller au contenu principal

Teac DC-D2831 Motor Replacement

Ce dont vous avez besoin

  1. Teac DC-D2831 Motor Replacement, Motor: étape 1, image 1 de 2 Teac DC-D2831 Motor Replacement, Motor: étape 1, image 2 de 2
    • Remove the three brass screws using a phillips #1 screwdriver.

  2. Teac DC-D2831 Motor Replacement: étape 2, image 1 de 1
    • Cut the wires that are attached to the motor.

    • Be sure to note the attachment point so that the wires can be reattached to the new motor.

  3. Teac DC-D2831 Motor Replacement: étape 3, image 1 de 3 Teac DC-D2831 Motor Replacement: étape 3, image 2 de 3 Teac DC-D2831 Motor Replacement: étape 3, image 3 de 3
    • Using the phillips #1 screwdriver, remove the three screws that are holding the circular mounting bracket to the motor.

    • Remove the circular mounting bracket from the motor.

  4. Teac DC-D2831 Motor Replacement: étape 4, image 1 de 2 Teac DC-D2831 Motor Replacement: étape 4, image 2 de 2
    • Attach the mounting bracket to the new motor.

    • Insert the new motor.

    • Flip the turntable over making sure the motor stays in place, and insert the screws underneath the turntable.

  5. Teac DC-D2831 Motor Replacement: étape 5, image 1 de 1
    • The ends of the wires will need to be stripped before soldering.

    • Be extremely careful not to burn yourself while soldering.

    • Solder the wires cut wires onto the motor in the location recorded previously.

Conclusion

To reassemble your device, follow these instructions in reverse order and complete the disassembly guide in reverse order.

Jake Hamilton

Membre depuis le 09/19/12

167 Réputation

2 tutoriels rédigés

Équipe

Cal Poly, Team 2-61, Propen Fall 2012 Membre de l'équipe Cal Poly, Team 2-61, Propen Fall 2012

CPSU-PROPEN-F12S2G61

4 membres

5 tutoriels rédigés

0 commentaires

Ajouter un commentaire

Nombre de vues :

Dernières 24 heures : 0

7 derniers jours : 0

30 derniers jours : 4

Total : 1,796