Introduction
Use this guide to replace or remove the base (aka foot or circular pad) on an Xbox Series X.
Before you begin, completely power down and unplug all cables from your console. Remember to follow general electrostatic discharge (ESD) safety procedures while repairing the console.
Ce dont vous avez besoin
-
-
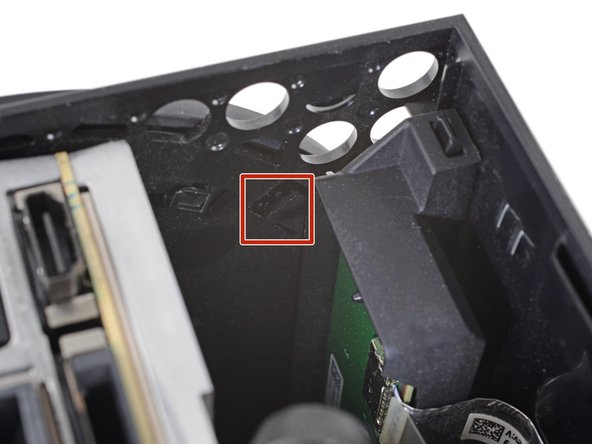
A locking tab on the bottom of the shell (under the base) holds the base in place.
-
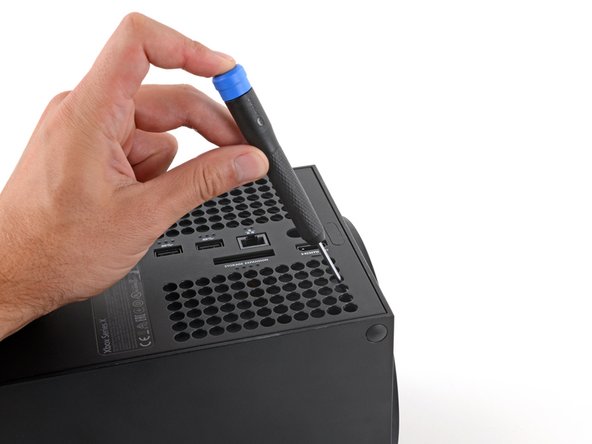
Stick a long, skinny flathead screwdriver through one of the vent holes on the back of your Xbox, near the locking tab.
-
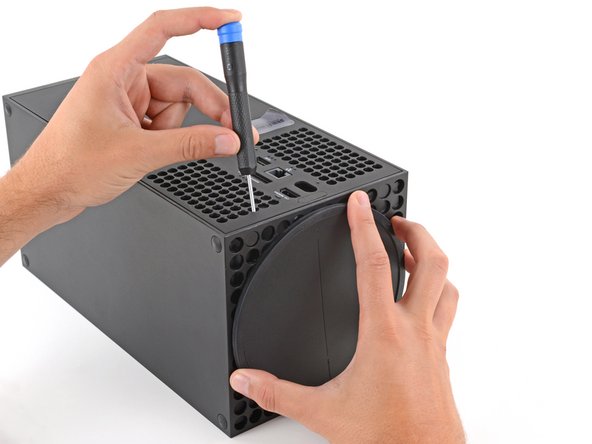
Insert the screwdriver between the locking tab and the base. This might take a few tries—use a flashlight if you're having trouble.
-
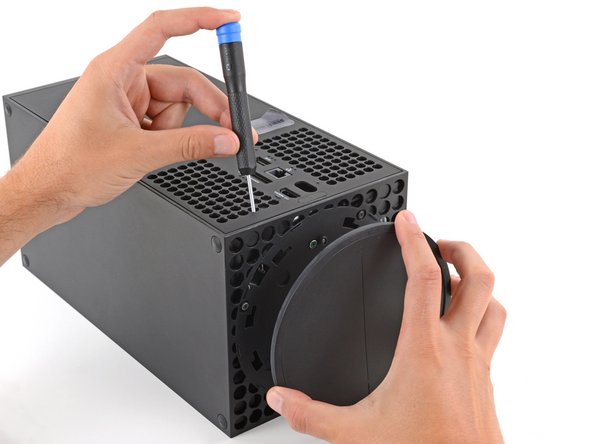
Use the screwdriver to pry the tab inward (away from the base) into its open and unlocked position.
-
Keep the tab held open for the next step.
 Demander à FixBot
-
-
-
-
With the locking tab held open, grip the base and rotate it counterclockwise to unlock it from the shell.
-
Remove the base.
-


Congratulations on your repair!
Repair didn’t go as planned? Try some basic troubleshooting, or ask our Xbox Series X Answers community for help.
Annulation : je n'ai pas terminé ce tutoriel.
3 autres ont terminé cette réparation.

