Aller au contenu principal

iPad Air 3 Screen Replacement

Ce dont vous avez besoin

  1. iPad Air 3 Screen Replacement, Screen: étape 1, image 1 de 2 iPad Air 3 Screen Replacement, Screen: étape 1, image 2 de 2
    • Cracked near home button its important to not break home button flex cable

    • Apply heat to the screen! Do NOT SKIP THIS STEP

    • Make sure to turn it off if you can to prevent breaking the backlight filter

    • Pry with splicer around the edges

    • Display cables are on the bottom of screen opening up like an upside-down note pad

  2. iPad Air 3 Screen Replacement: étape 3, image 1 de 1
    • Lift from the top like so

    • Display Cables

  3. iPad Air 3 Screen Replacement: étape 4, image 1 de 3 iPad Air 3 Screen Replacement: étape 4, image 2 de 3 iPad Air 3 Screen Replacement: étape 4, image 3 de 3
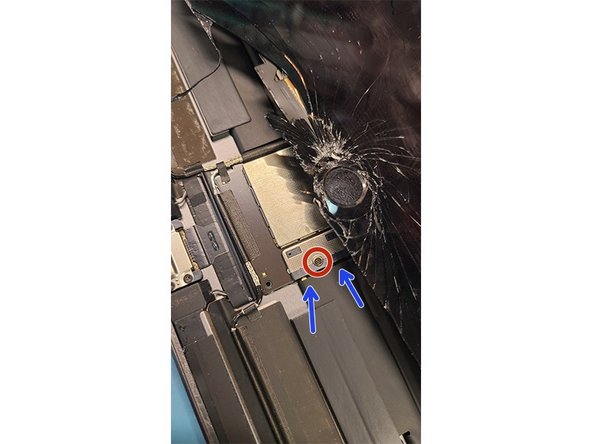
    • Set screen up a little bit to get to power connection

    • Power connection has PH000 screw holding it together

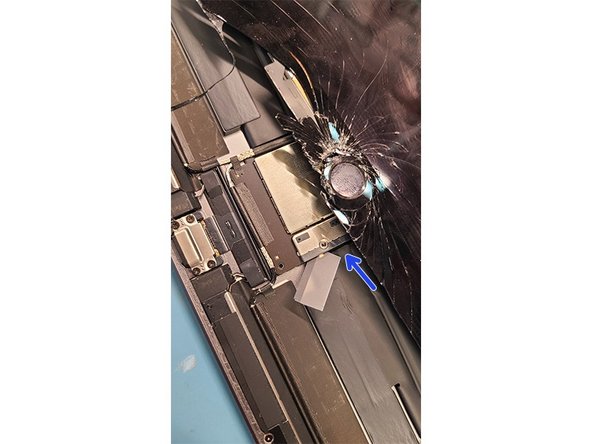
    • Slide a card under connection

    • Its very important to disconnect battery try turning it on make sure it is off to avoid further damage to ipad

  4. iPad Air 3 Screen Replacement: étape 5, image 1 de 2 iPad Air 3 Screen Replacement: étape 5, image 2 de 2
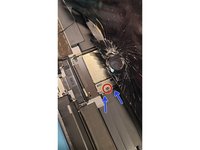
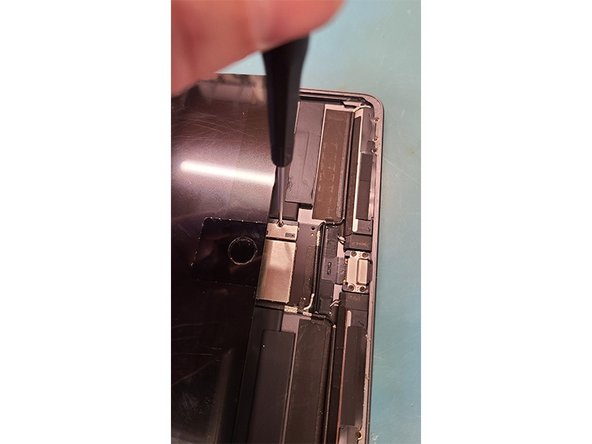
    • Lift display back up to get to the display cables

    • Unscrew 2 PH000 Screws from display cable bracket

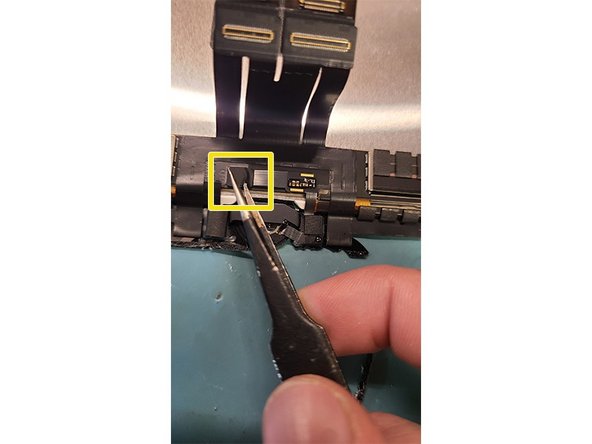
    • Use the flat end of plastic spudger to lift off connections

    • There is 4 flex cables that need disconnecting

  5. iPad Air 3 Screen Replacement: étape 6, image 1 de 3 iPad Air 3 Screen Replacement: étape 6, image 2 de 3 iPad Air 3 Screen Replacement: étape 6, image 3 de 3
    • Whoohoo we got it off now clean the edges for any broken glass

    • Keep track of rubbers covering proximity light sensor on the top

    • Light covers place on top of proxmity sensors

  6. iPad Air 3 Screen Replacement: étape 7, image 1 de 3 iPad Air 3 Screen Replacement: étape 7, image 2 de 3 iPad Air 3 Screen Replacement: étape 7, image 3 de 3
    • APPLY HEAT TO HOME BUTTON 15-20 Seconds should do the trick

    • If heat is not applied you might break the home button along with the touch ID. If you replace the home button touch ID will not work anymore

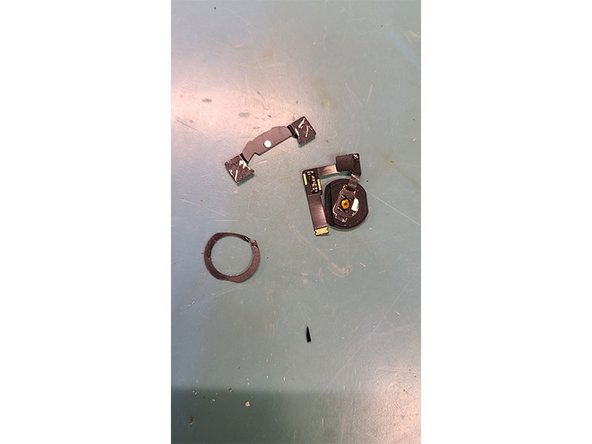
    • Take of home button flex cover

    • Use flat end of spudger to pry up home button flex connector

  7. iPad Air 3 Screen Replacement: étape 8, image 1 de 3 iPad Air 3 Screen Replacement: étape 8, image 2 de 3 iPad Air 3 Screen Replacement: étape 8, image 3 de 3
    • Reapply heat if you spent to much time getting flex unhooked

    • Pry with splicer under the home button bracket car

    • Clean glass around gasket

  8. iPad Air 3 Screen Replacement: étape 9, image 1 de 2 iPad Air 3 Screen Replacement: étape 9, image 2 de 2
    • Install home button on new screen I recommend using liquid adhesive for this!

    • Push the home button a couple of times to make sure it stills on and make sure it is clicking!

  9. iPad Air 3 Screen Replacement: étape 10, image 1 de 2 iPad Air 3 Screen Replacement: étape 10, image 2 de 2
    • Connect all 4 Flex cables to the logic board!

    • Now at the bottom of the new screen screw in the battery connection to test the new screen!

  10. iPad Air 3 Screen Replacement: étape 11, image 1 de 1
    • Test screen drawing on the notes make sure it works!

    • Adhere new screen with preinstalled adhesive and clap it!

Ligne d'arrivée

2 autres ont terminé cette réparation.

Mark D Schlossman

Membre depuis le 09/25/19

5 603 Réputation

8 tutoriels rédigés

0 commentaires

Ajouter un commentaire

Nombre de vues :

Dernières 24 heures : 0

7 derniers jours : 9

30 derniers jours : 35

Total : 337