

It can feel shameful, embarrassing, or maybe just weird when you strip a screw during a repair. A screwdriver is such a simple tool, they include it in toy tool belts for ages 3 and up. At the same time, because a screwdriver is so simple, maybe nobody—including yourself—took the time to learn how to really use it, and what to do when it starts to feel wrong.
The result? A screw with a nebulous indent instead of a distinct slot, spitting tiny metal shards with each turn instead of fastening or loosening.
We have a lot of experience with screws at iFixit. We not only take apart devices for teardowns and repair guides, but we design and sell driver kits. We’ve done a lot of thinking about torque, grip, and stripping. One person in particular, Product Engineer Andrew Goldheart, put together some thoughts on how to avoid stripping a screw. A key technique, as you’ll see below, is understanding the relationship between the driver and the screw, and what happens when you put your muscle into that combination.
We’ve written up a guide before on what to do when you’ve stripped a screw already, along with some more general tips on the proper use of a screwdriver. Today, though? We’re gonna get deep into some twisty fasteners.
What is happening when you strip a screw?

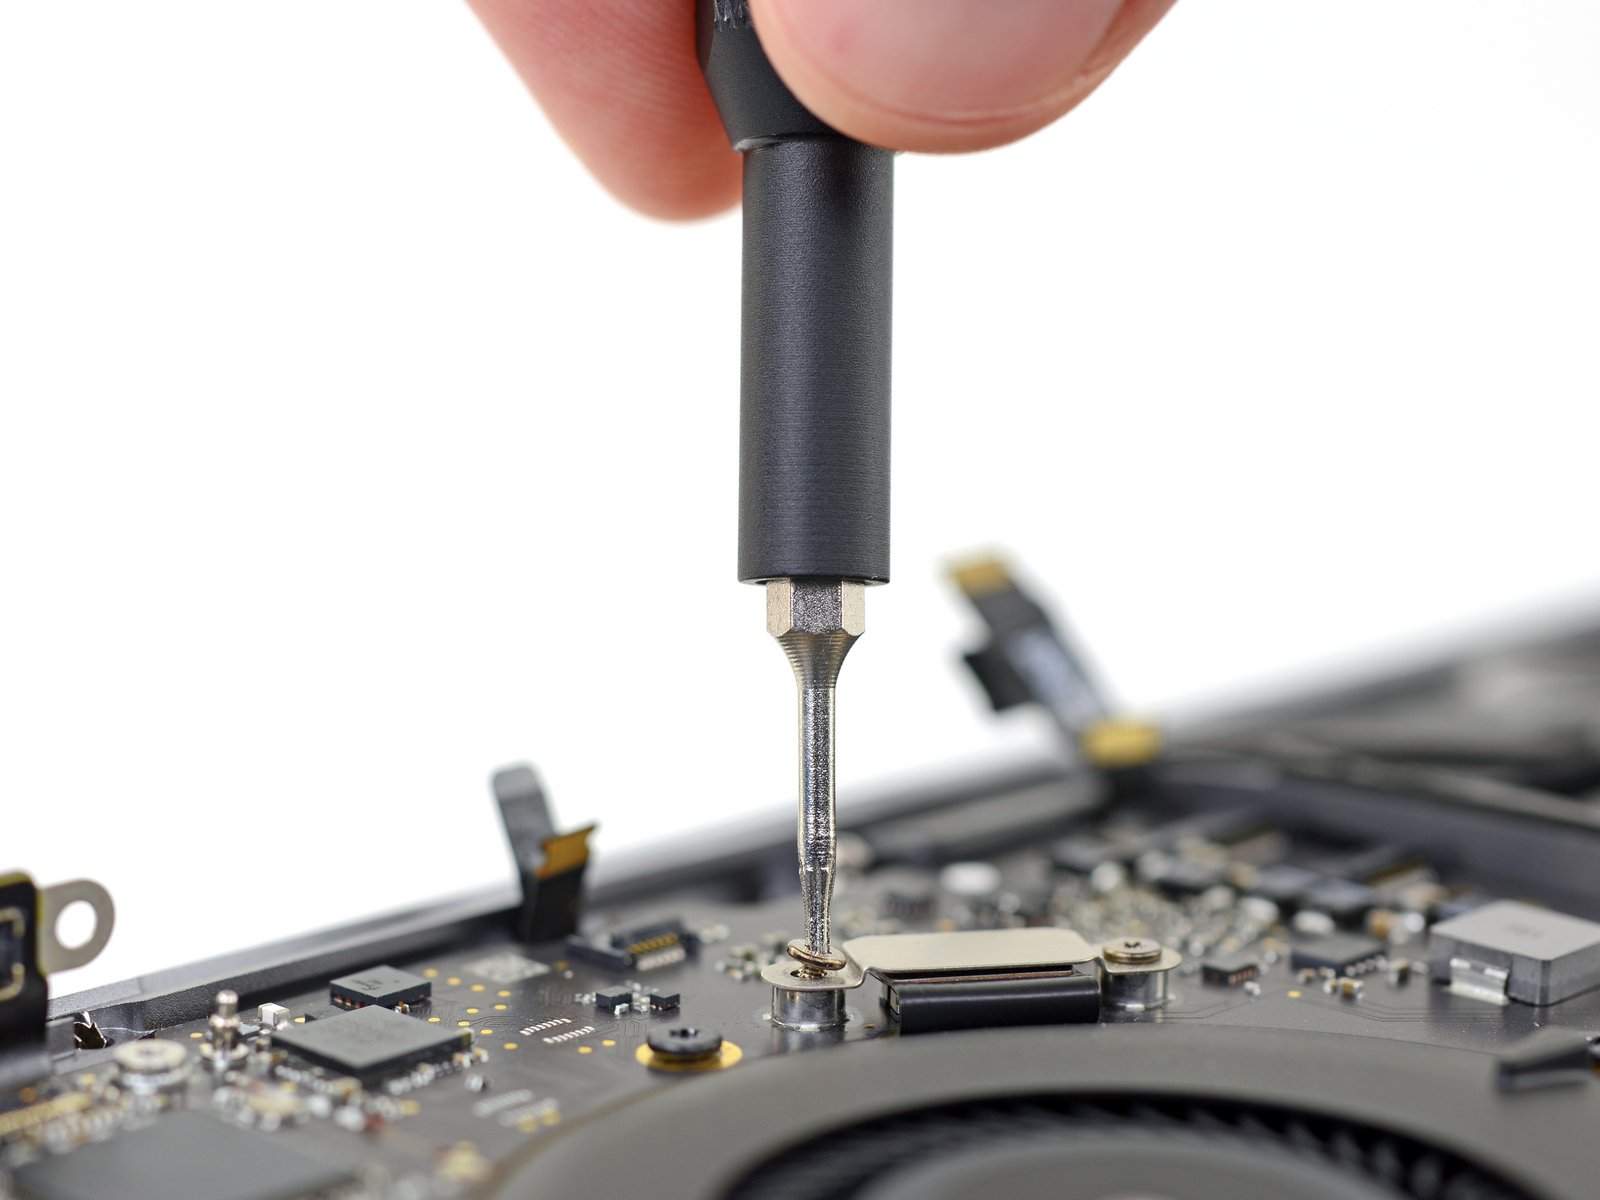
When you are applying or removing a screw, you should be applying constant, even pressure into the screw head while you spin the driver. If a screw is stuck, and you then apply pressure to turn the screw (torque), the bit/tip of your driver may slip up and out of the screw recess (the flathead/Phillips/Torx/whatever shape cut into the head of the screw). When that happens, all the pressure you’re putting in—both downward and in the turning—is now applied to the edges of the recess.
Most drivers and bits are made of harder material than most screws, so the sharp-edged shape gives way and the recess gets smoothed out. Now the driver/bit has an even less distinct recess to lock onto, so it slips more, smoothes more, on and on. Now you’ve got a stripped screw.
Sometimes the stripping happens slowly, and you can catch it before the screw is completely wasted. If you’re using a drill, it probably happens before you know it. This is why some instruction and assembly manuals explicitly ask you to use a hand driver instead of a drill—it’s not just because they want to cage your bravery.
Most of these tips relate to removing a screw, not inserting one. If you’re meeting resistance driving a screw inward, it’s likely the wrong screw for the threaded hole, the screw has become cross-threaded, or there’s a blockage to remove. One way to counter this is to remove the screw, drive it in slightly counterclockwise to secure a flat position, then drive it clockwise again.
How you can prevent screw stripping
Goldheart suggests these key practices to prevent screw stripping. They’re especially pertinent if you’re working inside smaller electronics, like smartphones.

Get the most contact between driver/bit and screw. To do that:
- Use the right size bit. Too small and you float inside the recess; too large, and you’re not getting the best turning power. More contact means more area over which your mighty turning power is distributed, which means less pressure on the recess edges.
- Keep your driver perpendicular to the screw head. It’s easy to not even realize your driver is working at an angle, especially if you’re working through a set of screws arrayed around the edges of something, like a battery or logic board.
- Make sure the tip is fully seated into the screw head recess before you start turning. The first moment of loosening a screw is when you need the most torque, and therefore contact. If your driver starts slipping from the start, try a different bit size.
Get a calm, even start. Breaking the screw loose—overcoming the initial tightness and making it spin—requires the most torque, and that’s when you’re likely to strip the screw. If you feel your driver rise back out of the recess when you first start turning, check that your bit isn’t too large or small, re-set it in the recess, and increase your downward pressure. Be extra cautious with Phillips or tri-point screws, as their point profiles are more likely to drive a driver tip out of the recess.

Don’t push too hard at any point. You want some pressure on the screw head to keep the bit in place. If you press too hard, though, and the driver pops out of the recess, you’re now helping to strip it. Start off with light force, just enough to keep the bit fully in place, then turn. You’re much less likely to strip a screw if you start with light force and work up from there. This is particularly true with the tiny screws in iPhones, which are tightened by the factory to very low torque limits. Think watchmaker, not tire shop.
What if the screw does strip after all? How do I get it out?
We’ve got that covered in this less-than-3-minute video tutorial:
Got questions for us fixing-obsessed folks, or want us to do the digging for your answer? Ask away: kevin at ifixit dot com, or ask us on Twitter, Instagram, or Facebook.


12 commentaires
Where should i learn laptop repair in south east asia? pls suggest
New Line Star - Réponse
You can use automotive valve grinding compound. It is gritty and gives some bite to the screw.
arwjr8 - Réponse
You can also use a screw extractor on (bigger screws) from #6 and up. An extractor is a pyramidal (square base) prism made of hard metal that you bang in the screw head and use a wrench to turn the screw.
Daniel Vallee - Réponse
Yikes I would maybe lay some paper down around that circuit board so you dont send hundreds of tiny short circuit inducing metal shards all over that board when using the dremel tool. Also vacuum the board after doing that extraction.
CraigAlbright - Réponse
I have found that, after ensuring that the bit is properly sized and properly inserted into the screw, give a sudden rotary jerk to the driver. I have found that this “power pulse” often breaks the screw loose without camming out of the head, especially if some type of Lok Tite has been applied to the threads.
John Freitag - Réponse