Aller au contenu principal

Ce dont vous avez besoin

Cette vue éclatée n'est pas un tutoriel de réparation. Pour réparer votre Sega Genesis II, utilisez notre manuel de réparation.

  1. Sega Genesis II Teardown, Sega Genesis II Teardown: étape 1, image 1 de 2 Sega Genesis II Teardown, Sega Genesis II Teardown: étape 1, image 2 de 2
    • Let's start by taking the small door found on the bottom right side of your console

  2. Sega Genesis II Teardown: étape 2, image 1 de 2 Sega Genesis II Teardown: étape 2, image 2 de 2
    • Next, remove the four, black 11mm screws from the bottom of your console.

  3. Sega Genesis II Teardown: étape 3, image 1 de 1
    • Carefully lift the top off of the console.

    • It should come off relatively easy

    • If it doesn't, ensure that all four screws are removed

  4. Sega Genesis II Teardown: étape 4, image 1 de 2 Sega Genesis II Teardown: étape 4, image 2 de 2
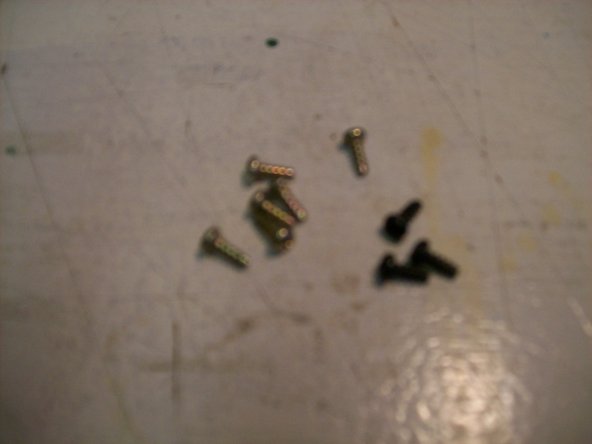
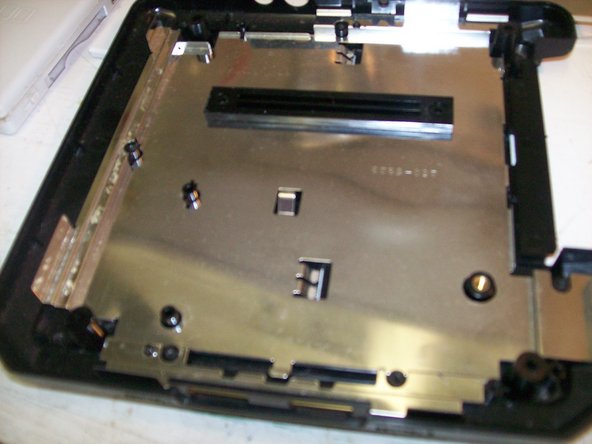
    • Remove the six, gold, 8mm screws and the three, black, 8mm screws holding down the EM shield

    • After removing the screws, the shield will come off very easily.

  5. Sega Genesis II Teardown: étape 5, image 1 de 3 Sega Genesis II Teardown: étape 5, image 2 de 3 Sega Genesis II Teardown: étape 5, image 3 de 3
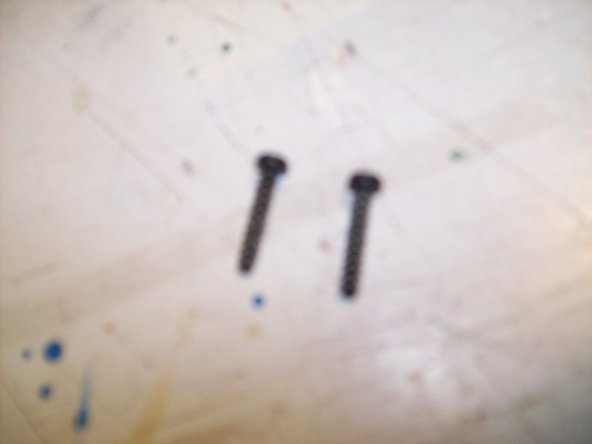
    • Remove the two 17mm black screws on the left and right side of the PIN to release the circuit board from the bottom EM shield.

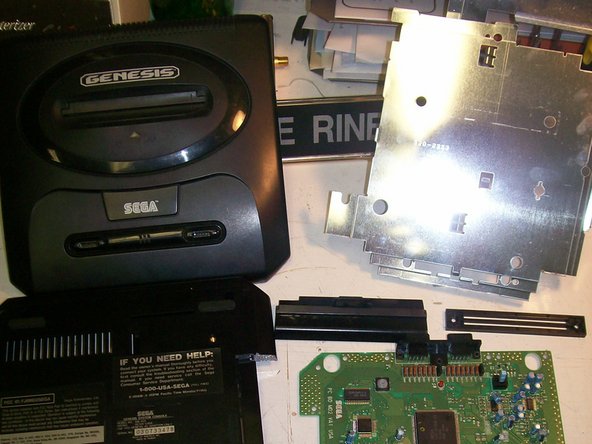
    • After the screws are releases, the circuit board can easily be removed from the console.

  6. Sega Genesis II Teardown: étape 6, image 1 de 2 Sega Genesis II Teardown: étape 6, image 2 de 2
    • Well, there you have it!

    • One disassembled Sega Genesis. I hope this guide was helpful and informative. Good luck and Happy Gaming!

    • This guide brought to you by: Frankie's Video Game Console Repair and iFixit.

Frankie

Membre depuis le 09/02/11

367 Réputation

1 tutoriel rédigé

0 commentaires

Ajouter un commentaire

Nombre de vues :

Dernières 24 heures : 1

7 derniers jours : 33

30 derniers jours : 67

Total : 14,884