Aller au contenu principal

1. Y Axis Frame

Ce dont vous avez besoin

Vidéo d'introduction
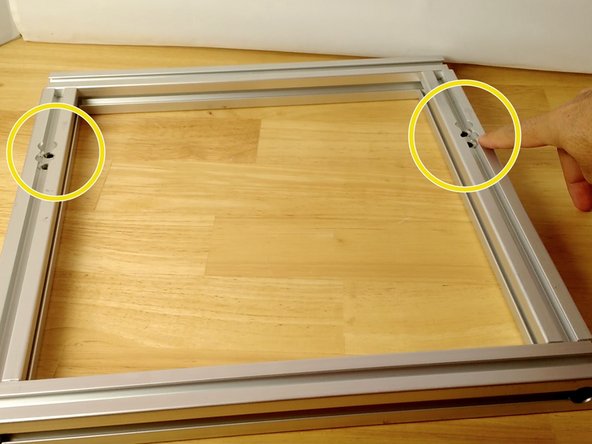
  1. 1. Y Axis Frame, preparing the components: étape 1, image 1 de 1
    • 2 X axis member

    • 2 Y axis member

    • 4 L bracket (Printed or Laser cut)
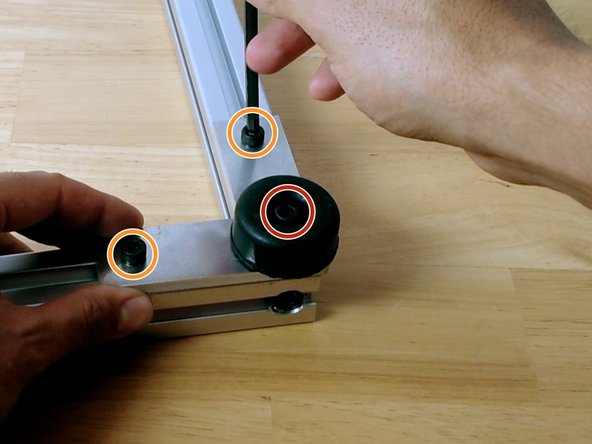
    • 4 Rubber feet

    • 4 M8 x 40mm socket screws

    • 8 M6 x 12mm socket screws

    • 4 M6 x 20mm socket screws

    • 12 T-slot nuts

  2. 1. Y Axis Frame: étape 2, image 1 de 3 1. Y Axis Frame: étape 2, image 2 de 3 1. Y Axis Frame: étape 2, image 3 de 3
    • Make sure the sockets for the screws are aligned and in the same side.

    • Using the M8 x 40 screws, join the X and Y members

    • Tighten just enough to keep the frame assemble together.

  3. 1. Y Axis Frame: étape 3, image 1 de 3 1. Y Axis Frame: étape 3, image 2 de 3 1. Y Axis Frame: étape 3, image 3 de 3
    • Locate the bottom of the frame, where the socket for the head of the screw is drilled.

    • On the L bracket place

    • 2 M6 x 12mm screws

    • 1 M6 x 20mm screw

    • Align on the extrusion and tighten the screws

Conclusion

To reassemble your device, follow these instructions in reverse order.

Une autre personne a terminé cette réparation.

Juan Francisco

Membre depuis le 07/31/18

152 Réputation

1 tutoriel rédigé

0 commentaires

Ajouter un commentaire

Nombre de vues :

Dernières 24 heures : 0

7 derniers jours : 0

30 derniers jours : 2

Total : 313