Cette version peut contenir des modifications incorrectes. Passez au dernier aperçu vérifié.
Ce dont vous avez besoin
-
-
Situez le loquet du capot à côté de la porte latérale du conducteur, à côté du repose-pied gauche.
-
Tirez le loquet vers vous pour libérer le capot.
-
-
Cette étape n’est pas traduite. Aidez à la traduire
-
Use a 10 mm hex driver or socket to remove the four screws that hold the spark plug cover in place.
-
Lift the plastic cover and set it aside.
-
-
-
Cette étape n’est pas traduite. Aidez à la traduire
-
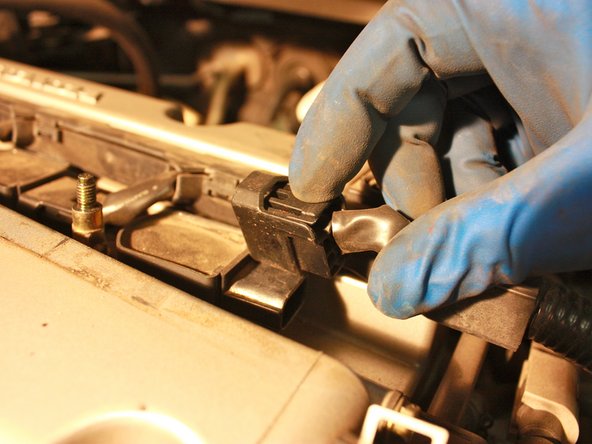
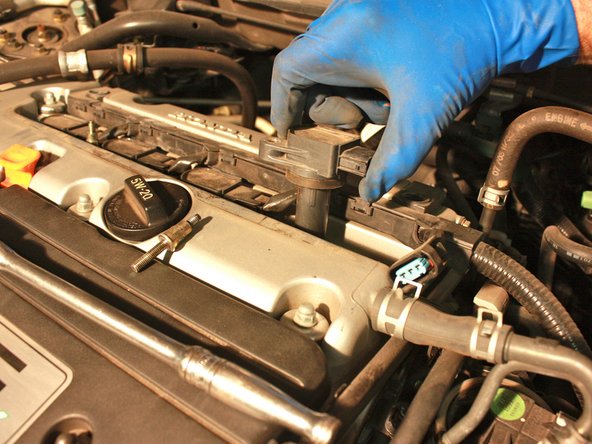
Remove the spark plug wire by pinching the locking tabs on either side of it and pulling it out.
-
-
Cette étape n’est pas traduite. Aidez à la traduire
-
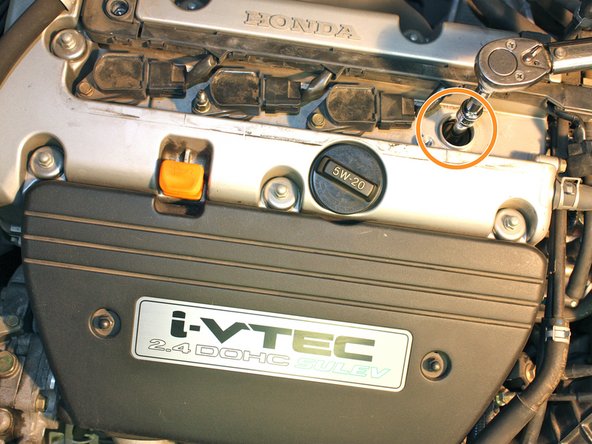
Use a 10 mm hex driver or socket to remove the four spark plug boot screws.
-
-
Cette étape n’est pas traduite. Aidez à la traduire
-
Lift the boot screws out of the spark plug bores.
-
-
Cette étape n’est pas traduite. Aidez à la traduire
-
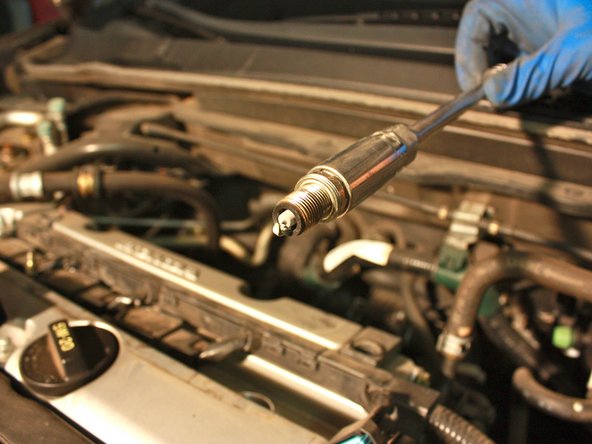
Locate the spark plug at the bottom of the bore.
-
Use a ratchet, extension, and 5/8 inch socket to remove the plug by turning counterclockwise until it's free.
-
-
Cette étape n’est pas traduite. Aidez à la traduire
-
Determine if the spark plug needs to be replaced by examining the gap for the problems listed below:
-
The gap is bridged by corrosion.
-
The gap is too large.
-
The area around the gap is black and dark.
-
-
Cette étape n’est pas traduite. Aidez à la traduire
-
If the spark plug doesn't need to be replaced, return it to the spark plug bore. If it does need to be replaced, use a new one.
-
Use a ratchet, extension, and 5/8 inch socket to tighten the spark plug by turning clockwise. Use your hand to tighten as well.
-
Repeat Steps 10-13 for the three remaining spark plugs.
-
Annulation : je n'ai pas terminé ce tutoriel.
36 autres ont terminé cette réparation.
7 commentaires
Great instructions! I was able to change them pretty quickly.
First rule of thumb when changing spark plugs is to do it when the engine is cold. If you don't have a torque wrench it's ok, you can still tighten them properly. Easiest thing to do is put the new plug in the spark plug socket, attach the extension (8 or 10 in. is perfect) but not the ratchet. Thread the plug in until it is snug, then attach the ratchet to tighten. Most spark plug manufacturers put on the box (especially NGK) how much to tighten. Usually if the plug has no gasket, tighten 1/16 to 1/8 of a turn. If it has a gasket, tighten 1/2 to 2/3 of a turn. For an '05 Accord 4 cyl. they have a gasket.
I appreciate the thorough and precise instructions. I would add using anti-seize on new plug threads.


