Introduction
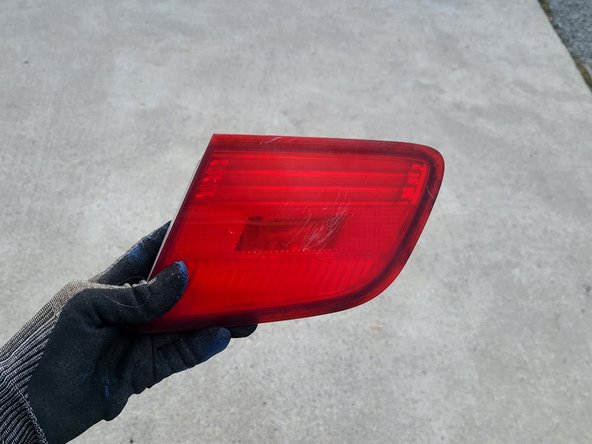
With time, the elements can cause the plastic housings on your BMW 3 Series E92 to fade or potentially crack, necessitating replacement.
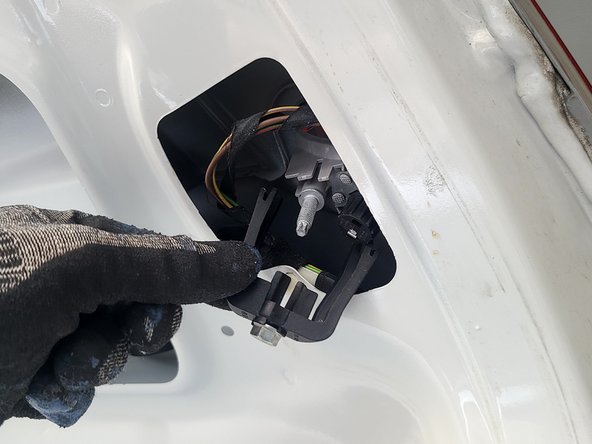
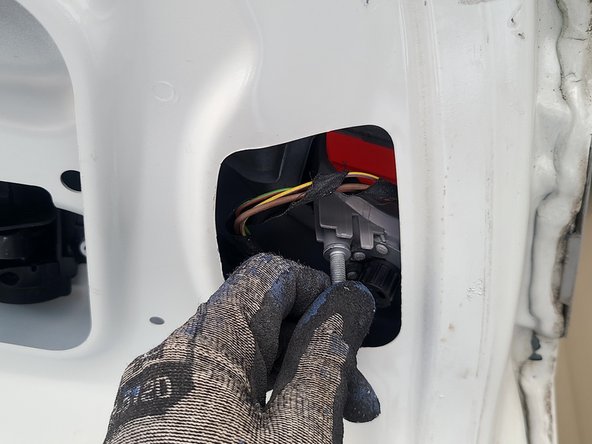
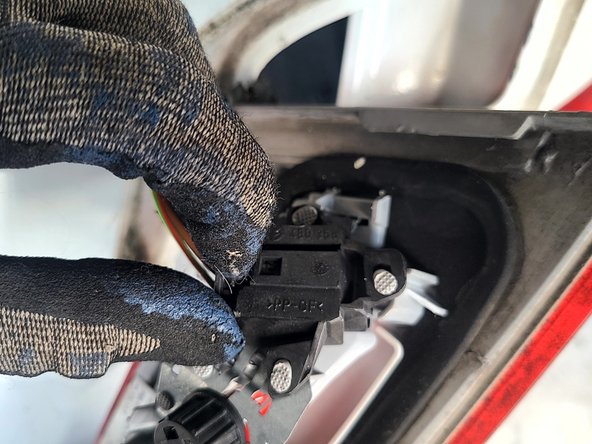
Since the inner taillights function as a two-stage brake light, they must be replaced in order to ensure both the safety of the driver and those around them.
To facilitate an easy replacement process, this guide will showcase how to remove your old inner taillight and replace it by following the guide in reverse.
Since this job requires minimal tools and experience, it should be a more approachable DIY replacement for those new or experienced with vehicles.
Ce dont vous avez besoin
-
-
Unlock your trunk.
-
Using the trunk handle, lift the trunk to it's highest position.
-
-


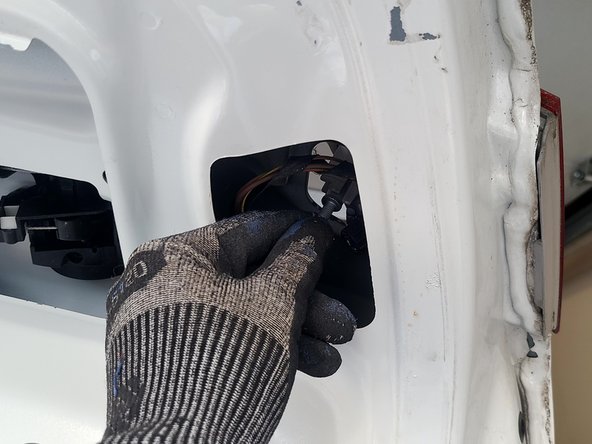
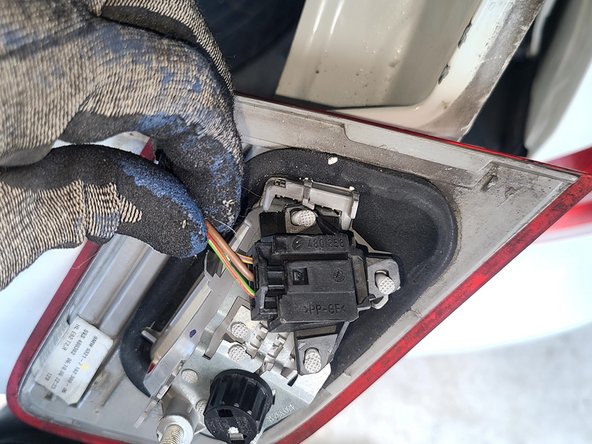
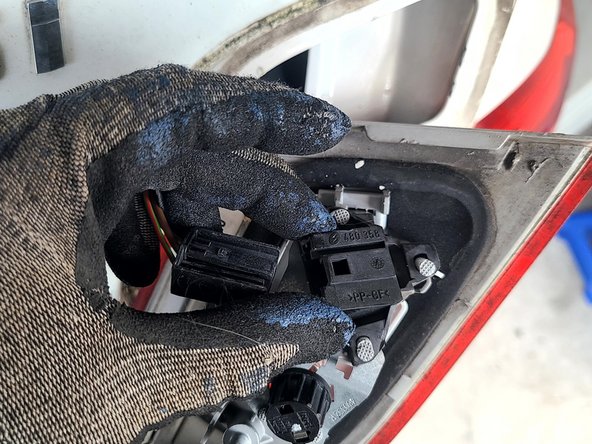
To reassemble the inner taillight, follow these instructions in reverse order.
To reassemble the inner taillight, follow these instructions in reverse order.

Équipe

York University, Team 1-7, O'Regan Fall 2023 Membre de l'équipe York University, Team 1-7, O'Regan Fall 2023
YORK-O'REGAN-F23S1G7
1 membre
1 tutoriel rédigé