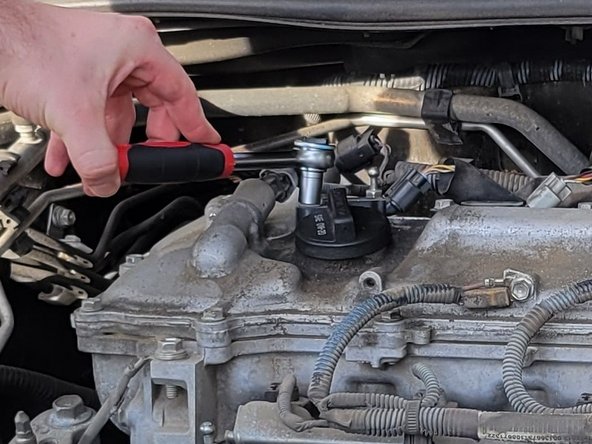
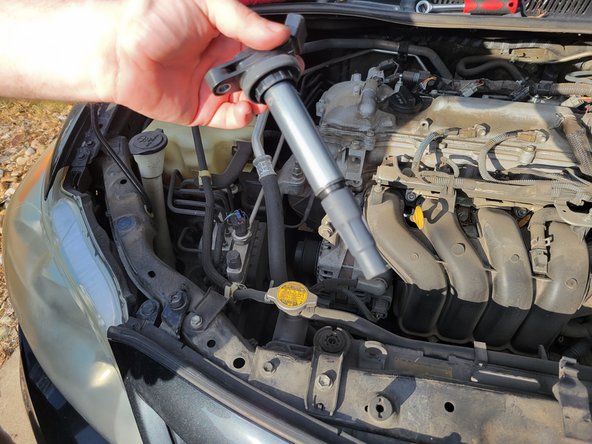
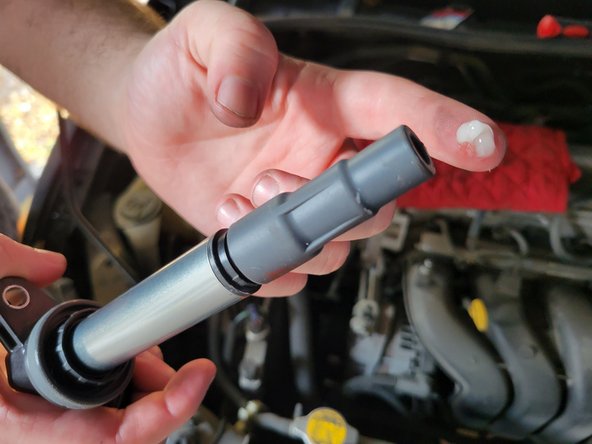
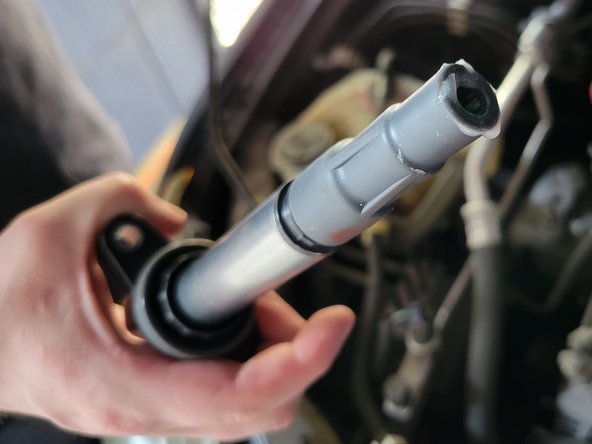
Aller au contenu principal

2006-2013 Toyota Corolla Ignition Coil Replacement

Ce dont vous avez besoin

  1. 2006-2013 Toyota Corolla Ignition Coil Replacement, Ignition Coil: étape 1, image 1 de 3 2006-2013 Toyota Corolla Ignition Coil Replacement, Ignition Coil: étape 1, image 2 de 3 2006-2013 Toyota Corolla Ignition Coil Replacement, Ignition Coil: étape 1, image 3 de 3
    • Pop the hood and remove the black plastic cover over the engine.

    • There is nothing to unscrew, or unlatch, and the cover should lift off. Once removed, the top of the engine will look like the third picture

  2. 2006-2013 Toyota Corolla Ignition Coil Replacement: étape 2, image 1 de 2 2006-2013 Toyota Corolla Ignition Coil Replacement: étape 2, image 2 de 2
    • Unplug the ignition coil you wish to replace. The coils are numbered one though four, left to right.

    • Do not unscrew the bolt on the ignition coil before this step. It makes the electrical plug more difficult to remove

  3. 2006-2013 Toyota Corolla Ignition Coil Replacement: étape 3, image 1 de 1
    • Unscrew the bolt of the coil that needs to be replaced.

    • Be sure to put the bolt in a place you will not lose it!

  4. 2006-2013 Toyota Corolla Ignition Coil Replacement: étape 4, image 1 de 2 2006-2013 Toyota Corolla Ignition Coil Replacement: étape 4, image 2 de 2
    • Pull the coil straight up and out. It should come off of the spark plug with little resistance.

  5. 2006-2013 Toyota Corolla Ignition Coil Replacement: étape 5, image 1 de 2 2006-2013 Toyota Corolla Ignition Coil Replacement: étape 5, image 2 de 2
    • Apply a pea-sized amount of grease to the new ignition coil. It should be all around the rubber tip around the bottom.

    • While not required, this step will make any future replacements much easier.

  6. 2006-2013 Toyota Corolla Ignition Coil Replacement: étape 6, image 1 de 1
    • When inserting the new ignition coil, press down lightly to ensure it is completely in place.

    • Re-plugging in the ignition coil, and re-screw it in. This can be preformed in either order.

    • Repeat steps three through five as necessary for the other three ignition coils.

Conclusion

To reassemble your device, follow these instructions in reverse order.

Henderson Gillette

Membre depuis le 09/23/23

133 Réputation

1 tutoriel rédigé

Équipe

Austin Community College, Team 22-3, Watkins Fall 2023 Membre de l'équipe Austin Community College, Team 22-3, Watkins Fall 2023

AUSTINCC-WATKINS-F23S22G3

2 membres

2 tutoriels rédigés

0 commentaires

Ajouter un commentaire

Nombre de vues :

Dernières 24 heures : 6

7 derniers jours : 54

30 derniers jours : 280

Total : 850