Introduction
The guide presents the process of replacing the 2011 Mitsubishi Outlander Bumper Taillight. When the vehicle gets millage several inside and outside lights stop working. It is required to replace those lights for vehicle maintenance, by law, and for better visibility. Bumper lights are positioned because help other drivers notice the backside of the car and help illuminate when people do reverse. This light can prevent accidents by providing a better illumination source.
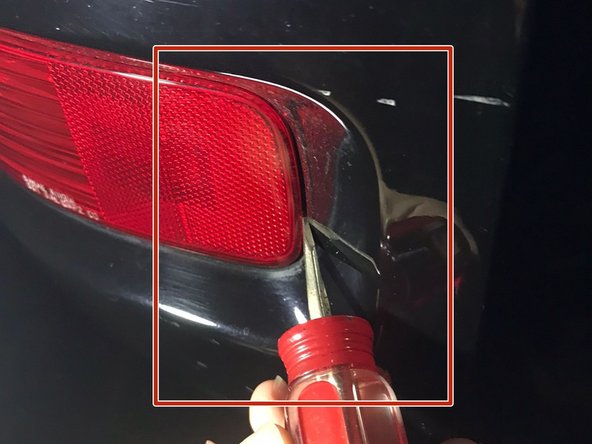
This guide will provide visual steps on how you can easily replace the right/left bumper taillight using only one 6-1 screwdriver. The steps do not require any special knowledge or advanced preparation to perform the action. Note each step must be done carefully to avoid car paint damage. There is no possible hazard or special warning before starting rolling.
As a special note, all the procedures require that the main and small car backdoors remain open. As a preference keeps near a towel because the car parts can be dirty.
Ce dont vous avez besoin
-
-
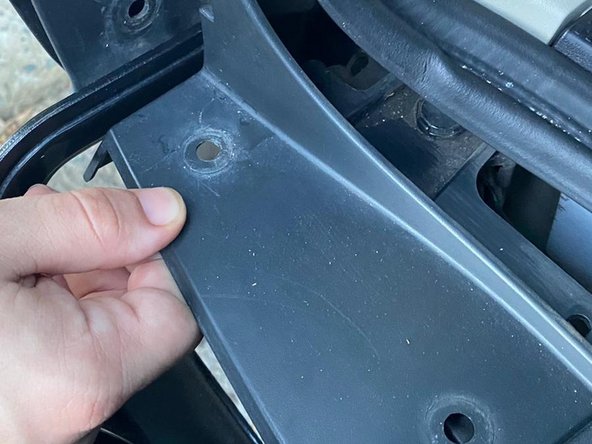
Open the lower car trunk door.
-
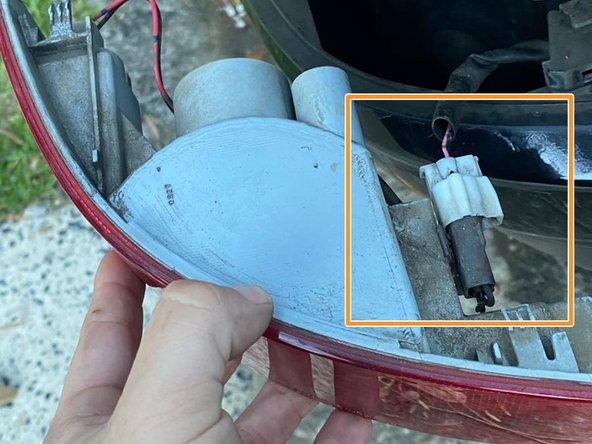
The repair will be done in this car trunk section.
-
-


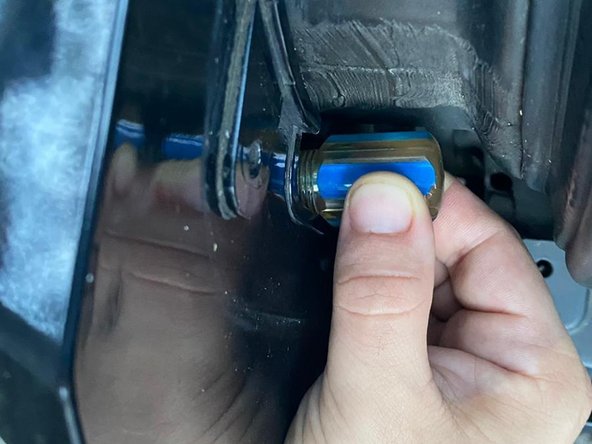
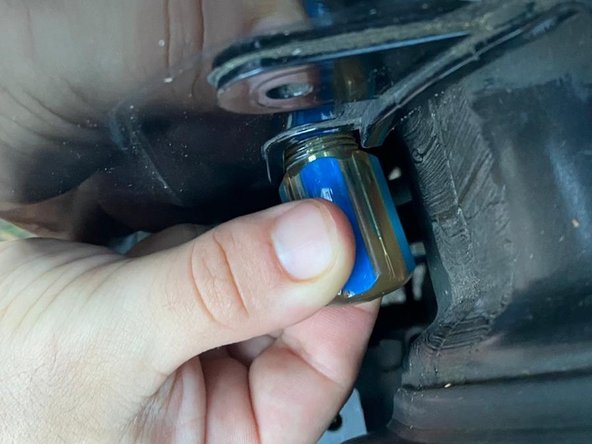

To reassemble your device, follow these instructions in reverse order. Placing back the screw from step 3 can take a while.
To reassemble your device, follow these instructions in reverse order. Placing back the screw from step 3 can take a while.
Annulation : je n'ai pas terminé ce tutoriel.
2 autres ont terminé cette réparation.
Équipe

University of Puerto Rico Mayagüez, Team 1-13, Cools Stephens Fall 2021 Membre de l'équipe University of Puerto Rico Mayagüez, Team 1-13, Cools Stephens Fall 2021
UPRM-COOLS STEPHENS-F21S1G13
1 membre
1 tutoriel rédigé