Introduction
This guide demonstrates how to replace a factory-installed backup camera in a 2013 Chevy Malibu. This guide is different than most because this camera is already installed, the cables are all routed already and that makes the guide that much simpler. Remember to work safely when dealing with any exposed wires, and work with the car off (keys out of ignition). Since no technology lasts forever, even factory-installed technology can fail. If the OEM backup camera in your 2013-2015 Chevrolet Malibu stops working, follow this guide to replace it.
Ce dont vous avez besoin
-
-
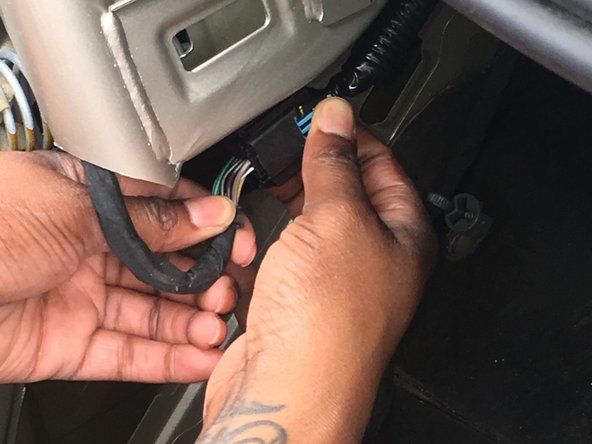
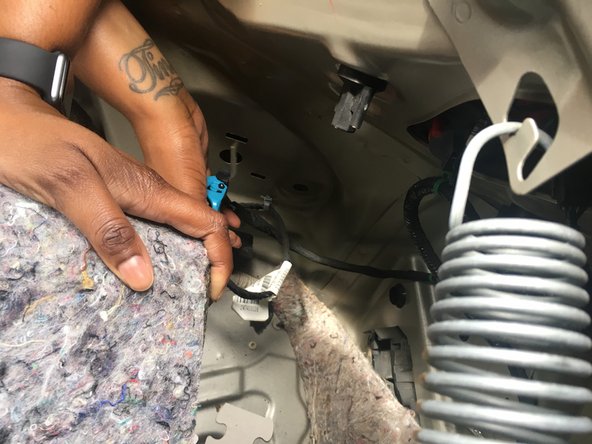
Mount the new camera in the space provided.
-
The camera routes through the bumper of the car and not the license plate.
-
-


To reassemble your device, follow these instructions in reverse order.
To reassemble your device, follow these instructions in reverse order.
Annulation : je n'ai pas terminé ce tutoriel.
2 autres ont terminé cette réparation.
Équipe

Arkansas State University, Team S1-G12, Chamberlain Summer 2017 Membre de l'équipe Arkansas State University, Team S1-G12, Chamberlain Summer 2017
ARSU-CHAMBERLAIN-SU17S1G12
1 membre
1 tutoriel rédigé
2 commentaires
The photos you show in steps 2 & 3 - is that the trunk only?
Hello. I am trying to replace my camera. But not sure how to remove it or where to buy a replacement.