Introduction
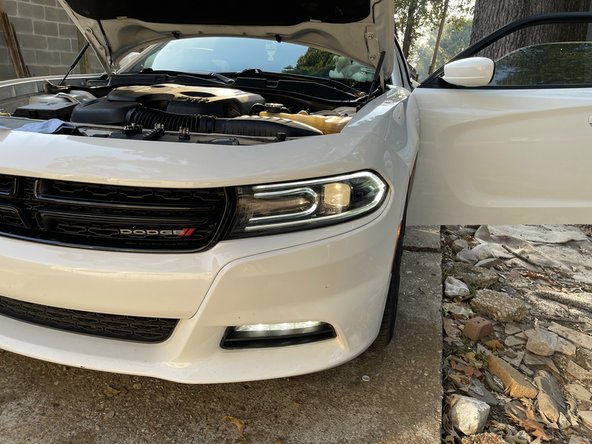
Is your headlight bulb not working? This guide will help you replace the bulb for a 2015 Dodge Charger SXT in 10 quick and easy steps without experience using a minimum of one tool and two attachments.
Probable cause: Light burnout
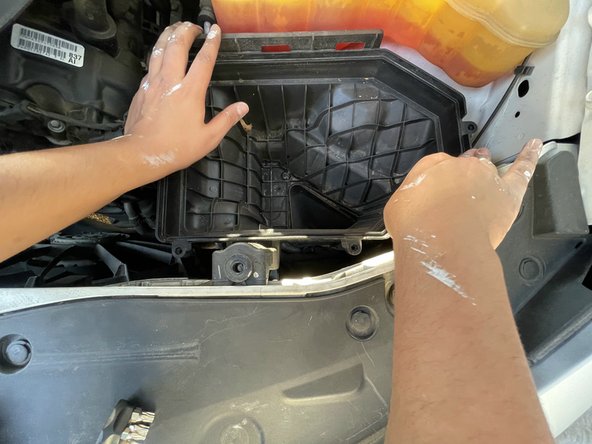
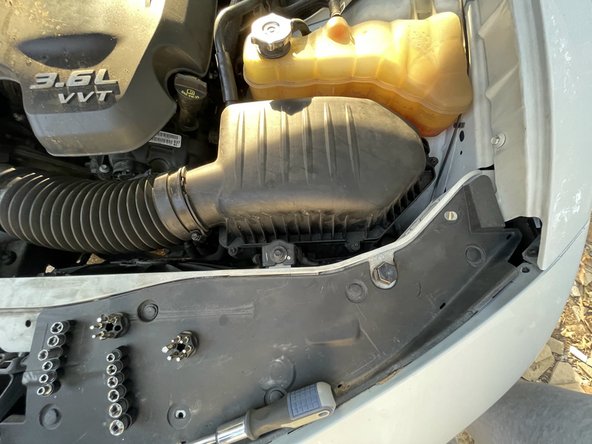
Tools used: A Phillips screwdriver and an 8 mm socket.
Note: The tools provided are the exact ones used during the repair which can be purchased from the link. Feel free to explore options. The most important is for the socket to be 8mm. It has to be compatible with the ratchet you are using to loosen the screws.
Result: Headlight replaced successfully and a lot of money saved!
Ce dont vous avez besoin


To reassemble your device, follow these instructions in reverse order.
To reassemble your device, follow these instructions in reverse order.
Annulation : je n'ai pas terminé ce tutoriel.
2 autres ont terminé cette réparation.
Équipe

University of Memphis, Team 2-6, Cameron Fall 2022 Membre de l'équipe University of Memphis, Team 2-6, Cameron Fall 2022
UM-CAMERON-F22S2G6
3 membres
1 tutoriel rédigé