Introduction
This guide explains how to perform the following: disassembly of a Poulan 2055 chainsaw and carburetor assembly, replacement of carburetor seals and components, and reassembly of the carburetor and chainsaw.
This carburetor is utilized in many of Poulan's and other brands' small engines. While this guide is specifically tailored for the Poulan 2055 chainsaw, it could be referenced when working with other devices.
Ce dont vous avez besoin
-
-
Remove top cover screws (3) using a #6 flat head screw driver on the chainsaw T-wrench.
-
Loosen the 1/4" nuts holding the bar cover in place using the chainsaw T-wrench.
-
Turn the chain tension adjustment screw two turns counter clockwise.
-
Remove the nuts holding the bar cover in place, and then remove the bar.
-
Remove fly wheel cover using a 5/32" Allen wrench.
-
-
-
Pull the air filter from the housing.
-
Remove the air filter housing using a 8 mm socket.
-
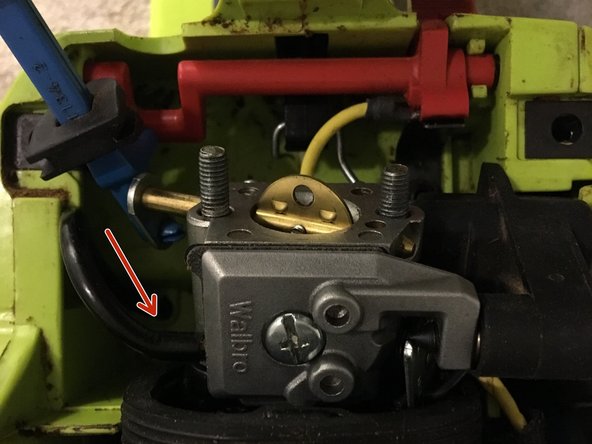
Disconnect the two fuel lines from the carburetor using a narrow, flat-head screw driver.
-
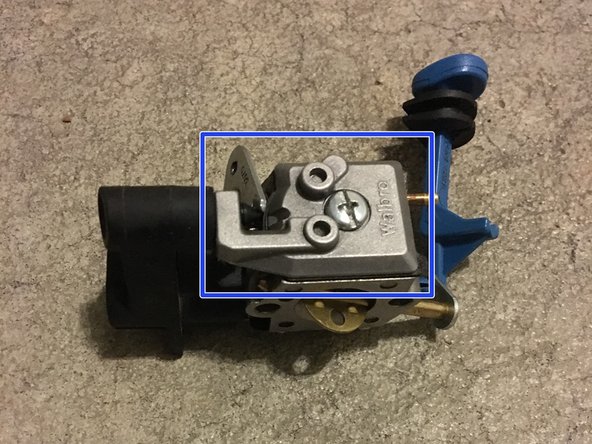
Disconnect the throttle linkage from the carburetor.
-
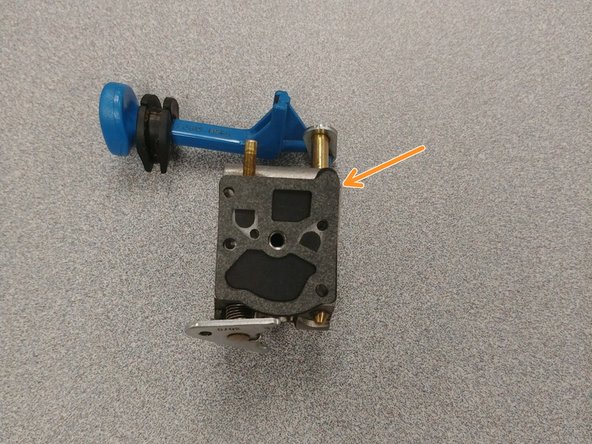
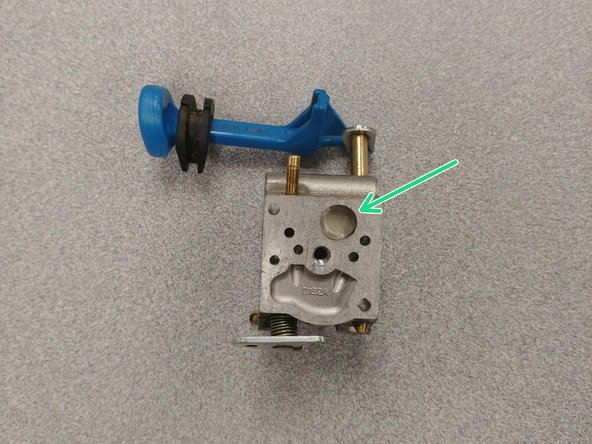
Lift the choke linkage out of the housing, and then pull the carburetor from the housing.
-
-
-
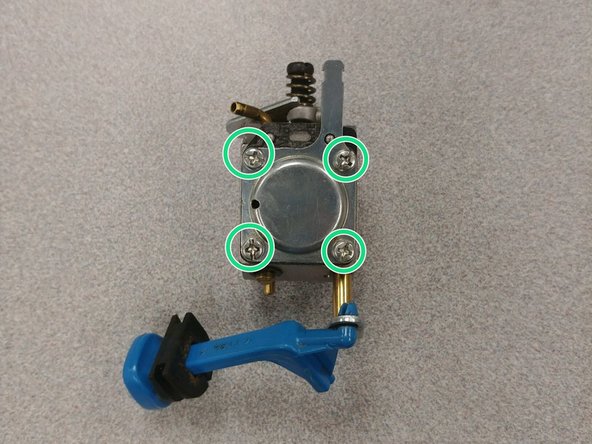
Remove the four screws holding the diaphragm cover plate, and then remove the plate.
-
Remove the diaphragm and its seal from the carburetor.
-
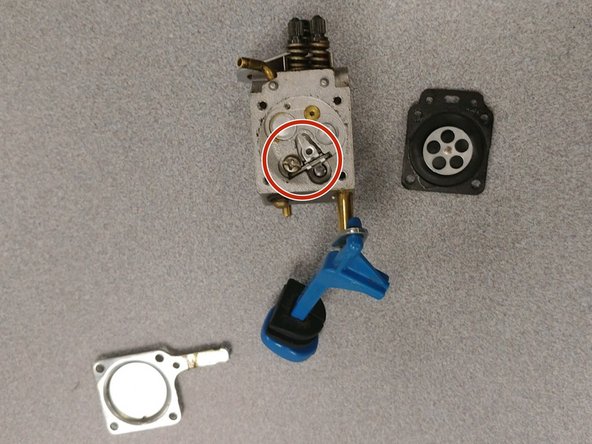
Remove the screw holding the float set and needle valve.
-
Remove the float set and needle valve.
-
-
-
-
Remove the screw holding the fuel pump cover in place using the chainsaw T-wrench.
-
Remove the fuel pump gasket and valve.
-
Remove the fuel filter screen.
-
-
-
Remove the adjustment needle retaining clip.
-
Remove both adjustment needles while counting the number of turns required for the removal.
-
Clean and reinstall the needles, turning the same number of turns that were counted in the previous step.
-
Replace the retaining clip.
-
-
-
Align a new fuel pump valve and gasket with the carburetor.
-
Reattach the fuel pump top cover using the chainsaw T-wrench.
-
-
-
Install a new float set and needle valve.
-
Install the float set and needle valve retaining screw.
-
Place a new diaphragm and seal in position.
-
Replace the diaphragm cover and the four retaining screws.
-
-
-
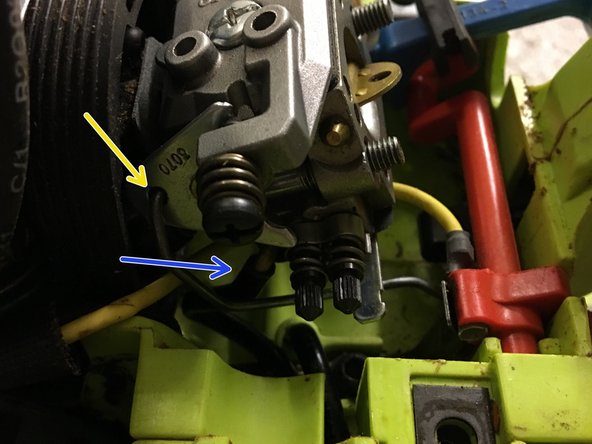
Attach the fuel lines and the throttle linkage to the carburetor.
-
The line coming directly from the fuel tank connects to the fuel pump inlet.
-
The line coming from the external primer bulb goes to the diaphragm inlet.
-
Reinstall the throttle linkage.
-
-
-
Reinstall the air filter housing, securing it with the 8 mm nuts.
-
Place the air filter back into the housing.
-
-
-
Place the top cover back in position and secure it using the flat-head screw driver.
-
Place the fly wheel cover on and secure it using the 5/32'' Allen wrench.
-
Place the bar, chain, and cover back on. Secure the cover with the two cover nuts and the socket wrench that is included on the T-wrench.
-


The chainsaw is now ready for gas and chain oil.
The chainsaw is now ready for gas and chain oil.
Annulation : je n'ai pas terminé ce tutoriel.
Une autre personne a terminé cette réparation.

Équipe
