Aller au contenu principal

3DO FZ-1 Disassembly Guide

Ce dont vous avez besoin

  1. 3DO FZ-1 Disassembly Guide, Lets Begin!: étape 1, image 1 de 3 3DO FZ-1 Disassembly Guide, Lets Begin!: étape 1, image 2 de 3 3DO FZ-1 Disassembly Guide, Lets Begin!: étape 1, image 3 de 3
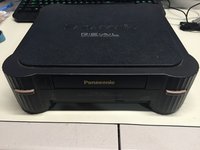
    • Here we have the front view of the FZ-1 3DO.

    • Note the ports on the back of the unit. The FZ-1 comes with RF, S-Video, and Composite Outputs, as well as a expansion port on the back of the unit.

    • A larger 2nd expansion slot can be found on the right side of the unit.

  2. 3DO FZ-1 Disassembly Guide, Outer Casing: étape 2, image 1 de 1
    • Flip the unit over, so that the bottom side of the case is facing up towards you, exposing the four screws casing screws.

    • Remove the four #2 Phillips Screws from the casing.

    • After the screws are removed, flip the unit back over while holding the top and bottom pieces of the case together.

  3. 3DO FZ-1 Disassembly Guide, Top Casing: étape 3, image 1 de 1
    • Remove the top portion of the case to expose the internal components.

  4. 3DO FZ-1 Disassembly Guide, Disc Drive: étape 4, image 1 de 3 3DO FZ-1 Disassembly Guide, Disc Drive: étape 4, image 2 de 3 3DO FZ-1 Disassembly Guide, Disc Drive: étape 4, image 3 de 3
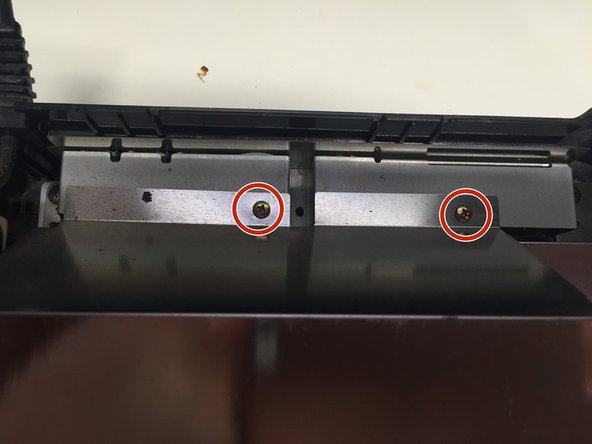
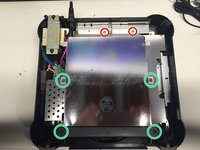
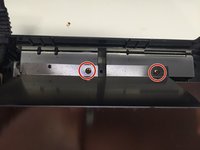
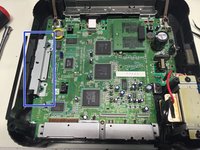
    • Remove the 2 #1 Phillips Screws from the back of the Disc Drive Shield.

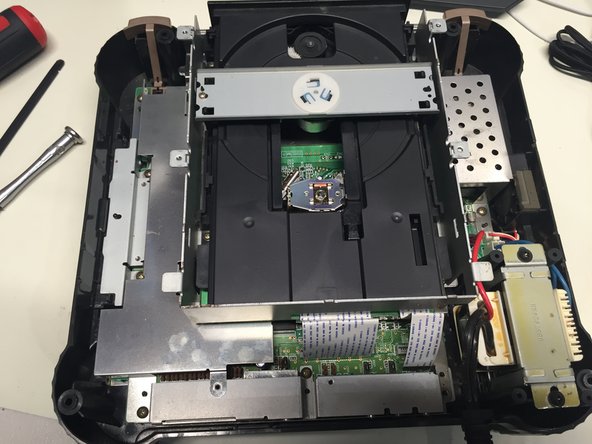
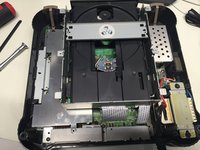
    • Using a Spudger, carefully pry up the four metal tabs to remove the disc drive cover.

    • Remove the 4 #2 Phillips Screws.

    • Remove the disc drive shield, and the two bars you just unscrewed.

  5. 3DO FZ-1 Disassembly Guide: étape 5, image 1 de 1
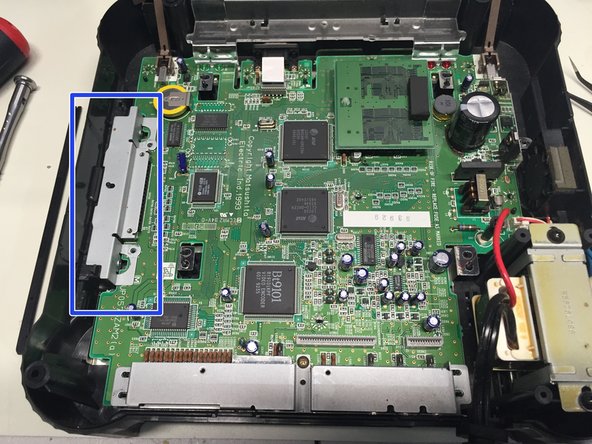
    • Remove the 5 #1 Phillips Screws holding the CD Drive to the motherboard.

    • Carefully unplug the two ribbon cables connecting the CD drive to the motherboard.

    • You can now safely remove the CD drive from the case.

  6. 3DO FZ-1 Disassembly Guide: étape 6, image 1 de 2 3DO FZ-1 Disassembly Guide: étape 6, image 2 de 2
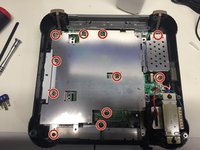
    • Remove the 11 #1 Phillips Screws connecting the metal shield to the motherboard.

    • Remove the metal shield.

    • Remove the metal cover from the expansion port.

  7. 3DO FZ-1 Disassembly Guide: étape 7, image 1 de 1
    • Remove the #1 Phillips Screw from back port cover, and then remove the cover.

  8. 3DO FZ-1 Disassembly Guide: étape 8, image 1 de 2 3DO FZ-1 Disassembly Guide: étape 8, image 2 de 2
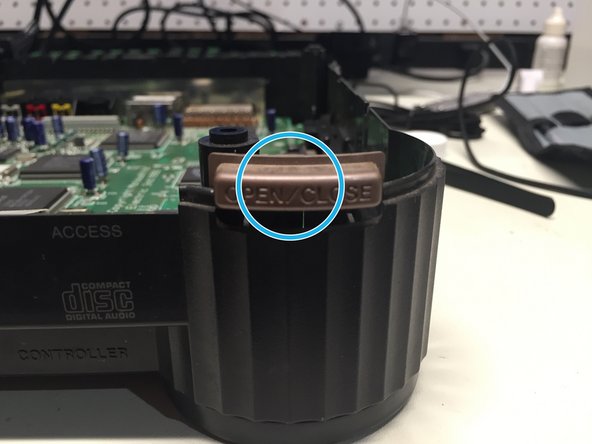
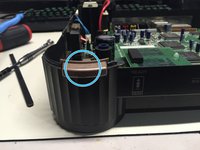
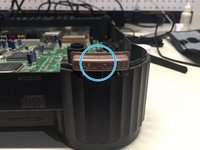
    • Remove the plastic cover, power and eject buttons found at the front end of the unit.

  9. 3DO FZ-1 Disassembly Guide: étape 9, image 1 de 2 3DO FZ-1 Disassembly Guide: étape 9, image 2 de 2
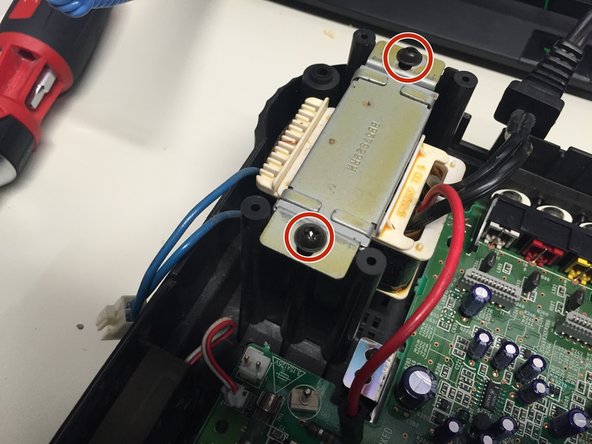
    • Unplug the power and fan cables from the motherboard.

    • Remove the 2 #2 Phillips Screws holding the power supply to the case.

    • The electric screwdriver comes in handy loosening the PSU screws on the FZ-1.

    • Remove the power supply and fan from the case.

  10. 3DO FZ-1 Disassembly Guide: étape 10, image 1 de 1
    • Unplug the ribbon cable connecting the motherboard to the controller port board.

    • Remove the controller board and motherboard.

    • Remove the metal shield at the bottom of the case. Mission complete!

Conclusion

To reassemble your device, follow these instructions in reverse order.

6 autres ont terminé cette réparation.

Ben Eccles

Membre depuis le 02/06/16

873 Réputation

1 tutoriel rédigé

Équipe

Ninja Electronics Membre de l'équipe Ninja Electronics

Business

2 membres

2 tutoriels rédigés

2 commentaires

Can you tell me what size the screws are? I need to order a replacement set for my FZ-1

Richard Poll - Réponse

I thought I couldn't fix this old appliance in my house. Until I came across this site! Thank you. :)

Jellyna Studio - Réponse

Ajouter un commentaire

Nombre de vues :

Dernières 24 heures : 3

7 derniers jours : 21

30 derniers jours : 116

Total : 6,696