Cette version peut contenir des modifications incorrectes. Passez au dernier aperçu vérifié.
Ce dont vous avez besoin
-
Cette étape n’est pas traduite. Aidez à la traduire
-
Power off the drone by holding down the power button.
-
Remove the battery by disconnecting it from the main battery connector.
-
Press the power button again to ensure all electricity is discharged.
-
-
Cette étape n’est pas traduite. Aidez à la traduire
-
If your drone is equipped with it, remove the video transmitter.
-
Disconnect all cables from the gimbal.
-
If your drone has neither the gimbal or video transmitter, you can skip this step.
-
-
Cette étape n’est pas traduite. Aidez à la traduire
-
Unscrew the 16 mm screw attaching the gimbal mount to the body of the drone using the 3 mm Hex screwdriver/key.
-
-
Cette étape n’est pas traduite. Aidez à la traduire
-
Rotate the drone 180 degrees.
-
Unscrew the other 16mm gimbal mount screw using the 3 mm Hex screwdriver/key.
-
-
-
Cette étape n’est pas traduite. Aidez à la traduire
-
Remove the gimbal mount from the body of the drone.
-
-
Cette étape n’est pas traduite. Aidez à la traduire
-
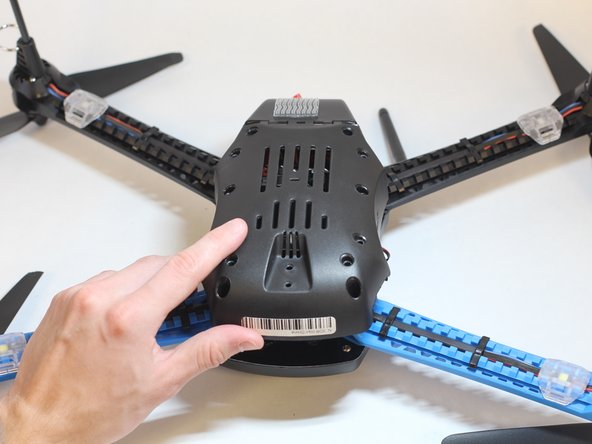
Remove the eight 11mm screws attaching the underbody of the drone using the 2mm Hex screwdriver/key.
-
-
Cette étape n’est pas traduite. Aidez à la traduire
-
Remove the two larger, 12mm screws attached to the Go Pro mount using the 3mm Hex screwdriver/key.
-
Lift to remove the mount.
-
-
Cette étape n’est pas traduite. Aidez à la traduire
-
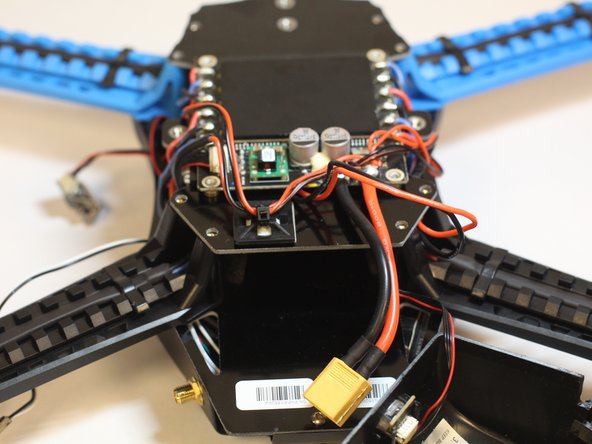
Feed both wires through the grill of the bottom shell.
-
Lift to remove the shell.
-
-
Cette étape n’est pas traduite. Aidez à la traduire
-
Identify the power line by locating the black and red wire pair with the largest gauge (wire thickness) extending from the board with a large black heat sink.
-
-
Cette étape n’est pas traduite. Aidez à la traduire
-
Cut and remove the damaged portion of the power cable with wire strippers or end cutters.
-
Take a new XT60 male connector with pre-attached wires (at least 14 AWG) and solder it to what is left of the connected power line.
-


Annulation : je n'ai pas terminé ce tutoriel.
2 autres ont terminé cette réparation.

Équipe

Cal Poly, Team S7-G5, Regan Winter 2020 Membre de l'équipe Cal Poly, Team S7-G5, Regan Winter 2020
CPSU-REGAN-W20S7G5
5 membres
9 tutoriels rédigés