Introduction
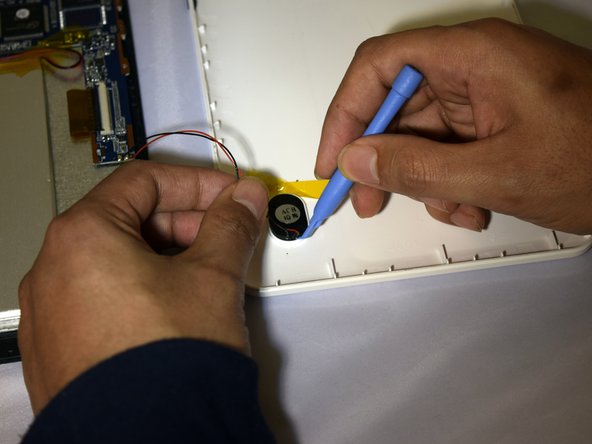
To remove the cover of the tablet you will need a plastic prying tool and 1mm Phillips Screwdriver. Be sure to allot roughly 2-3 minutes for the process. If you don't have a plastic prying tool, your fingers should suffice.
Ce dont vous avez besoin
-
-
Place the tablet on its side so that the two screws are facing upward.
-
Remove two 1 mm screws from the left side of the tablet using a Phillips #00 screwdriver.
-
-


To reassemble your device, follow these instructions in reverse order.
To reassemble your device, follow these instructions in reverse order.
Annulation : je n'ai pas terminé ce tutoriel.
3 autres ont terminé cette réparation.

Équipe

Eastern Washington University, Team 1-2, Plummer Spring 2015 Membre de l'équipe Eastern Washington University, Team 1-2, Plummer Spring 2015
EWU-PLUMMER-S15S1G2
4 membres
10 tutoriels rédigés