Aller au contenu principal

4Sight 9 Screen Replacement

Ce dont vous avez besoin

  1. 4Sight 9 Screen Replacement, Cover: étape 1, image 1 de 2 4Sight 9 Screen Replacement, Cover: étape 1, image 2 de 2
    • Place the tablet on its side so that the two screws are facing upward.

    • Remove two 1 mm screws from the left side of the tablet using a Phillips #00 screwdriver.

  2. 4Sight 9 Screen Replacement: étape 2, image 1 de 1
    • Pry the case away from the device slowly by sliding a plastic opening tool along the device.

    • Once loosened, use your hands to separate the case from the device.

  3. 4Sight 9 Screen Replacement: étape 3, image 1 de 2 4Sight 9 Screen Replacement: étape 3, image 2 de 2
    • Hold the positive and negative wires as close as possible to the speaker.

    • Use an opening tool and fingers to simultaneously lift the speaker from the cover.

  4. 4Sight 9 Screen Replacement, Battery: étape 4, image 1 de 1
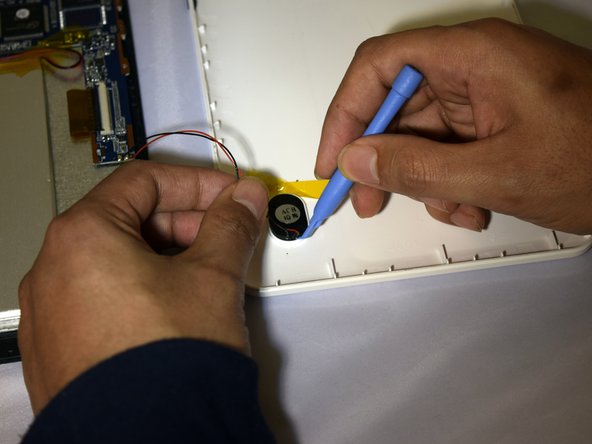
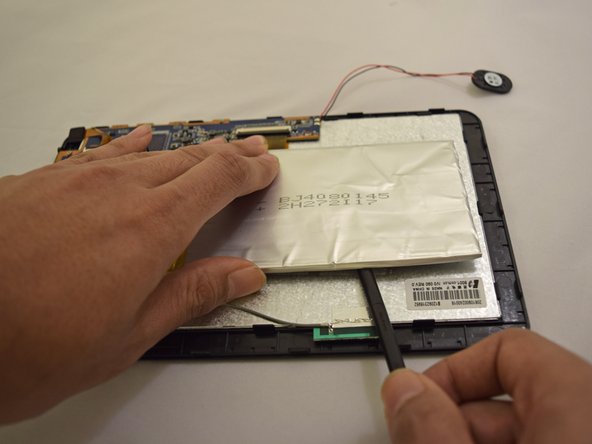
    • Use soldering gun to remove the positive and negative wires connecting the battery to the circuit board.

    • For a complete guide on how to solder, click here.

  5. 4Sight 9 Screen Replacement: étape 5, image 1 de 2 4Sight 9 Screen Replacement: étape 5, image 2 de 2
    • Insert plastic prying tool under upper-hand corner of battery and slide back and forth.

    • Once loosened, insert plastic prying tool under lower-hand corner and repeat sliding action.

    • Repeat previous actions until battery comes loose from device.

  6. 4Sight 9 Screen Replacement, Screen: étape 6, image 1 de 2 4Sight 9 Screen Replacement, Screen: étape 6, image 2 de 2
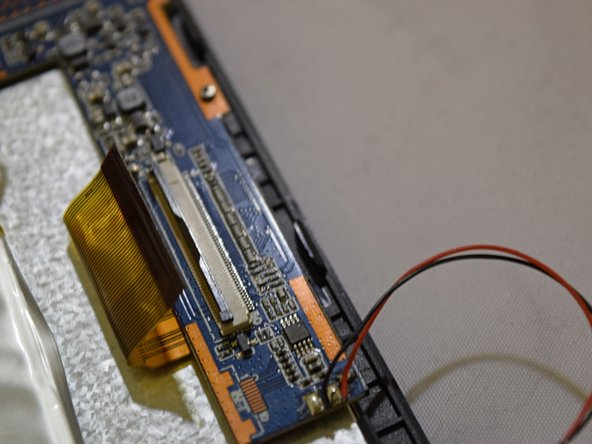
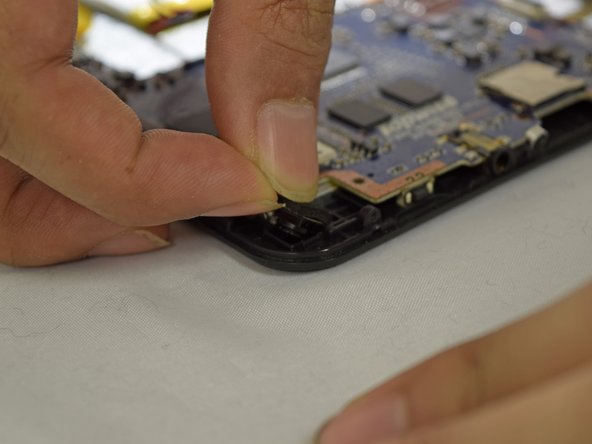
    • Grip the ribbon located at the far end of the circuit board with a plastic spudger tool.

    • Put pressure on the connector until the clasp comes undone.

    • Gently pull up on electrical ribbon until it disconnects from circuit board.

  7. 4Sight 9 Screen Replacement: étape 7, image 1 de 2 4Sight 9 Screen Replacement: étape 7, image 2 de 2
    • Remove the second electrical ribbon from the motherboard using the same technique used to remove first ribbon.

  8. 4Sight 9 Screen Replacement: étape 8, image 1 de 1
    • Using #00 Phillips Screwdriver, remove the four 1mm screws holding the circuit board to the device.

  9. 4Sight 9 Screen Replacement: étape 9, image 1 de 2 4Sight 9 Screen Replacement: étape 9, image 2 de 2
    • With fingers, grip the green Wi-Fi connector.

    • Gently pull up on connector to remove tape holding the connector in place.

  10. 4Sight 9 Screen Replacement: étape 10, image 1 de 2 4Sight 9 Screen Replacement: étape 10, image 2 de 2
    • With the motherboard facing you, look to the bottom left corner, pull on the camera to completely free the motherboard.

  11. 4Sight 9 Screen Replacement: étape 11, image 1 de 1
    • Using your fingers, gently lift the motherboard and battery.

  12. 4Sight 9 Screen Replacement: étape 12, image 1 de 3 4Sight 9 Screen Replacement: étape 12, image 2 de 3 4Sight 9 Screen Replacement: étape 12, image 3 de 3
    • Insert plastic prying tool under screen and exert pressure, pulling upward.

    • Repeat this step around each corner of the screen until it pops off.

    • Ensure screen is free from all black tabs holding it in place.

  13. 4Sight 9 Screen Replacement: étape 13, image 1 de 1
    • Place heating pad on glass frame in order to loosen adhesive for 3 to 5 minutes

    • Remove plastic film from glass frame

Conclusion

To reassemble your device, follow these instructions in reverse order.

7 autres ont terminé cette réparation.

Hali Ramirez

Membre depuis le 04/07/15

628 Réputation

4 tutoriels rédigés

0 commentaires

Ajouter un commentaire

Nombre de vues :

Dernières 24 heures : 0

7 derniers jours : 4

30 derniers jours : 9

Total : 2,894