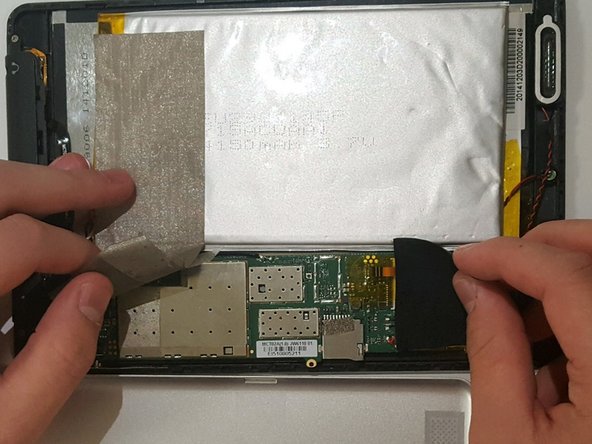
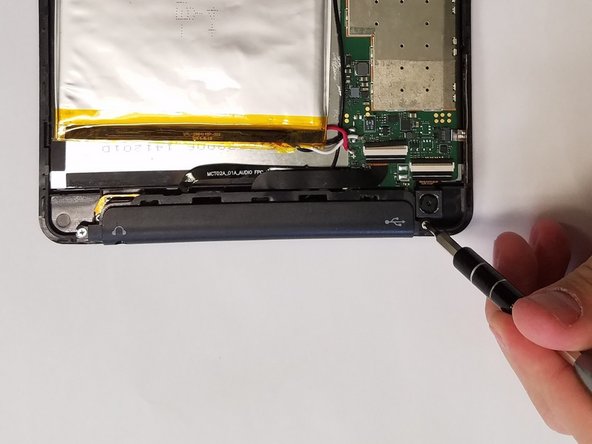
Aller au contenu principal

AARP RealPad MA7BX2 Back Cover Replacement

Ce dont vous avez besoin

  1. AARP RealPad MA7BX2 Back Cover Replacement, Back Cover: étape 1, image 1 de 2 AARP RealPad MA7BX2 Back Cover Replacement, Back Cover: étape 1, image 2 de 2
    • Loosen the back cover using the suction cup.

    • Pull up on the center of the back with the suction cup.

    • Pull up on all four corners of the back with the suction cup.

  2. AARP RealPad MA7BX2 Back Cover Replacement: étape 2, image 1 de 1
    • Remove the back cover by gently placing the small opening tool in the crevice created by loosening the back.

    • Slide the opening tool around the edges of the device.

    • Wedge it open using the opening tool.

    • Use the suction cup again if you're having trouble removing the back cover.

  3. AARP RealPad MA7BX2 Back Cover Replacement: étape 3, image 1 de 2 AARP RealPad MA7BX2 Back Cover Replacement: étape 3, image 2 de 2
    • The black tape is stuck to delicate wires; remove with caution.

    • Peel off the silver tape.

    • Gently pull off the black tape.

  4. AARP RealPad MA7BX2 Back Cover Replacement: étape 4, image 1 de 2 AARP RealPad MA7BX2 Back Cover Replacement: étape 4, image 2 de 2
    • Using a JIS #000 screwdriver, remove the two 2.5 mm screws.

  5. AARP RealPad MA7BX2 Back Cover Replacement: étape 5, image 1 de 2 AARP RealPad MA7BX2 Back Cover Replacement: étape 5, image 2 de 2
    • Lift off the black audio cover.

Conclusion

To reassemble your device, follow these instructions in reverse order.

Une autre personne a terminé cette réparation.

Alana Escue

Membre depuis le 09/18/18

425 Réputation

3 tutoriels rédigés

Équipe

0 commentaires

Ajouter un commentaire

Nombre de vues :

Dernières 24 heures : 0

7 derniers jours : 1

30 derniers jours : 8

Total : 802