Cette version peut contenir des modifications incorrectes. Passez au dernier aperçu vérifié.
Ce dont vous avez besoin
-
Cette étape n’est pas traduite. Aidez à la traduire
-
Loosen the back cover using the suction cup.
-
Pull up on the center of the back with the suction cup.
-
Pull up on all four corners of the back with the suction cup.
-
-
Cette étape n’est pas traduite. Aidez à la traduire
-
Remove the back cover by gently placing the small opening tool in the crevice created by loosening the back.
-
Slide the opening tool around the edges of the device.
-
Wedge it open using the opening tool.
-
-
Cette étape n’est pas traduite. Aidez à la traduire
-
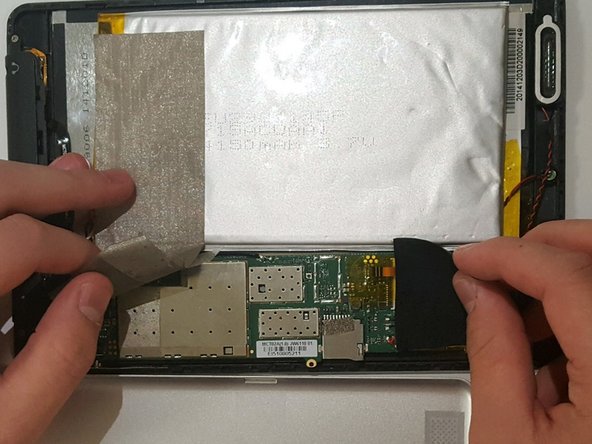
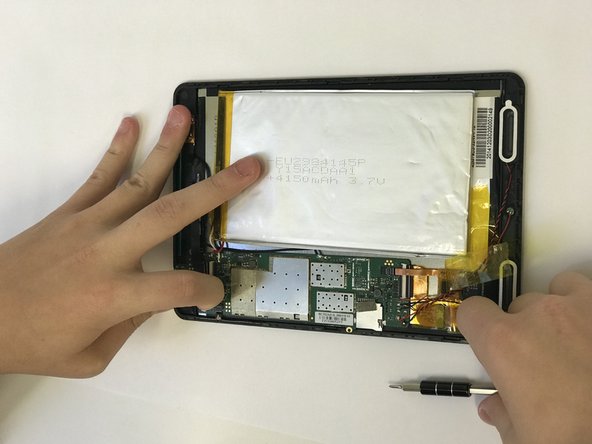
Peel off the silver tape.
-
Gently pull off the black tape.
-
-
Cette étape n’est pas traduite. Aidez à la traduire
-
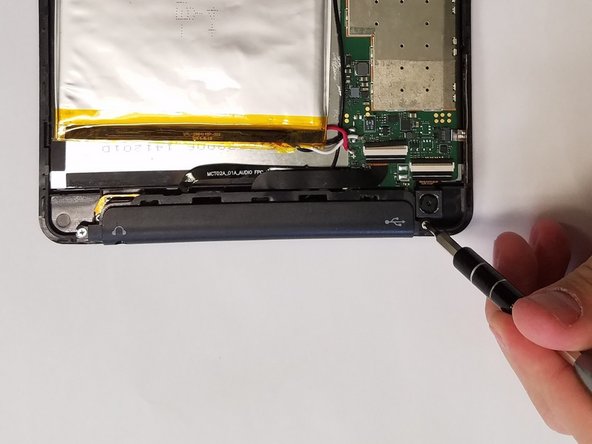
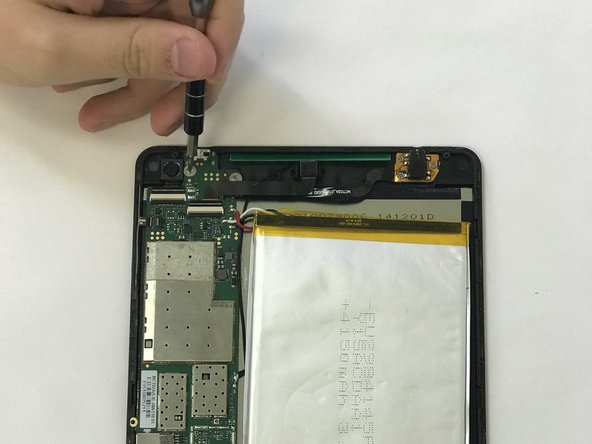
Using a JIS #000 screwdriver, remove the two 2.5 mm screws.
-
-
-
Cette étape n’est pas traduite. Aidez à la traduire
-
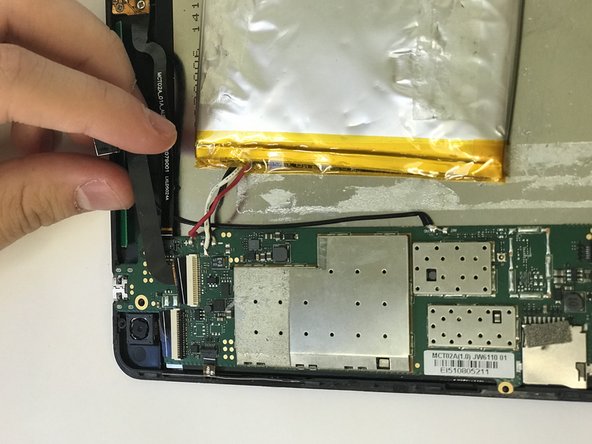
Flip up the small black connectors using a spudger or your nails.
-
-
Cette étape n’est pas traduite. Aidez à la traduire
-
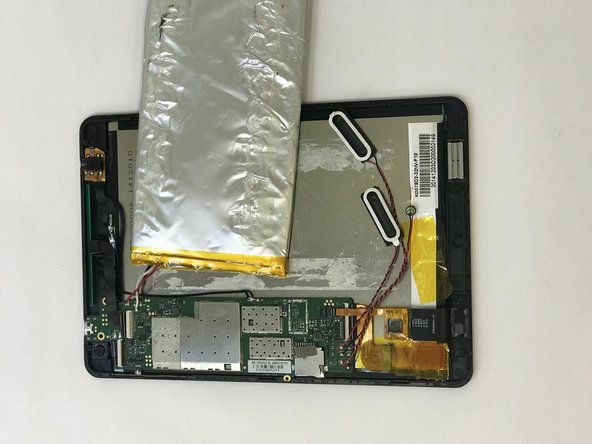
Use the tweezers to loosen up the sides of speakers by going into the gaps, before picking it up.
-
-
Cette étape n’est pas traduite. Aidez à la traduire
-
Remove all wire connections by sliding them out of the connectors.
-
-
Cette étape n’est pas traduite. Aidez à la traduire
-
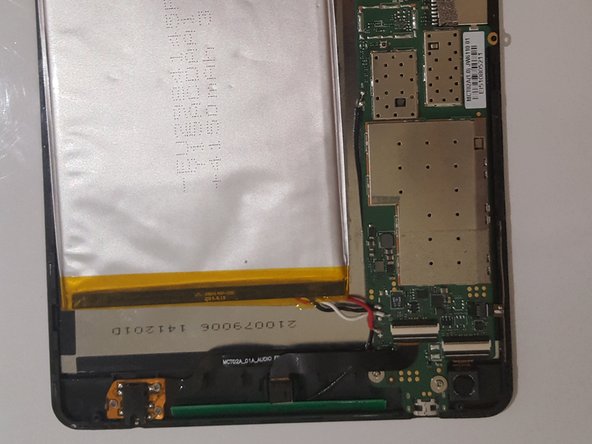
Take off the motherboard and set it aside. Your Finished product should look like this.
-


Annulation : je n'ai pas terminé ce tutoriel.
Une autre personne a terminé cette réparation.
Équipe

University of North Texas, Team S4-G7, Raign Fall 2018 Membre de l'équipe University of North Texas, Team S4-G7, Raign Fall 2018
UNT-RAIGN-F18S4G7
5 membres
4 tutoriels rédigés
Un commentaire
I have a realpad that's is missing all the motherboard and do y'all know where can I take to get it fix because I got it for my sweet 15 as a gift from my uncle and aunt