Aller au contenu principal

AC Capacitor for A/C Condenser Unit Replacement

Ce dont vous avez besoin

  1. AC Capacitor for A/C Condenser Unit Replacement, AC/Run Capacitor for A/C Condenser unit: étape 1, image 1 de 2 AC Capacitor for A/C Condenser Unit Replacement, AC/Run Capacitor for A/C Condenser unit: étape 1, image 2 de 2
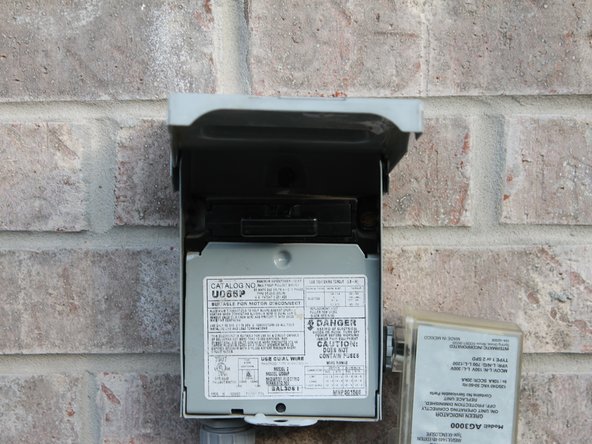
    • Go to the condenser unit outside the house and locate the breaker panel connected to the unit.

  2. AC Capacitor for A/C Condenser Unit Replacement: étape 2, image 1 de 3 AC Capacitor for A/C Condenser Unit Replacement: étape 2, image 2 de 3 AC Capacitor for A/C Condenser Unit Replacement: étape 2, image 3 de 3
    • Open the breaker panel and pull out the fuse inside.

    • Turn off the power by removing the fuse or flipping the switch on the disconnect box before continuing on with the guide. Leaving the power on during repair could result in serious injury or death.

  3. AC Capacitor for A/C Condenser Unit Replacement: étape 3, image 1 de 3 AC Capacitor for A/C Condenser Unit Replacement: étape 3, image 2 de 3 AC Capacitor for A/C Condenser Unit Replacement: étape 3, image 3 de 3
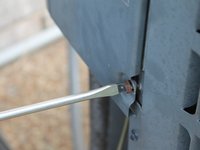
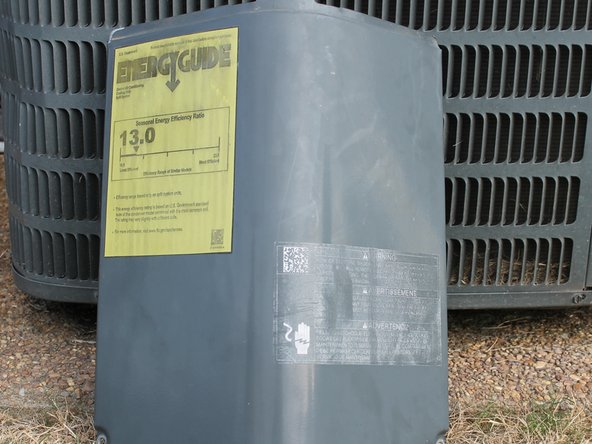
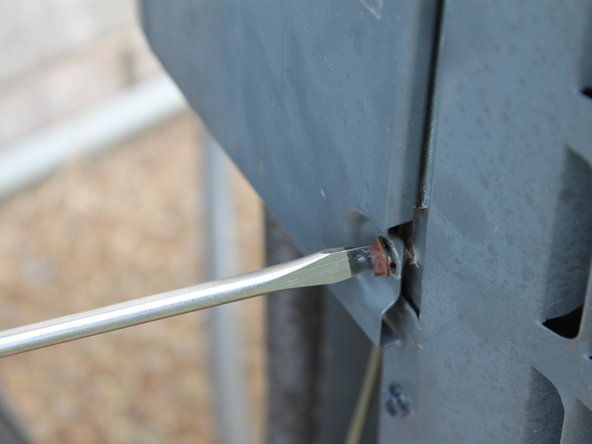
    • Locate the Electrical panel hiding the capacitor and unscrew the panel from the condenser unit using the screwdriver or the drill bit

    • Usually, there are two screws on the bottom of the electrical panel that are the screws holding the panel to the condenser unit.

    • Screw size/type is dependent on the model of the condenser unit.

  4. AC Capacitor for A/C Condenser Unit Replacement: étape 4, image 1 de 3 AC Capacitor for A/C Condenser Unit Replacement: étape 4, image 2 de 3 AC Capacitor for A/C Condenser Unit Replacement: étape 4, image 3 de 3
    • Some condenser units have 1 run capacitor, some have 2. Steps are the same for each but you have to buy replacements for each capacitor.

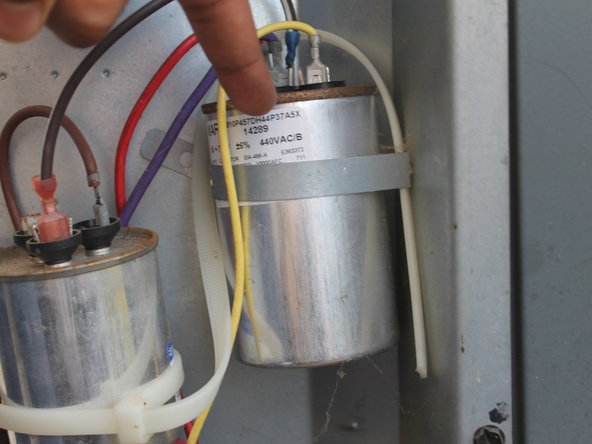
    • Do not touch the metal part of the wires. They are still connected to a charged capacitor and can still shock you. Pull wires from the insulated parts.

    • Take pictures or remember where each colored wire is connected, and pull each wire straight up to disconnect from capacitor.

  5. AC Capacitor for A/C Condenser Unit Replacement: étape 5, image 1 de 3 AC Capacitor for A/C Condenser Unit Replacement: étape 5, image 2 de 3 AC Capacitor for A/C Condenser Unit Replacement: étape 5, image 3 de 3
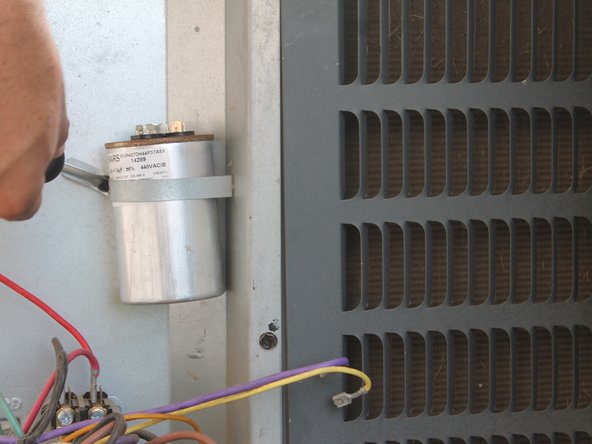
    • Locate the bracket holding the capacitor to the condenser unit and unscrew it.

    • Screw size/type is dependent on the model of the condenser unit.

  6. AC Capacitor for A/C Condenser Unit Replacement: étape 6, image 1 de 3 AC Capacitor for A/C Condenser Unit Replacement: étape 6, image 2 de 3 AC Capacitor for A/C Condenser Unit Replacement: étape 6, image 3 de 3
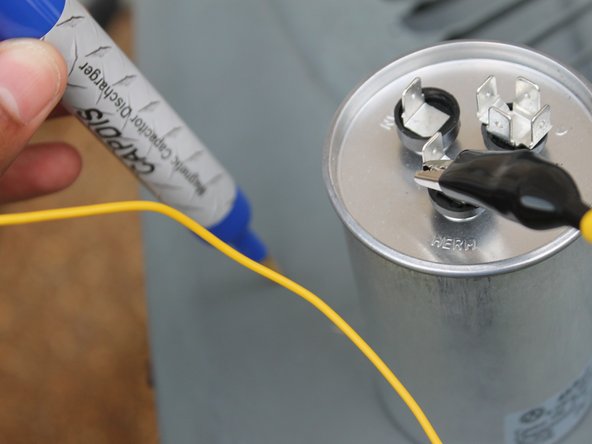
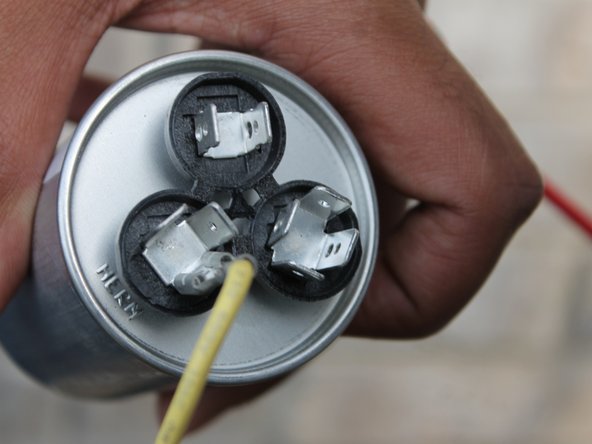
    • Using the capacitor discharge pen, connect wire lead to the common terminal of the capacitor, the 'C' side of the capacitor. Then touch the brass tip of the capactior to any nearby ground, frame, or chassis.

    • Repeat these steps with the herm side and then the fan side of the capacitor to a nearby ground, frame, or chassis.

    • After discharging the capacitor, you can safely dispose of the capacitor responsibly.

    • Harzardous situation which can result in injury or death. The discharge process should only be used with a certified capacitor discharge tool.

    • Most state or local government websites will have information on how to dispose of electronics safetly.

  7. AC Capacitor for A/C Condenser Unit Replacement: étape 7, image 1 de 3 AC Capacitor for A/C Condenser Unit Replacement: étape 7, image 2 de 3 AC Capacitor for A/C Condenser Unit Replacement: étape 7, image 3 de 3
    • With the new capacitor, plug in the color wires to each terminal the wires were connected to on the old capacitor.

    • Reference images about the capacitor wiring are very helpful in this step.

  8. AC Capacitor for A/C Condenser Unit Replacement: étape 8, image 1 de 2 AC Capacitor for A/C Condenser Unit Replacement: étape 8, image 2 de 2
    • Put the capacitor against the unit, align the bracket to the screw socket, and screw it the bracket.

  9. AC Capacitor for A/C Condenser Unit Replacement: étape 9, image 1 de 3 AC Capacitor for A/C Condenser Unit Replacement: étape 9, image 2 de 3 AC Capacitor for A/C Condenser Unit Replacement: étape 9, image 3 de 3
    • Put the electrical panel back into place, and screw it back onto the condenser unit.

  10. AC Capacitor for A/C Condenser Unit Replacement: étape 10, image 1 de 3 AC Capacitor for A/C Condenser Unit Replacement: étape 10, image 2 de 3 AC Capacitor for A/C Condenser Unit Replacement: étape 10, image 3 de 3
    • Put the fuse back into the breaker panel.

    • Remember to have completed all the previous steps before putting the fuse back in the breaker panel.

    • The circuit should be on once the fuse is plugged back into the panel.

Conclusion

Follow these instructions and replacing the capacitor will be easy.

Devin Ceruti

Membre depuis le 09/19/22

181 Réputation

1 tutoriel rédigé

Équipe

University of Memphis, Team 1-2, Cameron Fall 2022 Membre de l'équipe University of Memphis, Team 1-2, Cameron Fall 2022

UM-CAMERON-F22S1G2

3 membres

2 tutoriels rédigés

0 commentaires

Ajouter un commentaire

Nombre de vues :

Dernières 24 heures : 4

7 derniers jours : 15

30 derniers jours : 35

Total : 634