Introduction
The front and rear cameras can sometimes break or malfunction, and must then be replaced to continue to be able to take pictures and video.
Ce dont vous avez besoin
-
-
Remove screws.
-
Insert spudger tool on the middle of the left side, between the white and black plastic.
-
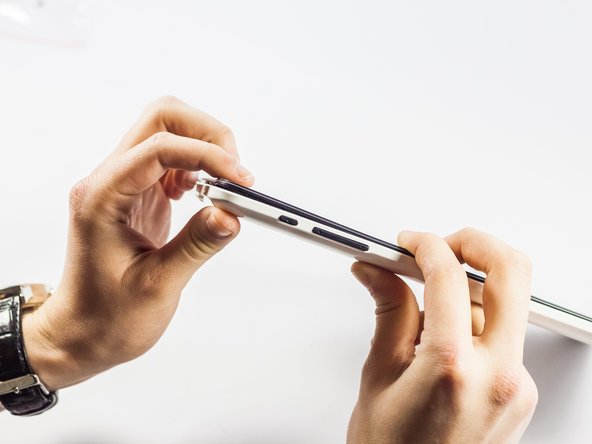
Slide in a plastic opening tool and use it to further pull the back off.
-
Work your way around the edge of the tablet with the plastic opening tool and insert more as needed.
-
Pull off the back cover.
-
-
-
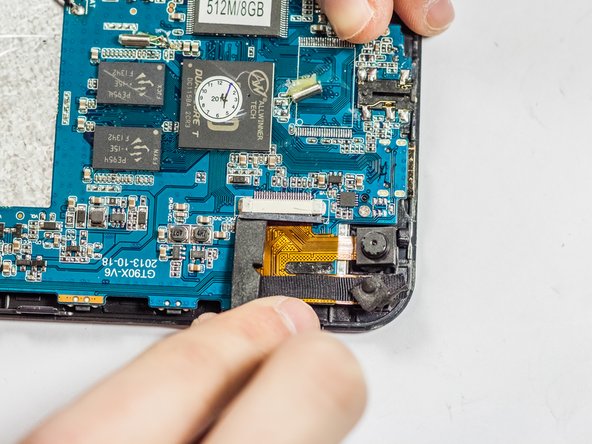
Locate the camera unit and note where it is attached to the motherboard.
-
Grasp the camera unit with tweezers or fingers, and pull firmly to remove it from the adhesive holding it to the motherboard.
-
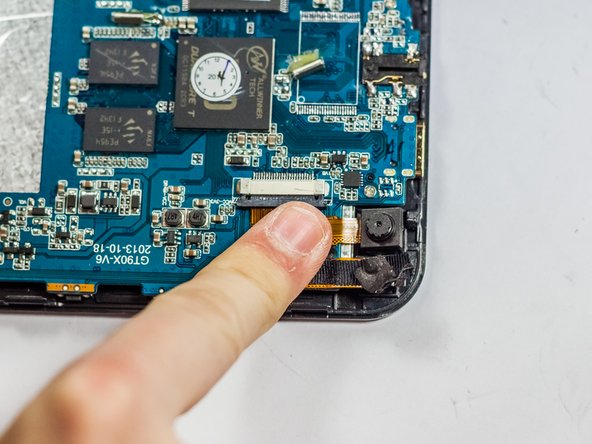
Using the spudger, carefully loosen the slot's plastic cover piece holding the ribbon cable in place.
-
Pull the ribbon cable out.
-
Remove the old adhesive with tweezers.
-
-
-
-
Apply a small square of new adhesive in the same spot as the old adhesive was previously.
-
Gently slide the new camera unit's ribbon cable into the slot.
-
Press the plastic cover piece back in place with the spudger.
-
Firmly press the new camera onto the adhesive, making sure to line it up correctly.
-


Annulation : je n'ai pas terminé ce tutoriel.
2 autres ont terminé cette réparation.
Équipe

UMass Dartmouth, Team 4-6, Vijaybhaskar Spring 2015 Membre de l'équipe UMass Dartmouth, Team 4-6, Vijaybhaskar Spring 2015
UMASSD-VIJAYBHASKAR-S15S4G6
3 membres
6 tutoriels rédigés