Introduction
Without proper internet connectivity, the A90 cannot perform many of its most important functions, and the antenna unit within these devices is responsible for maintaining this internet connection, and they can be damaged from many different sources. For this reason, in this article, we will be replacing the wifi antenna unit for the AKASO KingPad A90.
This repair does require the utilization of a soldering iron which can cause burns, fires, and damage device components if improperly used, so make sure to be careful during this replacement.
Here is a link to another iFixit guide that can show some tips on how to solder/desolder connections on a device.
Ce dont vous avez besoin
-
-
Remove screws.
-
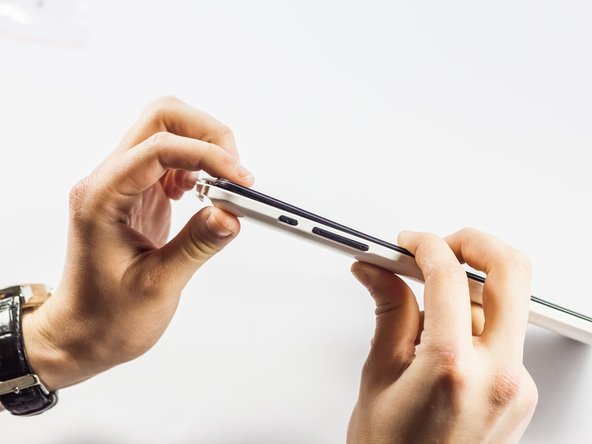
Insert spudger tool on the middle of the left side, between the white and black plastic.
-
Slide in a plastic opening tool and use it to further pull the back off.
-
Work your way around the edge of the tablet with the plastic opening tool and insert more as needed.
-
Pull off the back cover.
-
-
-
-
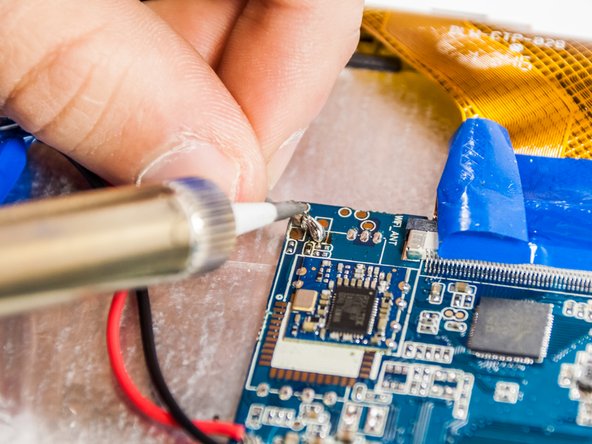
With the new antenna locate the solder points.
-
Add solder to the solder points to allow soldering.
-
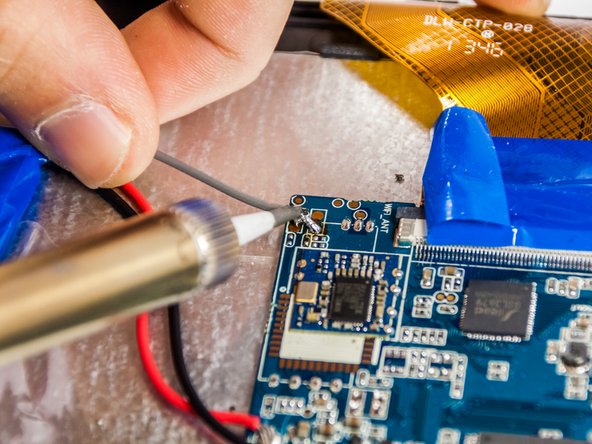
Place the antenna at each point and melt the solder point.
-
Place the antenna solder location into the melted solder blob and let it sit for about 2 seconds.
-
Repeat this step for each of the solder points.
-


Annulation : je n'ai pas terminé ce tutoriel.
Une autre personne a terminé cette réparation.
Équipe

UMass Dartmouth, Team 4-6, Vijaybhaskar Spring 2015 Membre de l'équipe UMass Dartmouth, Team 4-6, Vijaybhaskar Spring 2015
UMASSD-VIJAYBHASKAR-S15S4G6
3 membres
6 tutoriels rédigés