Aller au contenu principal

APS Tech 101629 Channel Switch Replacement

Ce dont vous avez besoin

  1. APS Tech 101629 Channel Switch Replacement, External Casing: étape 1, image 1 de 3 APS Tech 101629 Channel Switch Replacement, External Casing: étape 1, image 2 de 3 APS Tech 101629 Channel Switch Replacement, External Casing: étape 1, image 3 de 3
    • Pry all four of the plastic feet off the bottom of the enclosure using the iPod opening tool.

  2. APS Tech 101629 Channel Switch Replacement: étape 2, image 1 de 2 APS Tech 101629 Channel Switch Replacement: étape 2, image 2 de 2
    • Unscrew the four screws previously covered by the feet with a Phillips #1 screwdriver.

  3. APS Tech 101629 Channel Switch Replacement: étape 3, image 1 de 2 APS Tech 101629 Channel Switch Replacement: étape 3, image 2 de 2
    • Flip the device right side up.

    • Gently slide the casing upwards and off the hard drive.

  4. APS Tech 101629 Channel Switch Replacement: étape 4, image 1 de 1
    • Flip device upside down again.

    • Gently pry the bottom gray casing away from the device.

  5. APS Tech 101629 Channel Switch Replacement: étape 5, image 1 de 2 APS Tech 101629 Channel Switch Replacement: étape 5, image 2 de 2
    • Rotate so the back of the device is facing you.

    • Gently pry the back casing away.

    • When the back casing is removed, the fan will become loose.

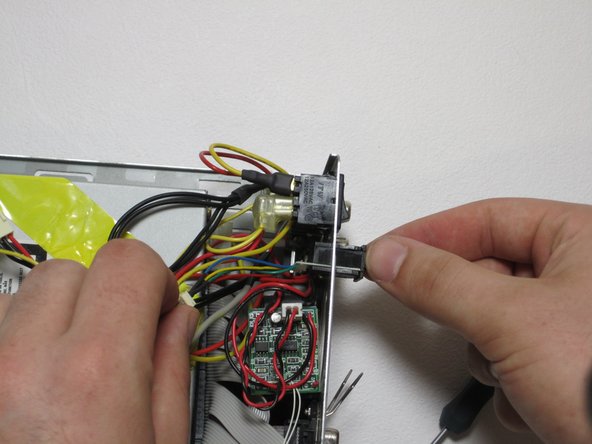
  6. APS Tech 101629 Channel Switch Replacement, Channel Switch: étape 6, image 1 de 2 APS Tech 101629 Channel Switch Replacement, Channel Switch: étape 6, image 2 de 2
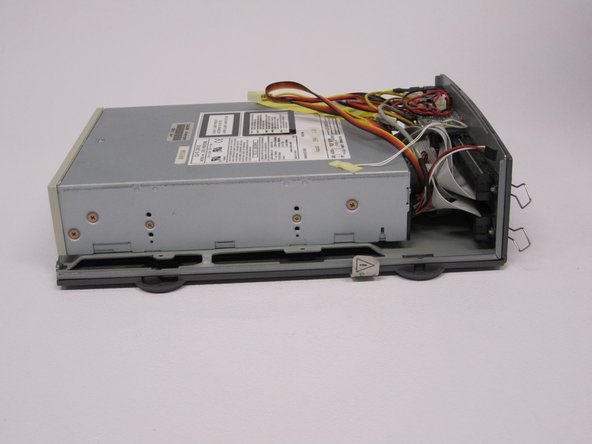
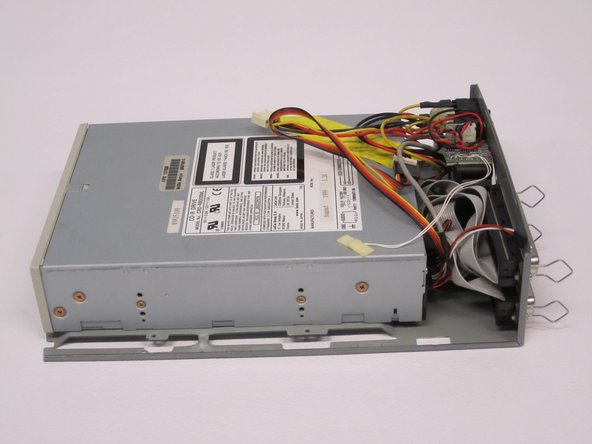
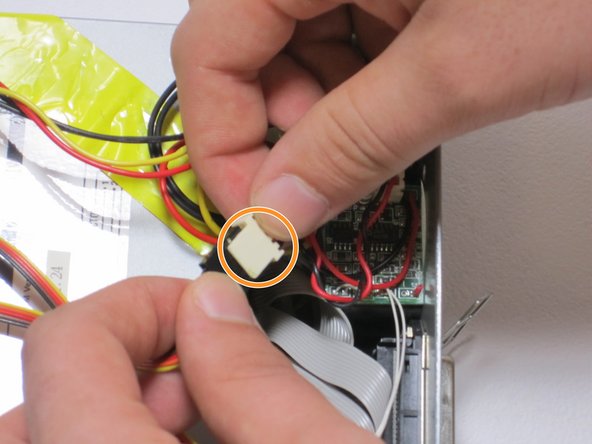
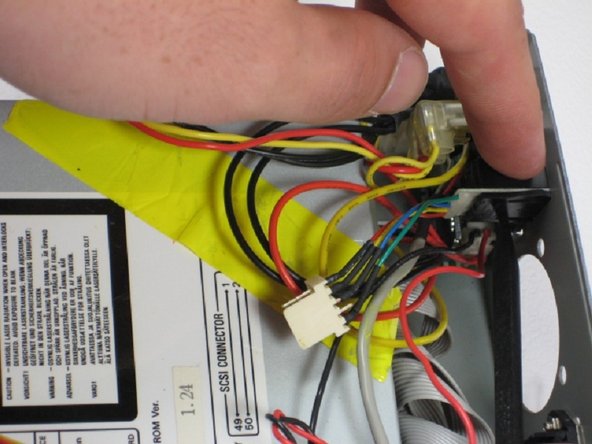
    • Find the conjoined ID cable wires that are colored black, orange, and yellow.

    • Lift white portion of cable wires to disconnect it.

  7. APS Tech 101629 Channel Switch Replacement: étape 7, image 1 de 3 APS Tech 101629 Channel Switch Replacement: étape 7, image 2 de 3 APS Tech 101629 Channel Switch Replacement: étape 7, image 3 de 3
    • At this point, the fan is loose and can be easily moved but not disconnected.

    • Using the spudger, depress the pressure holders at all four corners of the fan.

    • Take out the fan and its cords, by pulling it outward from its cavity within the device.

Conclusion

To reassemble your device, follow these instructions in reverse order.

Une autre personne a terminé cette réparation.

Alexis Weckel

Membre depuis le 04/11/11

140 Réputation

3 tutoriels rédigés

Équipe

Cal Poly, Team 24-60, Amido Spring 2011 Membre de l'équipe Cal Poly, Team 24-60, Amido Spring 2011

CPSU-AMIDO-S11S24G60

5 membres

12 tutoriels rédigés

0 commentaires

Ajouter un commentaire

Nombre de vues :

Dernières 24 heures : 0

7 derniers jours : 0

30 derniers jours : 1

Total : 621