Introduction
When replacing a hard drive in a laptop, it's important to assess the specific issues you're facing, consider your budget and requirements, and determine whether a simple upgrade or a transition to a different storage technology (like an SSD) would be most beneficial. Additionally, backing up important data before any hardware changes is crucial to prevent data loss.
Ce dont vous avez besoin
-
-
Remove ten 2 mm screws using a Phillips #0 screwdriver.
-
Remove the screw in the center using a T4 Torx screwdriver.
-
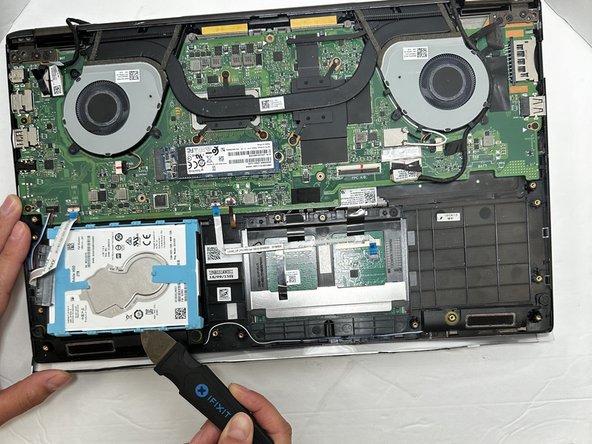
Use an iFixit opening tool to pry open the back panel.
-
-
-
-
Disconnect the white ribbon cable from the connection lever using a Jimmy.
-
To reassemble your device, follow these instructions in reverse order.
To reassemble your device, follow these instructions in reverse order.


