Aller au contenu principal

ASUS Vivobook Q301LA-BSI5T17 Charging Port Replacement

Ce dont vous avez besoin

  1. ASUS Vivobook Q301LA-BSI5T17 Charging Port Replacement, Battery: étape 1, image 1 de 1
    • Unscrew the (10) screws on the bottom of the computer chassis using the JIS #0 screwdriver.
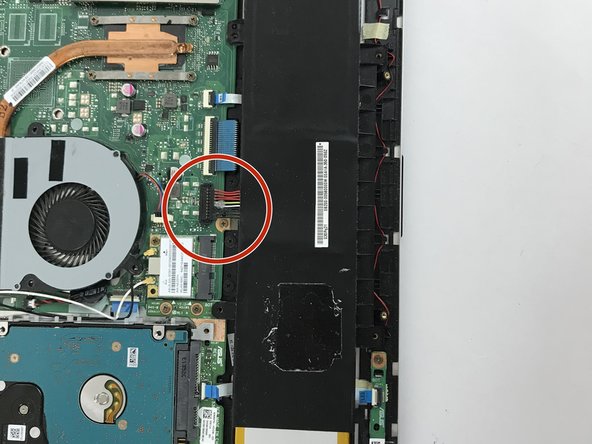
  2. ASUS Vivobook Q301LA-BSI5T17 Charging Port Replacement: étape 2, image 1 de 2 ASUS Vivobook Q301LA-BSI5T17 Charging Port Replacement: étape 2, image 2 de 2
    • Slightly lift the lower case and push it toward the rear of the computer to free the mounting tabs.

  3. ASUS Vivobook Q301LA-BSI5T17 Charging Port Replacement: étape 3, image 1 de 3 ASUS Vivobook Q301LA-BSI5T17 Charging Port Replacement: étape 3, image 2 de 3 ASUS Vivobook Q301LA-BSI5T17 Charging Port Replacement: étape 3, image 3 de 3
    • Remove the (6) six screws attaching the battery to the frame using the JIS #0 screwdriver.

    • Use the black plastic spudger to remove the battery from the device.

  4. ASUS Vivobook Q301LA-BSI5T17 Charging Port Replacement: étape 4, image 1 de 3 ASUS Vivobook Q301LA-BSI5T17 Charging Port Replacement: étape 4, image 2 de 3 ASUS Vivobook Q301LA-BSI5T17 Charging Port Replacement: étape 4, image 3 de 3
    • Gently take the battery out of the laptop, making sure that all wires connecting to it are disconnected.

  5. Attention : les étapes 5 à 6 sont issues d'un tutoriel marqué comme en cours.

    ASUS Vivobook Q301LA-BSI5T17 Charging Port Replacement, Motherboard: étape 5, image 1 de 2 ASUS Vivobook Q301LA-BSI5T17 Charging Port Replacement, Motherboard: étape 5, image 2 de 2
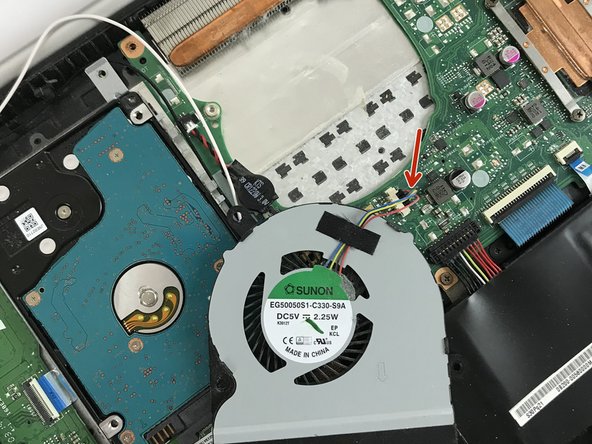
    • When removing the cooling fan, carefully unplug the cable that is connected to the motherboard.

    • Once you have carefully unplugged the cable, the cooling fan should just come off with ease.

  6. ASUS Vivobook Q301LA-BSI5T17 Charging Port Replacement: étape 6, image 1 de 2 ASUS Vivobook Q301LA-BSI5T17 Charging Port Replacement: étape 6, image 2 de 2
    • Carefully remove the motherboard.

    • You can now replace it with a new motherboard or perform any necessary modifications to it.

  7. ASUS Vivobook Q301LA-BSI5T17 Charging Port Replacement, Charging Port: étape 7, image 1 de 1
Conclusion

To reassemble your device, follow these instructions in reverse order.

Jens Peter Andersen

Membre depuis le 10/03/17

658 Réputation

6 tutoriels rédigés

Équipe

USF Tampa, Team S5-G1, Walkup Fall 2017 Membre de l'équipe USF Tampa, Team S5-G1, Walkup Fall 2017

USFT-WALKUP-F17S5G1

4 membres

6 tutoriels rédigés

0 commentaires

Ajouter un commentaire

Nombre de vues :

Dernières 24 heures : 2

7 derniers jours : 5

30 derniers jours : 6

Total : 1,002