Aller au contenu principal

ASUS X553SA-BHCLN10 Keyboard Replacement

Ce dont vous avez besoin

  1. ASUS X553SA-BHCLN10 Keyboard Replacement, Keyboard: étape 1, image 1 de 2 ASUS X553SA-BHCLN10 Keyboard Replacement, Keyboard: étape 1, image 2 de 2
    • Power off laptop.

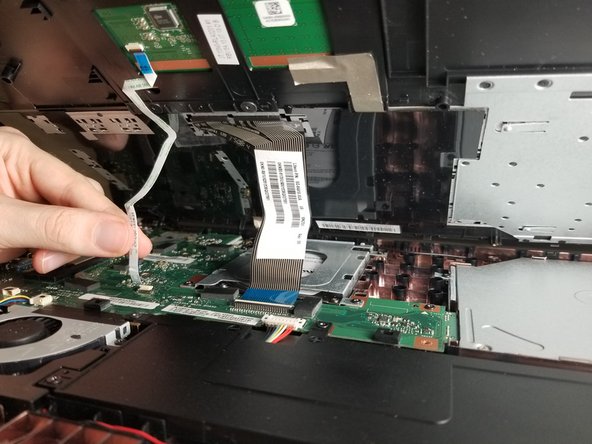
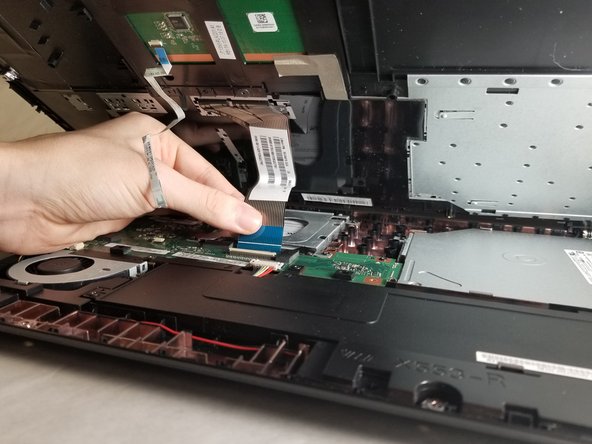
    • Flip over the laptop so the model stickers are pointing towards the ceiling.

  2. ASUS X553SA-BHCLN10 Keyboard Replacement: étape 2, image 1 de 2 ASUS X553SA-BHCLN10 Keyboard Replacement: étape 2, image 2 de 2
    • Use a Phillips #0 screwdriver to remove the six 10.5mm screws (shown in red).

    • Use a Phillips #0 screwdriver to remove the four 5.5mm screws (shown in orange).

  3. ASUS X553SA-BHCLN10 Keyboard Replacement: étape 3, image 1 de 2 ASUS X553SA-BHCLN10 Keyboard Replacement: étape 3, image 2 de 2
    • Turn over the laptop with the keyboard facing upwards.

    • Insert a plastic opening tool under the edge of the laptop.

  4. ASUS X553SA-BHCLN10 Keyboard Replacement: étape 4, image 1 de 3 ASUS X553SA-BHCLN10 Keyboard Replacement: étape 4, image 2 de 3 ASUS X553SA-BHCLN10 Keyboard Replacement: étape 4, image 3 de 3
    • After prying open all sides of the laptop, carefully remove the keyboard from the laptop.

    • Carefully remove the two cables connecting the keyboard to the laptop by popping up the white clips and sliding the connector out.

Conclusion

To reassemble your device, follow these instructions in reverse order.

Une autre personne a terminé cette réparation.

Spencer Lee

Membre depuis le 11/01/18

268 Réputation

2 tutoriels rédigés

Équipe

IUPUI, Team S2-G4, Harley Fall 2018 Membre de l'équipe IUPUI, Team S2-G4, Harley Fall 2018

IUPUI-HARLEY-F18S2G4

3 membres

2 tutoriels rédigés

0 commentaires

Ajouter un commentaire

Nombre de vues :

Dernières 24 heures : 2

7 derniers jours : 4

30 derniers jours : 6

Total : 532