Aller au contenu principal

Acer Aspire 5517-1127 Hard Drive Replacement

Ce dont vous avez besoin

  1. Acer Aspire 5517-1127 Hard Drive Replacement, Hard Drive: étape 1, image 1 de 1
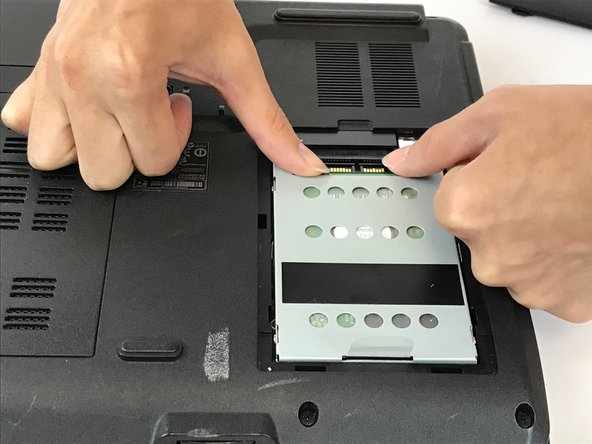
    • Orient the laptop so that it is upside down facing away from you. The hard drive panel is on the right.

    • The two screws are at the top of the panel.

  2. Acer Aspire 5517-1127 Hard Drive Replacement: étape 2, image 1 de 2 Acer Aspire 5517-1127 Hard Drive Replacement: étape 2, image 2 de 2
    • Using a Phillips screwdriver (PH1), unscrew each screw from the panel.

    • Pull the panel away from the device as shown.

  3. Acer Aspire 5517-1127 Hard Drive Replacement: étape 3, image 1 de 2 Acer Aspire 5517-1127 Hard Drive Replacement: étape 3, image 2 de 2
    • Push the hard drive out of its housing as shown.

  4. Acer Aspire 5517-1127 Hard Drive Replacement: étape 4, image 1 de 1
    • The hard drive is now removed.

Conclusion

To reassemble your device, follow these instructions in reverse order.

Christopher Newkirk

Membre depuis le 02/02/17

509 Réputation

4 tutoriels rédigés

Équipe

USF Tampa, Team 17-1, Blackwell Spring 2017 Membre de l'équipe USF Tampa, Team 17-1, Blackwell Spring 2017

USFT-BLACKWELL-S17S17G1

4 membres

5 tutoriels rédigés

0 commentaires

Ajouter un commentaire

Nombre de vues :

Dernières 24 heures : 0

7 derniers jours : 3

30 derniers jours : 10

Total : 937