Aller au contenu principal

Acer Aspire S3-951-6432 Screen Replacement

Ce dont vous avez besoin

  1. Acer Aspire S3-951-6432 Screen Replacement, Screen: étape 1, image 1 de 3 Acer Aspire S3-951-6432 Screen Replacement, Screen: étape 1, image 2 de 3 Acer Aspire S3-951-6432 Screen Replacement, Screen: étape 1, image 3 de 3
    • Use the plastic opening tool around the edges of the screen and remove the outer screen casing (the bezel).

  2. Acer Aspire S3-951-6432 Screen Replacement: étape 2, image 1 de 3 Acer Aspire S3-951-6432 Screen Replacement: étape 2, image 2 de 3 Acer Aspire S3-951-6432 Screen Replacement: étape 2, image 3 de 3
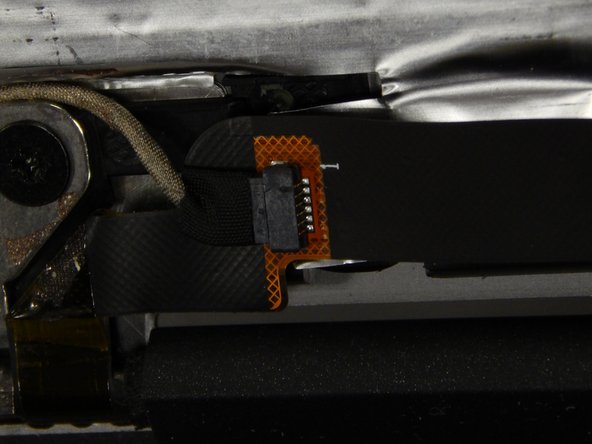
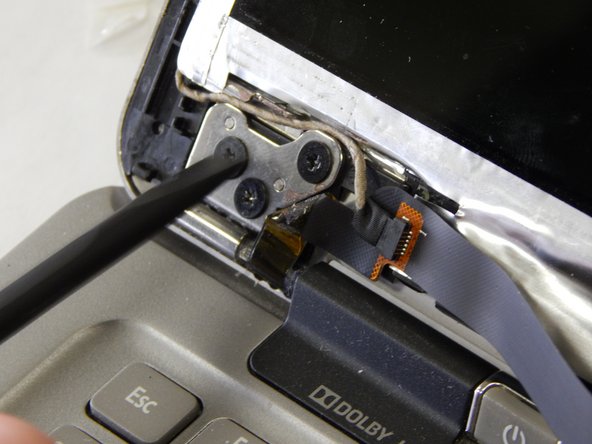
    • Locate the black strip at the bottom of the screen, just above the power button.

    • Use the spudger to disconnect this wire from the screen.

  3. Acer Aspire S3-951-6432 Screen Replacement: étape 3, image 1 de 2 Acer Aspire S3-951-6432 Screen Replacement: étape 3, image 2 de 2
    • Disconnect the wire leading around the screen with a spudger or a plastic opening tool.

  4. Acer Aspire S3-951-6432 Screen Replacement: étape 4, image 1 de 3 Acer Aspire S3-951-6432 Screen Replacement: étape 4, image 2 de 3 Acer Aspire S3-951-6432 Screen Replacement: étape 4, image 3 de 3
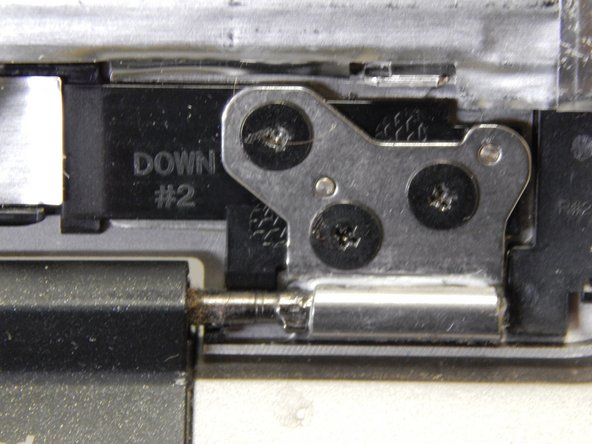
    • Locate the six 3 mm screws (there are three on each side of the screen). Remove them with the Phillips #0 screwdriver.

  5. Acer Aspire S3-951-6432 Screen Replacement: étape 5, image 1 de 1
    • Pull the screen (the entire top half) backwards off the hinges of the laptop.

Conclusion

To reassemble your device, follow these instructions in reverse order.

Une autre personne a terminé cette réparation.

Cynthia Bennett

Membre depuis le 10/17/18

584 Réputation

5 tutoriels rédigés

Équipe

UW Tacoma, Team S1-G1, Rose Fall 2018 Membre de l'équipe UW Tacoma, Team S1-G1, Rose Fall 2018

UWT-ROSE-F18S1G1

4 membres

5 tutoriels rédigés

0 commentaires

Ajouter un commentaire

Nombre de vues :

Dernières 24 heures : 1

7 derniers jours : 3

30 derniers jours : 13

Total : 681