Introduction
If your device will not display anything, your display may be at fault. If your display is cracked or will not display anything, you probably need to replace it. The display is the output surface and projecting mechanism that shows the graphic images you can see. Before doing this guide, make sure your device is powered on and charged to double-check that this is not the problem. Since the display is part of the motherboard tray, you will need to replace the entire screen. The guide helps remove everything you would need to get to just the motherboard tray. Before you begin, make sure your device is powered off and not connected to any external power sources.
Ce dont vous avez besoin
-
-
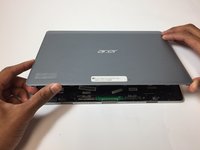
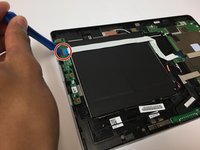
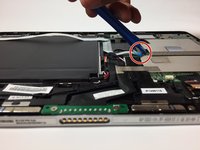
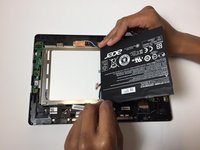
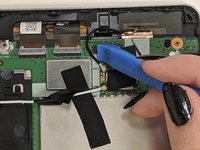
Use the opening tool to open the back cover. The opening tool should fit under the cover if you place it above the power button.
-
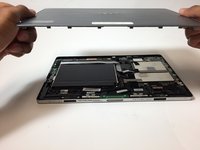
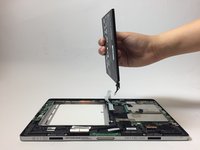
Lift this side of the back cover once the opening tool is inside the device.
-
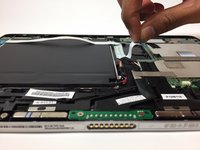
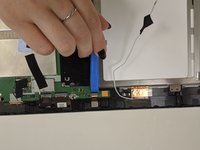
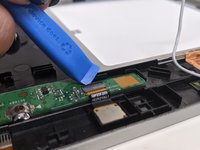
Use the opening tool and your hands to gradually work around the edges of the cover.
-
-
-
-
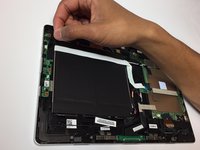
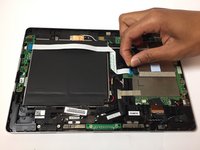
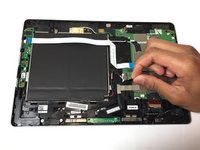
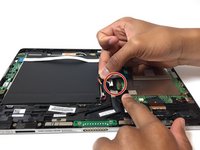
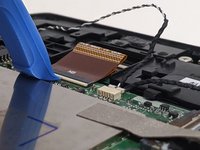
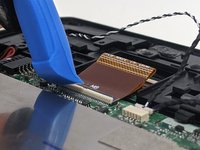
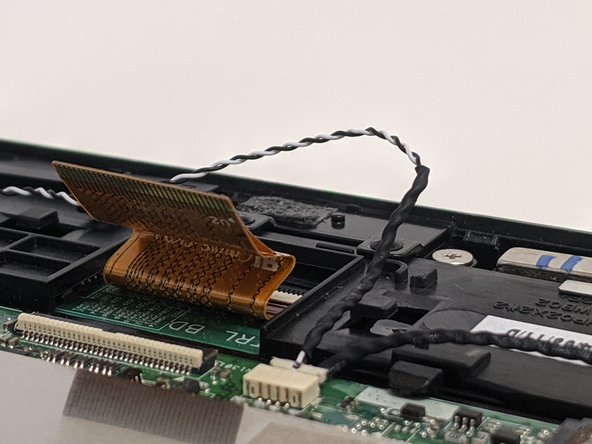
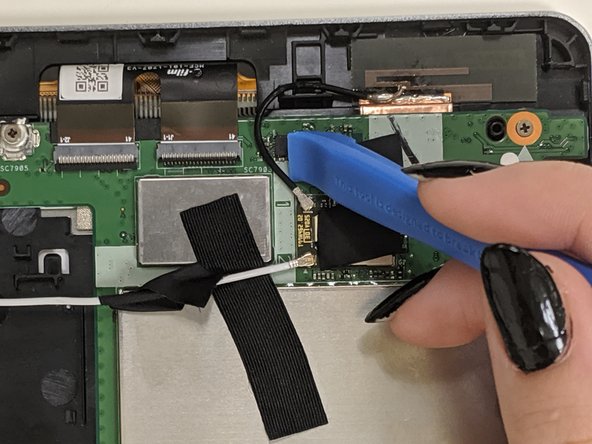
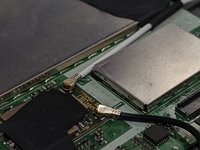
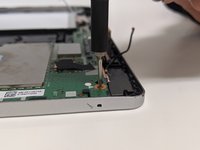
Now that the battery is removed, it is time to remove the remaining ribbon cables and connectors (marked in red) from the motherboard.
-
-
-
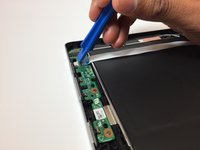
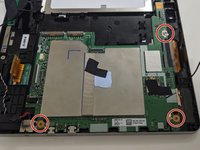
Use the Phillips #000 screwdriver to remove the three 3 mm screws on the circuit board.
-
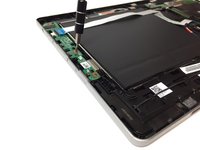
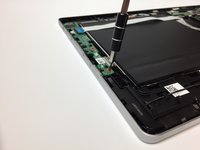
Disregard the battery in the pictures since the battery is already removed at this point in this guide.
-
-
-
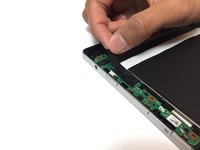
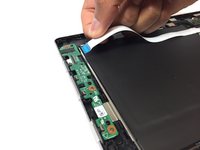
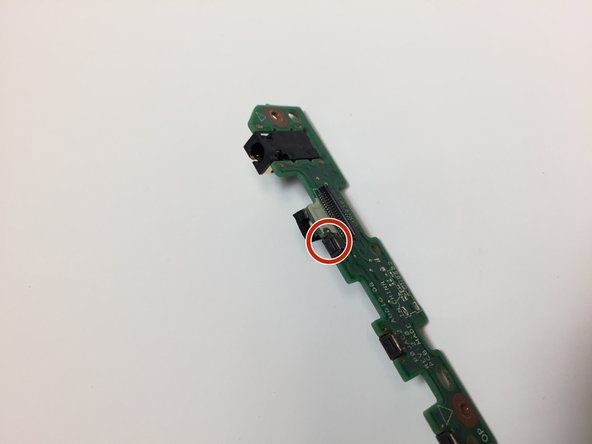
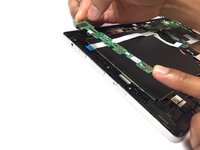
Carefully remove the circuit board from the device. The power button is located on this piece.
-
For more information on soldering, please read through the How To Solder and Desolder Connections guide.
-
To reassemble your device, follow these instructions in reverse order.
To reassemble your device, follow these instructions in reverse order.
Annulation : je n'ai pas terminé ce tutoriel.
4 autres ont terminé cette réparation.
1Commentaire sur le guide
Where exactly is the display on the motherboard?


