Introduction
If the Acer Chromebook 14 CB3-431-C7EX has distorted audio when using the headphone jack, use this guide to replace the headphone jack.
The headphone jack of the Acer Chromebook 14 allows the users to use external audio sources. A faulty headphone jack may cause the Acer Chromebook 14 to experience distorted audio or lack of audio playback in to the user’s headphones.
Before buying a replacement headphone jack, use the guide to ensure that the headphone jack is properly connected within the laptop and free of any obstruction within the jack. You may be able to fix this issue by reconnecting a loose connector.
Before beginning, be sure to power down the laptop, and unplug from the external power source(s).
Ce dont vous avez besoin
-
-
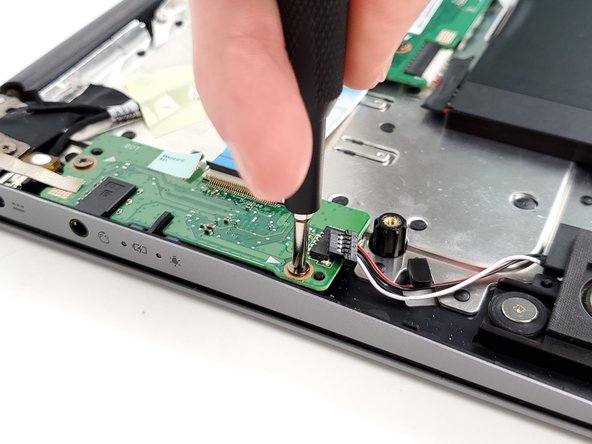
Use a Phillips #0 screwdriver to unscrew the eight 4mm screws.
-
Use a Phillips #0 screwdriver to unscrew the two 7mm screws.
-
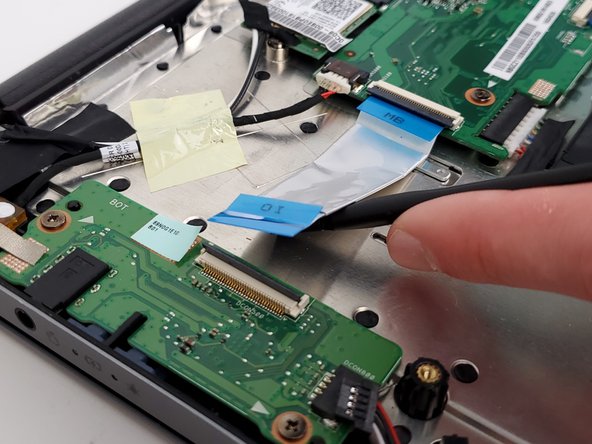
Remove the cover of the device by prying up from one of the edges with a spudger or plastic opening tool.
-
-


To reassemble your device, follow these instructions in reverse order.
To reassemble your device, follow these instructions in reverse order.
Annulation : je n'ai pas terminé ce tutoriel.
Une autre personne a terminé cette réparation.
Équipe

Embry-Riddle Aeronautical University, Team S17-G7, Lamothe Spring 2020 Membre de l'équipe Embry-Riddle Aeronautical University, Team S17-G7, Lamothe Spring 2020
ERAU-LAMOTHE-S20S17G7
3 membres
5 tutoriels rédigés