Cette version peut contenir des modifications incorrectes. Passez au dernier aperçu vérifié.
Ce dont vous avez besoin
-
Cette étape n’est pas traduite. Aidez à la traduire
-
With the plastic opening tool pry open the grey plastic siding on both sides of the tablet.
-
-
Cette étape n’est pas traduite. Aidez à la traduire
-
Using a Phillips #00 screwdriver remove the 4.0 mm screws on the sides of the tablet.
-
-
Cette étape n’est pas traduite. Aidez à la traduire
-
Once the 4 screws have been removed use the plastic opening tool to pry open the device on the side of the device.
-
After prying open the case with the plastic opening tool carefully remove the case from the device and place the device face down on its screen.
-
-
-
Cette étape n’est pas traduite. Aidez à la traduire
-
Using a Phillips #00 screwdriver remove the 4.0 mm screws holding the battery in place.
-
-
Cette étape n’est pas traduite. Aidez à la traduire
-
Lift the battery out of the device, and disconnect the cable attached to the motherboard by pulling it out to the side not lifting it up.
-
-
Cette étape n’est pas traduite. Aidez à la traduire
-
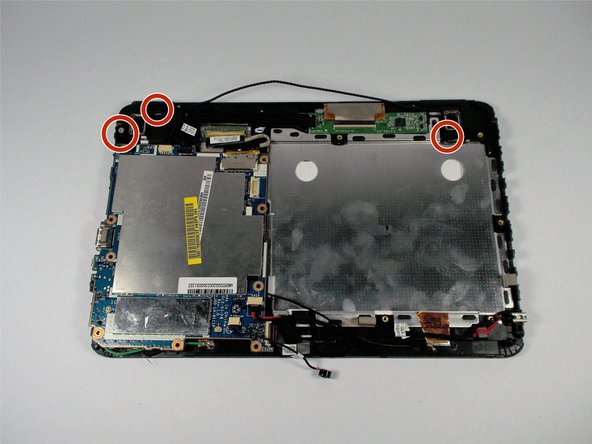
After removing the battery use a Phillips head #00 screwdriver to remove the 3.0 mm screws holding the dual speakers in place.
-
-
Cette étape n’est pas traduite. Aidez à la traduire
-
Once the screws are removed, lift up on the speakers to remove them from the case.
-
-
Cette étape n’est pas traduite. Aidez à la traduire
-
Once you have removed the speakers from the case, disconnect the speakers from the motherboard by pulling the cable out horizontally. Do not pull up on the cable.
-


