Aller au contenu principal

Acer Nitro 5 AN517-51-56YW Touch Pad Replacement

Ce dont vous avez besoin

  1. Acer Nitro 5 AN517-51-56YW Touch Pad Replacement, Bottom Cover: étape 1, image 1 de 3 Acer Nitro 5 AN517-51-56YW Touch Pad Replacement, Bottom Cover: étape 1, image 2 de 3 Acer Nitro 5 AN517-51-56YW Touch Pad Replacement, Bottom Cover: étape 1, image 3 de 3
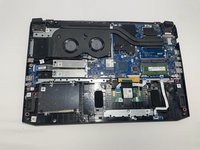
    • Place the laptop upside-down so that the fans are facing away from you.

    • Remove the twelve 6.7 mm screws from the bottom cover using a Phillips #1 screwdriver.

    • Pry the bottom cover away from the laptop using a spudger.

  2. Acer Nitro 5 AN517-51-56YW Touch Pad Replacement, Battery: étape 2, image 1 de 2 Acer Nitro 5 AN517-51-56YW Touch Pad Replacement, Battery: étape 2, image 2 de 2
    • Unplug the connection plug that attaches the battery to the motherboard.

    • Make sure to pull the connector safely so that it doesn't break.

    • Remove the two 4.7 mm screws using a Phillips #1 screwdriver.

  3. Acer Nitro 5 AN517-51-56YW Touch Pad Replacement: étape 3, image 1 de 2 Acer Nitro 5 AN517-51-56YW Touch Pad Replacement: étape 3, image 2 de 2
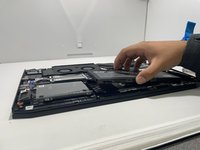
    • Remove the battery from the laptop.

    • Make sure that your laptop powers on before you begin reassembly. If it does not start, make sure the battery is firmly connected to the motherboard.

  4. Acer Nitro 5 AN517-51-56YW Touch Pad Replacement, Touch Pad: étape 4, image 1 de 2 Acer Nitro 5 AN517-51-56YW Touch Pad Replacement, Touch Pad: étape 4, image 2 de 2
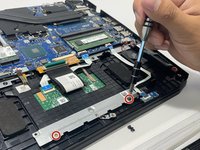
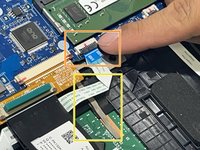
    • Remove the two 3.7 mm screws from the silver bracing plate using a Phillips #1 screwdriver.

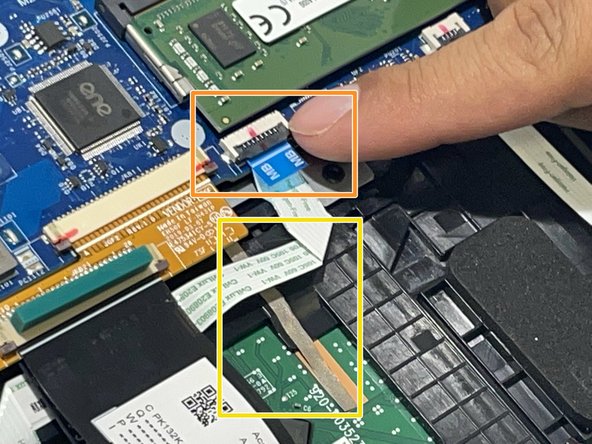
    • Detach the touch pad connector by lifting the clamp and pulling on the blue tab.

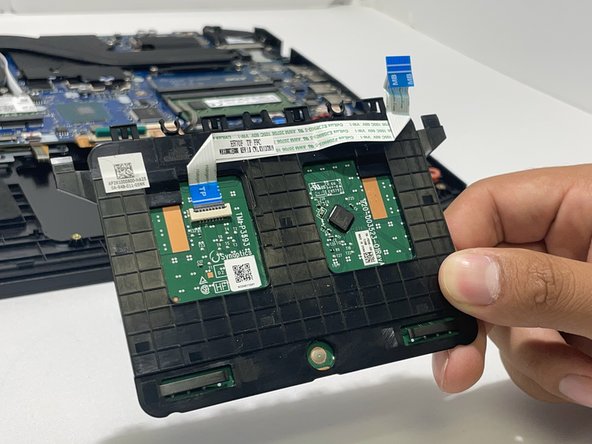
    • Lift the adhesive ribbon to be able to remove the touchpad.

    • Do not remove the ribbon completely, only the part that is on the touchpad.

  5. Acer Nitro 5 AN517-51-56YW Touch Pad Replacement: étape 5, image 1 de 2 Acer Nitro 5 AN517-51-56YW Touch Pad Replacement: étape 5, image 2 de 2
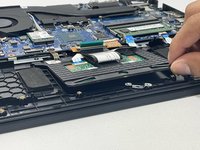
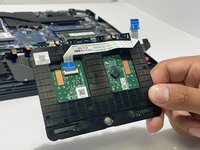
    • Lift the touchpad towards you from the bottom.

Conclusion

To reassemble your device, follow these instructions in reverse order.

Giovanni Lopez

Membre depuis le 09/15/22

88 Réputation

1 tutoriel rédigé

Équipe

University of Memphis, Team 3-1, Lane Fall 2022 Membre de l'équipe University of Memphis, Team 3-1, Lane Fall 2022

UM-LANE-F22S3G1

5 membres

4 tutoriels rédigés

0 commentaires

Ajouter un commentaire

Nombre de vues :

Dernières 24 heures : 0

7 derniers jours : 10

30 derniers jours : 37

Total : 435