Aller au contenu principal
Afridev Pump Rod Replacement

Afridev Pump Rod Replacement

Jake Devincenzi

Jake Devincenzi et 5 autres contributeurs

Dernière mise à jour le July 16, 2019

Aucune estimation
Modérée

This guide will show the procedure for removing each segment of the pump rod. It can be used to replace the entire rod, or just to replace a single pump rod segment.

  1. Afridev Pump Rod Replacement, Head: étape 1, image 1 de 2 Afridev Pump Rod Replacement, Head: étape 1, image 2 de 2
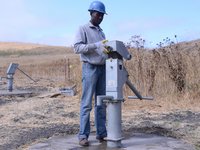
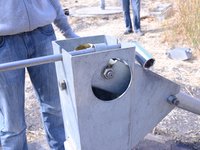
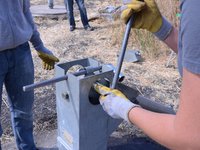
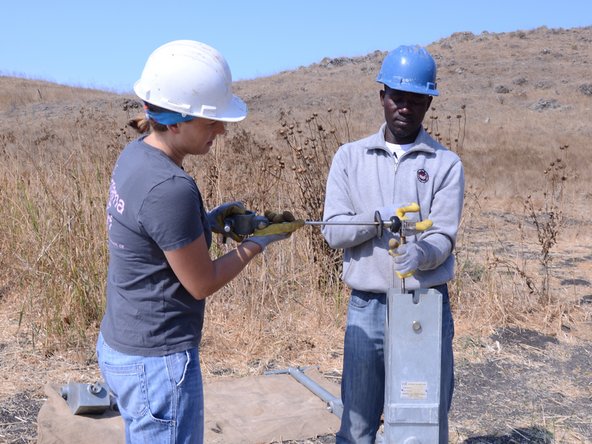
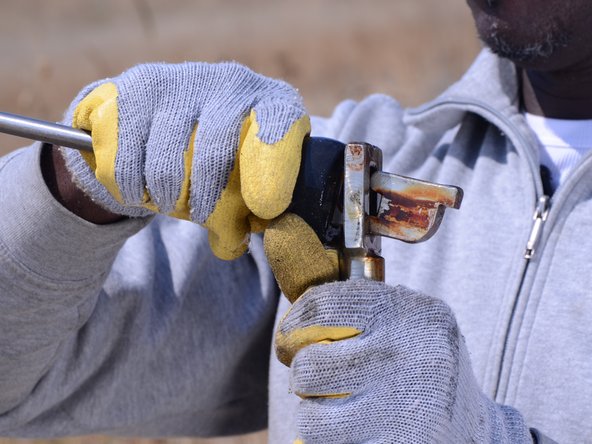
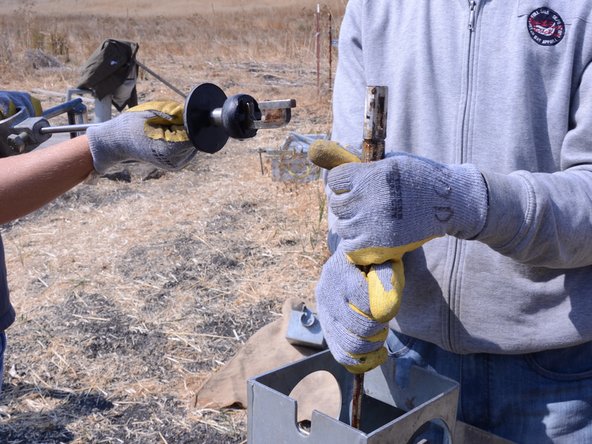
    • Assemble the required tools, including the Afridev tool and crescent wrenches.

  2. Afridev Pump Rod Replacement: étape 2, image 1 de 3 Afridev Pump Rod Replacement: étape 2, image 2 de 3 Afridev Pump Rod Replacement: étape 2, image 3 de 3
    • Perform a water test on the pump, by raising and lowering the handle a full 40 strokes. A properly performing pump will yield greater than 10 liters.

  3. Afridev Pump Rod Replacement: étape 3, image 1 de 2 Afridev Pump Rod Replacement: étape 3, image 2 de 2
    • Loosen the bolt on front of the face plate with the Afridev tool.

    • Remove the plate from the pump by lifting it straight up.

  4. Afridev Pump Rod Replacement, Axle and Handle: étape 4, image 1 de 3 Afridev Pump Rod Replacement, Axle and Handle: étape 4, image 2 de 3 Afridev Pump Rod Replacement, Axle and Handle: étape 4, image 3 de 3
    • Insert the T-handle into the top cylinder of the exposed pump rod.

  5. Afridev Pump Rod Replacement: étape 5, image 1 de 2 Afridev Pump Rod Replacement: étape 5, image 2 de 2
    • Loosen the 2 bolts on either side of handle.

    • It is not necessary to remove the bolt at this time; however, take caution to not let the bolt fall out of the handle.

  6. Afridev Pump Rod Replacement: étape 6, image 1 de 3 Afridev Pump Rod Replacement: étape 6, image 2 de 3 Afridev Pump Rod Replacement: étape 6, image 3 de 3
    • Loosen the 2 bolts on either side of the head to remove the handle from the pump rod.

    • It is not necessary to remove the bolt at this time; however, take caution to not let the bolt fall out of the handle.

  7. Afridev Pump Rod Replacement: étape 7, image 1 de 2 Afridev Pump Rod Replacement: étape 7, image 2 de 2
    • Lift the handle to a horizontal position.

  8. Afridev Pump Rod Replacement: étape 8, image 1 de 3 Afridev Pump Rod Replacement: étape 8, image 2 de 3 Afridev Pump Rod Replacement: étape 8, image 3 de 3
    • While one person lifts up on the T-handle, remove the bolt and connection pieces.

  9. Afridev Pump Rod Replacement: étape 9, image 1 de 3 Afridev Pump Rod Replacement: étape 9, image 2 de 3 Afridev Pump Rod Replacement: étape 9, image 3 de 3
    • Remove the bolt and connection pieces from the handle.

    • Set the bolt pieces in a sanitary place, such as a bucket, to prevent contamination.

  10. Afridev Pump Rod Replacement: étape 10, image 1 de 2 Afridev Pump Rod Replacement: étape 10, image 2 de 2
    • Remove the handle from the pump.

    • Be sure to set the handle in a sanitary place to prevent contamination.

  11. Afridev Pump Rod Replacement, Pump Rod: étape 11, image 1 de 2 Afridev Pump Rod Replacement, Pump Rod: étape 11, image 2 de 2
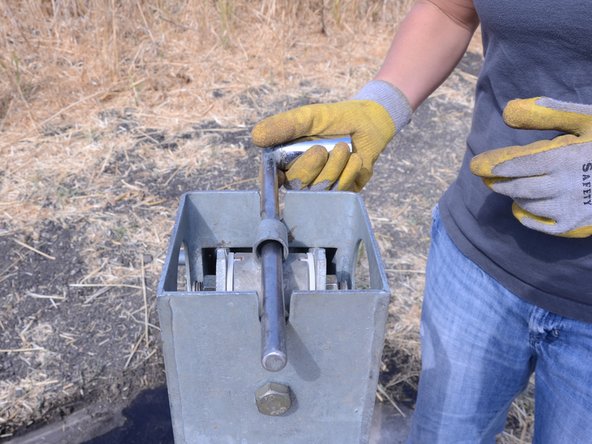
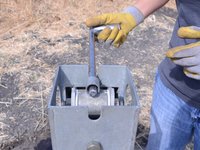
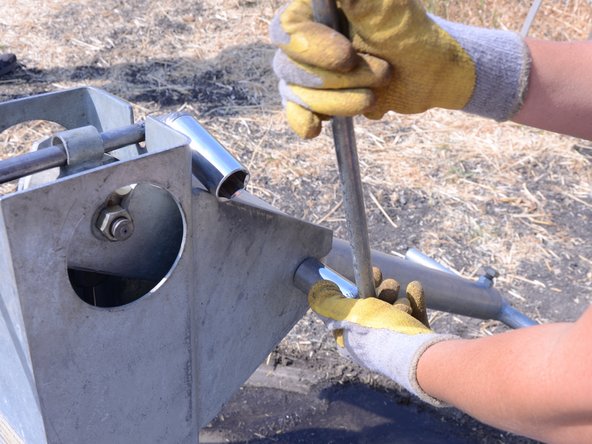
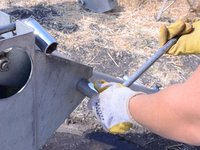
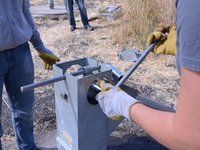
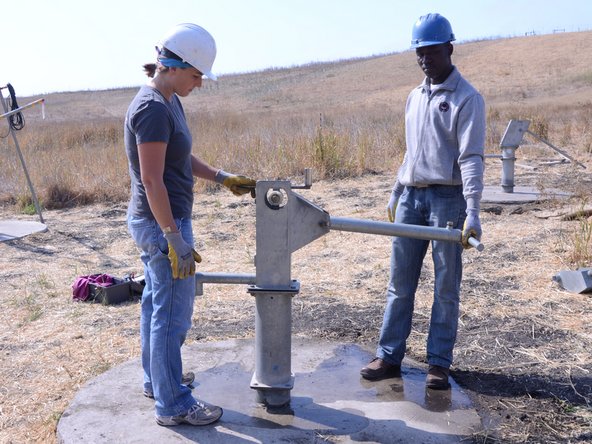
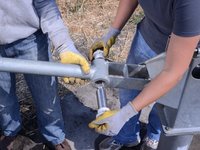
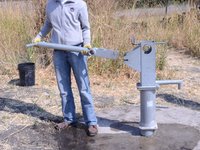
    • Grab firmly on the T-handle and lift the pump rod straight up.

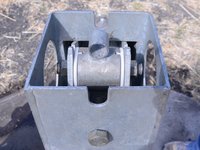
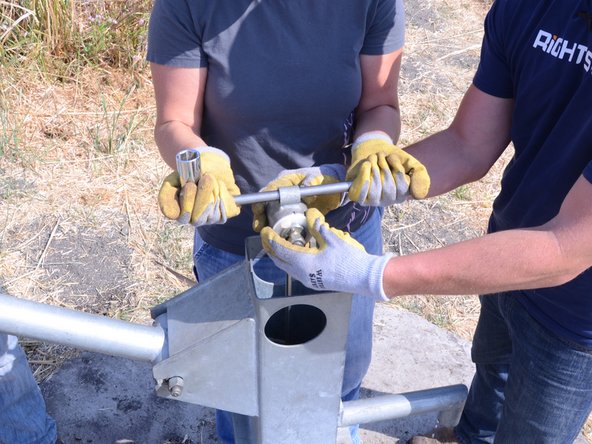
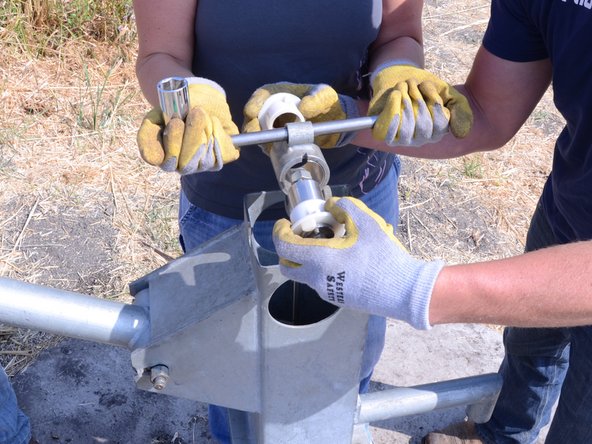
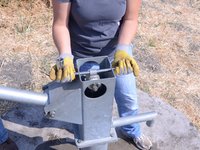
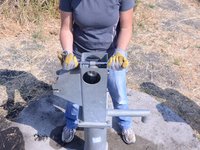
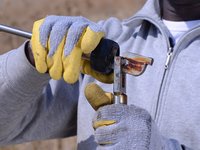
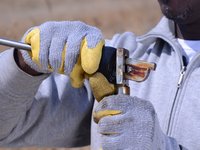
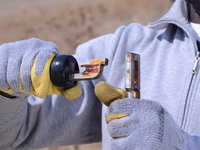
    • Expose the first connection of the pump rod, and support the portion below the connection.

  12. Afridev Pump Rod Replacement: étape 12, image 1 de 2 Afridev Pump Rod Replacement: étape 12, image 2 de 2
    • While holding the pump rod below the first connection tightly, lower the first portion of the rod to a horizontal position.

  13. Afridev Pump Rod Replacement: étape 13, image 1 de 3 Afridev Pump Rod Replacement: étape 13, image 2 de 3 Afridev Pump Rod Replacement: étape 13, image 3 de 3
    • Unhook the first connection by pushing it out and down, then pulling it away from the rest of the rod.

  14. Afridev Pump Rod Replacement: étape 14, image 1 de 3 Afridev Pump Rod Replacement: étape 14, image 2 de 3 Afridev Pump Rod Replacement: étape 14, image 3 de 3
    • Repeat steps 11-13 for the remaining sections of pump rod.

    • Be sure to set the pump rod segments above the ground to avoid contamination.

Conclusion

To reassemble your device, follow these instructions in reverse order.

Une autre personne a terminé cette réparation.

Jake Devincenzi

Membre depuis le 04/18/11

118 211 Réputation

57 tutoriels rédigés

0 commentaires de tutoriel

Ajouter un commentaire

Nombre de vues :

Dernières 24 heures : 0

7 derniers jours : 2

30 derniers jours : 2

Total : 394