Aller au contenu principal

Ce tutoriel a des changements plus récents. Passer à la dernière version non vérifiée.

Alienware M17x Motherboard Replacement

Ce dont vous avez besoin

  1. Alienware M17x Motherboard Replacement, Battery: étape 1, image 1 de 2 Alienware M17x Motherboard Replacement, Battery: étape 1, image 2 de 2
    • Turn off your laptop before starting.

    • Flip the laptop over so the model stickers face the ceiling.

  2. Alienware M17x Motherboard Replacement: étape 2, image 1 de 1
    • Remove the two 3.5 mm Phillips #0 screws holding the cover in place.

    • Slide cover forward then carefully lift up.

  3. Alienware M17x Motherboard Replacement: étape 3, image 1 de 1
    • Remove the two 5.5 mm Phillips #0 screws holding the battery in place.

  4. Alienware M17x Motherboard Replacement: étape 4, image 1 de 2 Alienware M17x Motherboard Replacement: étape 4, image 2 de 2
    • Carefully use the Plastic Opening Tool to unplug the battery.

    • Lift the battery up and out to remove.

  5. Alienware M17x Motherboard Replacement, Motherboard: étape 5, image 1 de 1
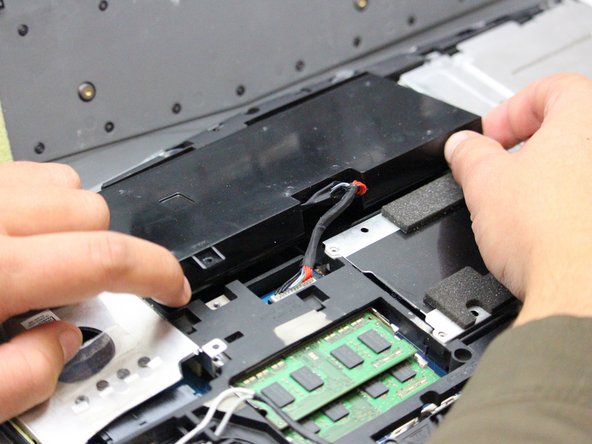
    • Remove the following screws using a Phillips #0 screwdriver to free the motherboard from the rest of the internal components.

    • A Magnetic Project Mat is recommended to keep track of screws and removed parts.

    • Twelve 5.5 mm Phillips #0 main frame screws.

    • Six 3.5 mm Phillips #0 fan screws.

    • Four 3.5 mm Phillips #0 internal compartment screws.

    • Eight 3.5 mm Phillips #0 Hard Drive screws.

    • Four 3.5 mm Phillips #0 CD Drive screws.

    • After removing the screws NOT marked in red, each corresponding component can be removed, but it is not recommended for this guide.

  6. Alienware M17x Motherboard Replacement: étape 6, image 1 de 3 Alienware M17x Motherboard Replacement: étape 6, image 2 de 3 Alienware M17x Motherboard Replacement: étape 6, image 3 de 3
    • Flip the laptop over so that the Alienware logo is facing the ceiling and open the lid exposing the screen and keyboard.

    • Use a plastic opening tool to pry the keyboard from the base of the computer.

  7. Alienware M17x Motherboard Replacement: étape 7, image 1 de 1
    • Remove five 3.5 mm Phillips #0 screws from the motherboard.

    • Unplug the consumer IR cables on the consumer IR board using a plastic opening tool.

    • Lift the motherboard at an angle and remove it from the computer base.

Conclusion

To reassemble your device, follow these instructions in reverse order.

Mosier Locke

Membre depuis le 09/27/18

729 Réputation

5 tutoriels rédigés

0 commentaires

Ajouter un commentaire

Nombre de vues :

Dernières 24 heures : 0

7 derniers jours : 2

30 derniers jours : 21

Total : 1,763