Ce tutoriel a des changements plus récents. Passer à la dernière version non vérifiée.
Introduction
If the buttons on your Echo Show are stuck or will not respond, they might need to be replaced. Before starting this guide, gather a T5 Torx screwdriver. There are a few steps you must perform before accessing the buttons (such as removing the front and bottom of the device).
Some steps do not require any tools--only your hands. Remember to carefully remove items, such as the buttons themselves.
Ce dont vous avez besoin
-
-
-
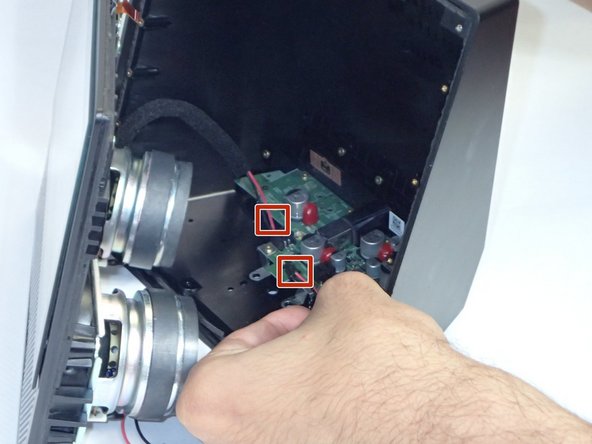
Locate the panel holding the buttons on the top of the device. Using the T5 Torx screw head, remove the eight screws to detach the panel holding the buttons in place.
-
Once the panel is removed, the three plastic buttons can be easily accessed and removed for replacement/fixing.
-


To reassemble your device, follow these instructions in reverse order. Take care to not accidentally switch your top buttons' alignment.
To reassemble your device, follow these instructions in reverse order. Take care to not accidentally switch your top buttons' alignment.
Équipe

University of South Florida St. Petersburg, Team S1-G3, Stowe Fall 2018 Membre de l'équipe University of South Florida St. Petersburg, Team S1-G3, Stowe Fall 2018
USFSP-STOWE-F18S1G3
4 membres
6 tutoriels rédigés