Introduction
If your glass is broken but the LCD is working, replacing the digitizer only can be a cost saving measure to get your device working properly again. Follow this guide to get your Amazon Kindle Fire HD 8 (8th generation) tablet working again. Replacing just the glass is similar to many other tablets but the details are somewhat unique and special consideration must be made regarding the circuit board's soldered wires.
Ce dont vous avez besoin
-
-
Starting on the left side near the top, insert your Opening Tool in the crack between the case and the bezel. Be careful not to insert into the crack between the screen glass and the bezel.
-
Work your way down towards the bottom, around the corner, across the bottom to the other corner. Use an Opening Pick to prevent the tabs from snapping back together if needed.
-
Once the second corner is released, the right side should fall off fairly easily. If not, work your way up like the first side.
-
-
-
Lift the back cover off, tilting towards the top as if it was a hinge. There are no cables or wires connecting the back, but be careful around the top of the device. All the buttons and connections are on this edge and lifting this edge up could damage them.
-
-
-
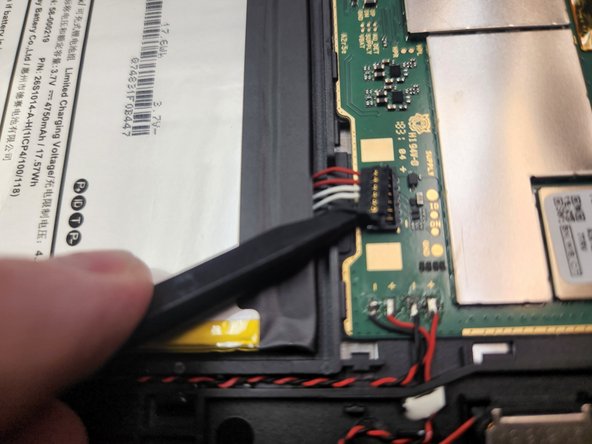
Using the tip of your Spudger, release the battery connector.
-
Bend the battery connector up and out of the way to ensure it will not make contact with the circuit again. The wires are stiff and will hold the connector out of the way.
-
-
-
Using your heat gun, heat the edges of the glass to soften the adhesive. Start at the top right corner and work your around.
-
Follow the same path as with the case, working your way down to the bottom, around the corners, and back up.
-
If at any time the adhesive becomes hard, stop and apply more heat. Do not attempt to cut the adhesive if it is too hard.
-
-
-
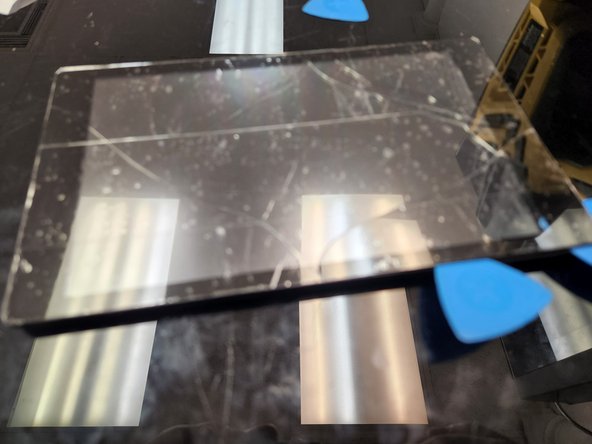
After heating, use a Suction Handle to lift up on the glass.
-
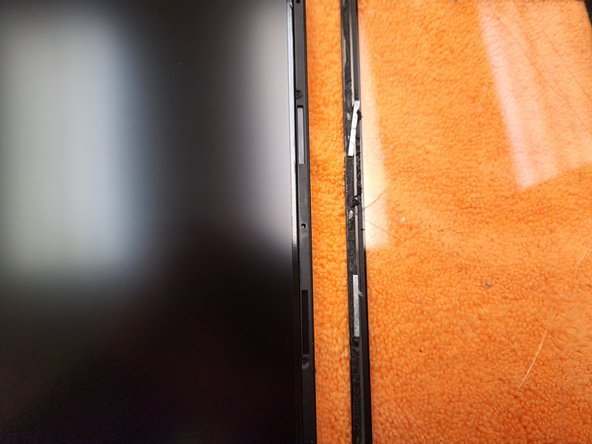
Insert an Opening Pick on the top edge near the right corner.
-
After ensuring the Opening Pick is inserted, remove the Suction Handle.
-
Leave an Opening Pick in the top right corner to prevent the adhesive from resealing.
-
Using a second opening pick, slide down the right side, cutting through the adhesive, until you reach the bottom right corner. Leave the second pick in the second corner.
-
-
-
There are four magnets, in two pairs of two, on the right side of the case.
-
When removing the old digitizer, it is highly likely these magnets (red) will stick to the adhesive on the old digitizer and be removed.
-
Make sure to remove them from the old digitizer and replace them into the frame (orange) before putting the new digitizer on the device.
-
-
-
-
In the same manner as before, use a new opening pick to separate the bottom of the display going from right to left.
-
Leave the pick in the bottom left corner and insert a new pick to slice through the adhesive on the left hand side.
-
-
-
Slice the adhesive on the left side, working your way up from the bottom corner.
-
When you reach the top left corner, leave the Opening Pick there to prevent the adhesive from resealing.
-
-
-
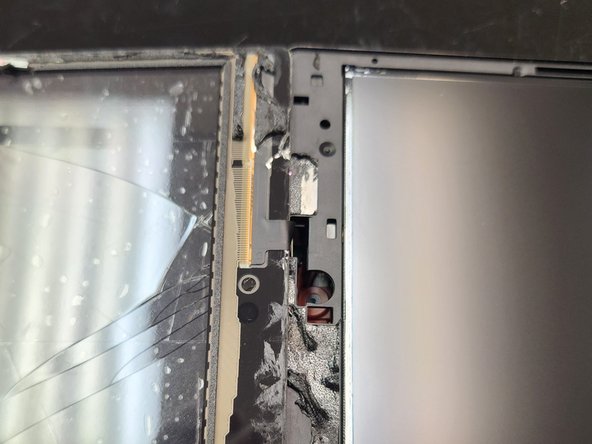
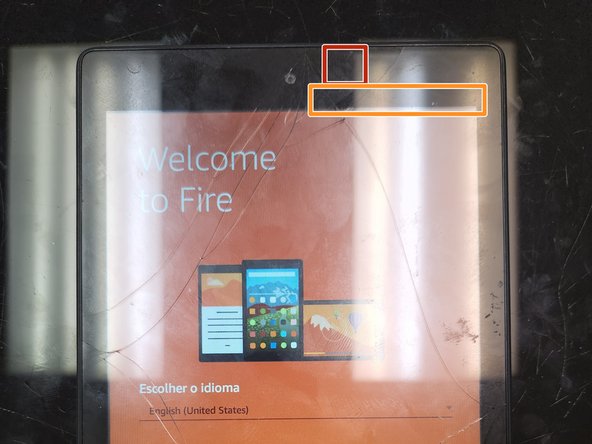
Note the placement of the ribbon cable (red).
-
Note the area where the digitizer leads connect to the ribbon cable (orange).
-
-
-
Taking extra care around the caution areas mentioned in the previous step, use a final opening pick to slice through the adhesive on the top edge.
-
Once the adhesive is cut through, lift the digitizer from the bottom edge, keeping the top edge connected.
-
Avoid straining the ribbon cable, as it is delicate and can cause issues on the motherboard.
-
Extend the digitizer to a 180 degree angle and flip the device over.
-
-
-
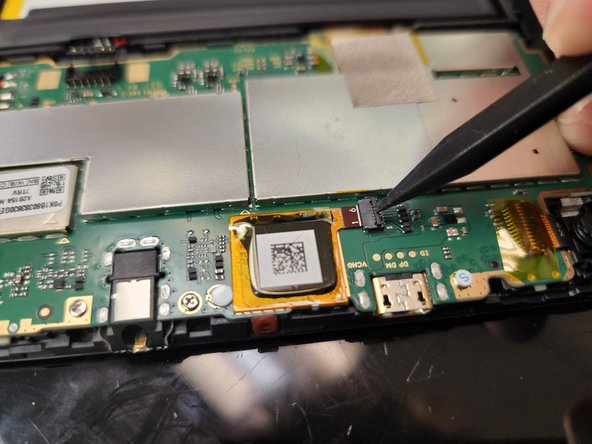
Remove the tape holding the ribbon connector down.
-
Using the tip of your spudger, lift the locking clip of the connector to release the ribbon cable.
-
Using your tweezers, remove the ribbon cable from the connector.
-
-
-
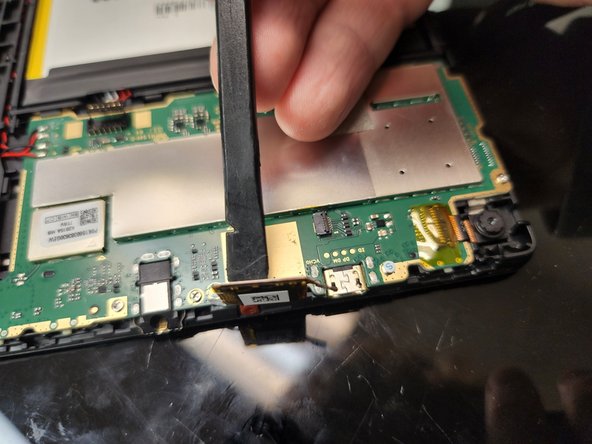
Using the flat end of your spudger, pry up the connector.
-
Lift the connector until it is vertical, but be careful not to lift too high as you can strain the ribbon cable and possibly break it.
-
-
-
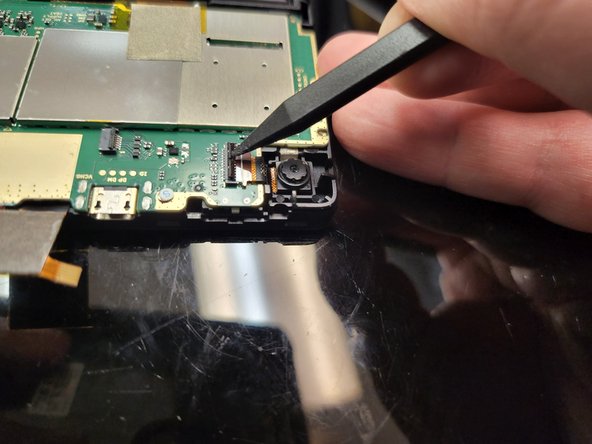
Remove the tape holding the ribbon connector down.
-
Using the tip of your spudger, lift the locking clip of the connector to release the ribbon cable.
-
Using your tweezers, remove the ribbon cable from the connector.
-
-
-
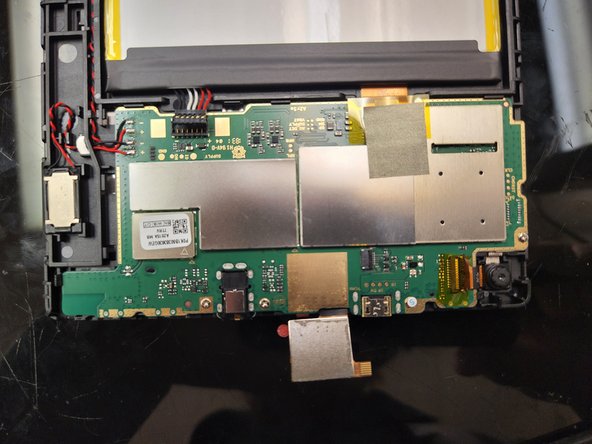
Remove the four screws (blue). The screws are identical and interchangeable, so you don't need to keep track of which screw went where.
-
Release the two locking clips (yellow). The clips are holding the board down on the corners and it cannot be released easily without pulling back on them.
-
Take note of the speaker wires (red). They are soldered onto the board and special care should be taken to ensure they are not broken or otherwise disconnected.
-
-
-
With the adhesive cut and the motherboard released, lift it up and gently work the digitizer connector out of the hole.
-
You will have to work backwards and slide the digitizer back under the device to maneuver the ribbon connector through the hole in the frame.
-
When the connector is through the hole, pull the entire digitizer out. If you continue pushing through, the hard corners on the connector can scratch the LCD underneath.
-
-
-
With the digitizer completely removed, flip the device back over and clean off the old adhesive.
-
Most of it will stick to itself and can be pulled off, though some residue may remain.
-
Using a cotton swab and 90%+ isopropyl alcohol, clean the frame to ensure it is free of residue and debris and will be ready for the replacement digitizer.
-


To reassemble your device, follow these instructions in reverse order.
To reassemble your device, follow these instructions in reverse order.
Annulation : je n'ai pas terminé ce tutoriel.
4 autres ont terminé cette réparation.

5 commentaires
I actually used this guide to repair a 10th gen, but the two are similar enough. My grandson is very happy with his newly functional tablet.
Glad I was able to help! Grandson should be proud that you figured it out even with only a similar guide. 🤗👍
Crafty! Good job on your ingenuity. I hope the rest of the guide helped you out.
Great instructions! Worked out very well with one exception- I lost the 4 screws! Anyone know what size they are or where I can get replacements???