Introduction
Use this guide to remove and replace a sanding disc on the Clarke Floor Sander 07163A.
This guide shows the removal of just one disc, but the procedure for the other two discs is the same.
Ce dont vous avez besoin
-
-
Carefully tilt the sander back and lay it down on its side, exposing the three sanding pads on the bottom.
-
-
-
Use a 3 mm hex key or driver bit to remove the six 11.9 mm-long screws securing the driver pad.
-
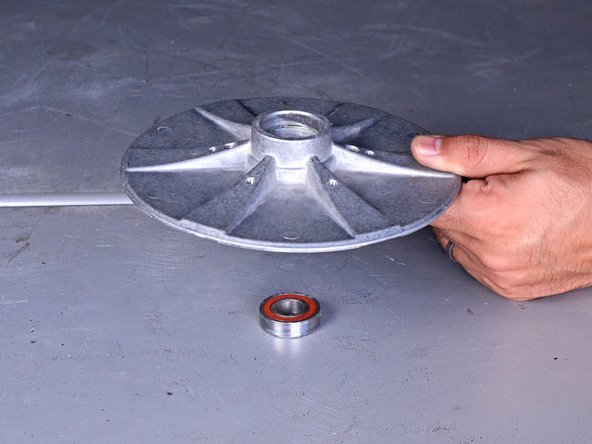
Remove the driver pad from the sanding disc.
-
-
-
-
Use a flathead screwdriver to pry off and remove the rubber plug in the center of the sanding disc.
-
-
-
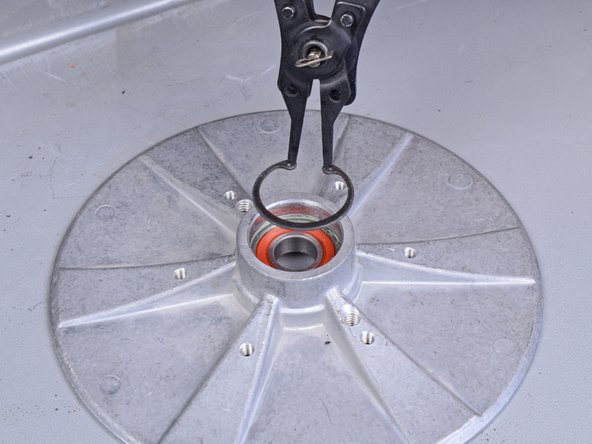
Use a pair of snap ring pliers to compress the retaining ring inside the driver and remove it from the sanding disc.
-


To reassemble your device, follow these instructions in reverse order.
To reassemble your device, follow these instructions in reverse order.

Équipe
